4 WAIT while player boots up (up to 60
seconds)
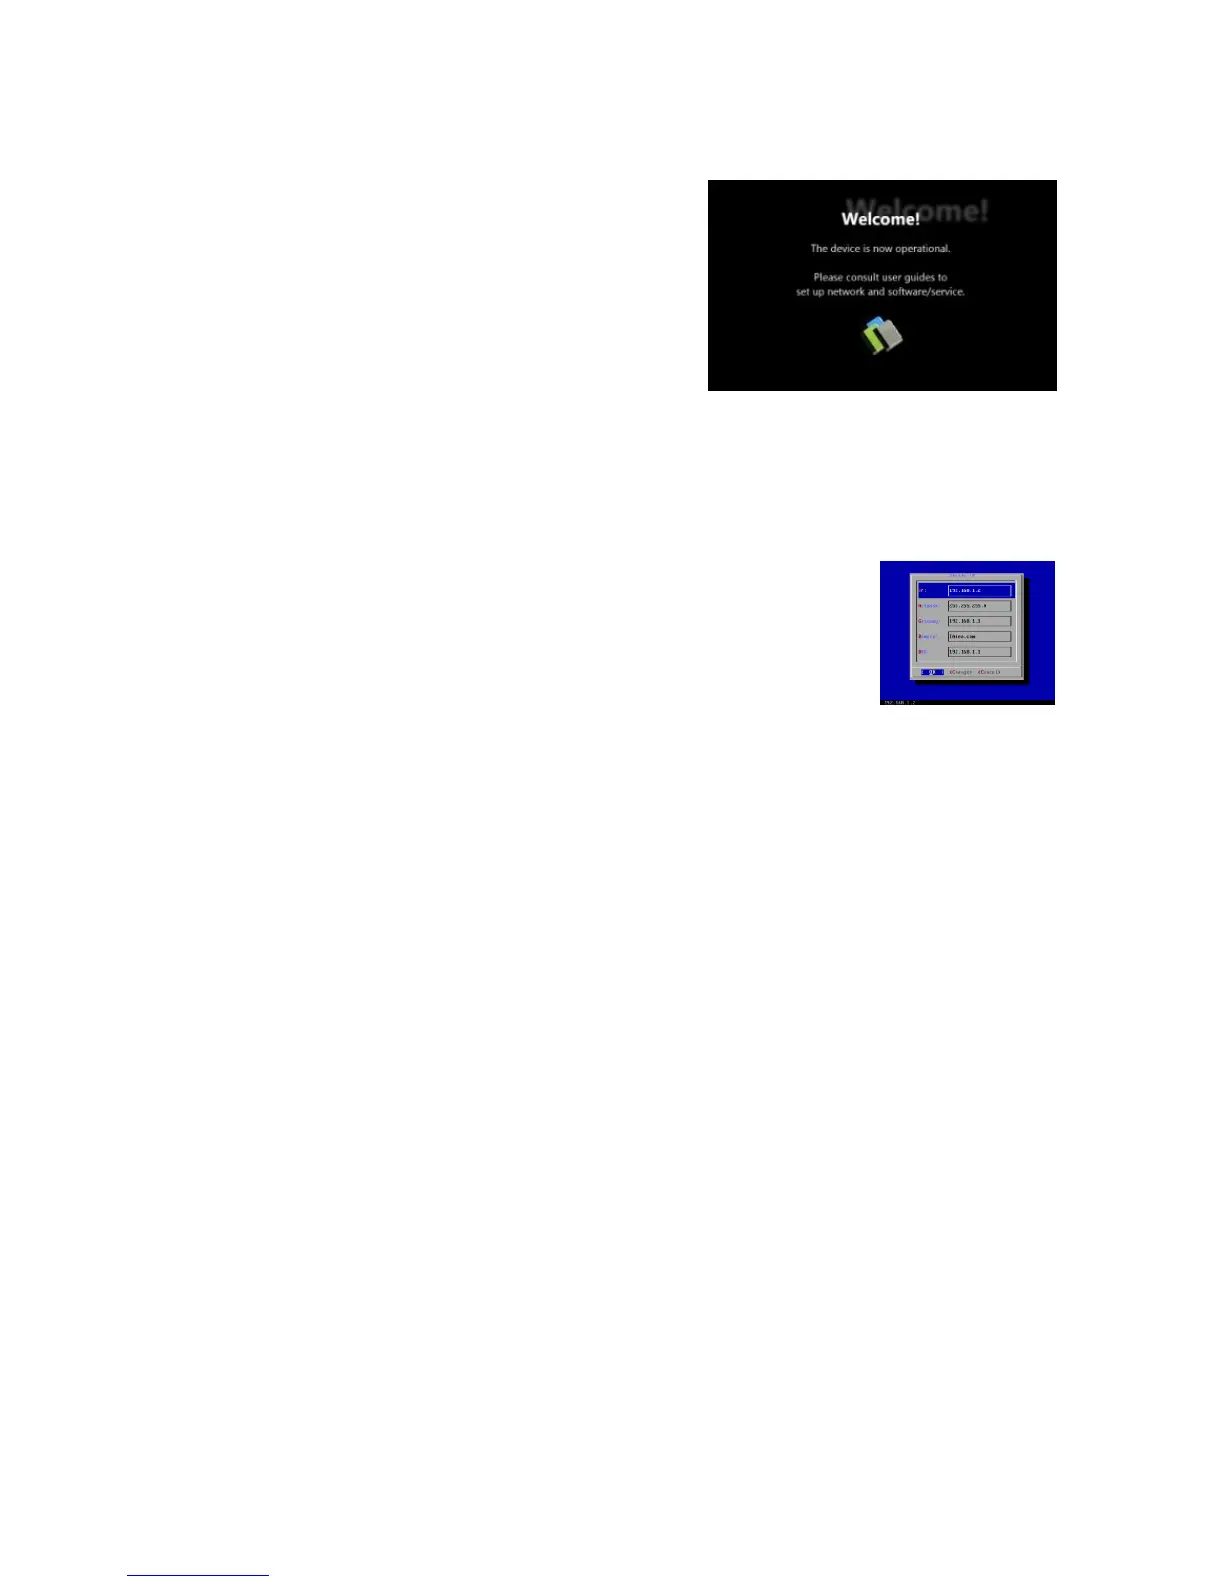
→ once you see “Welcome” on screen,
the unit is ready for content update or
menu configuration
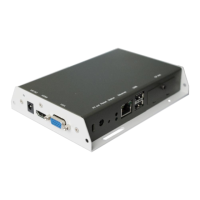
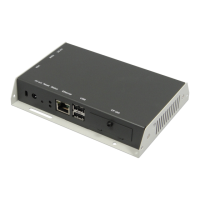
5 PLUG IN a USB keyboard to the unit’s
USB port
→ the player will enter the graphical menu system in approx. 30 sec.
6 NAVIGATE the menus using your keyboard arrows
(up), (down), (left), (right) to move the selection,
(Space bar) to select, (Enter) to confirm, and (ESC) to
cancel
→ find and set the correct time/date AND time zone. IMPORTANT:
time zone must be set correctly in the menus or via management
software for scheduled playback
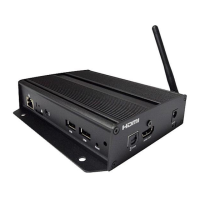
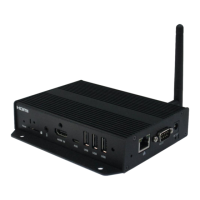
→ (Wireless model only) Using the USB keyboard, select a wireless
network and provide security information to connect to your wireless
access point
→ (OPTIONAL) Set a Password in the menus to prevent unauthorized
changes. IMPORTANT: setting a password will hide the menus. To re-
enter the menu, press CTRL-ALT-DEL and enter the password. If you
forget the password, see Reset player to factory defaults
7 SAVE settings and exit the menu, then REMOVE the USB keyboard.
→ The player will reboot with new settings in place
Settings are now retained even if you remove the power
→ For advanced player configuration, such as static IP, proxy server,
time server, display option, and security settings, visit
http://www.digisignage.com for more information.
 Loading...