4.1
4.2
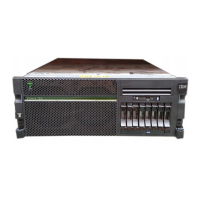
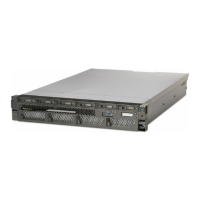
Locate the rack-mounting template, the rack-mounting hardware kit, and the slide
rail assemblies that were included with your server.
Use the rack-mounting template to determine where in the rack to place the server.
Remove any filler panels necessary to allow adequate access to the location
where you will install your server.
If you do not have enough space around your rack to open the front and back doors
completely, remove the doors before starting this task to allow adequate access.
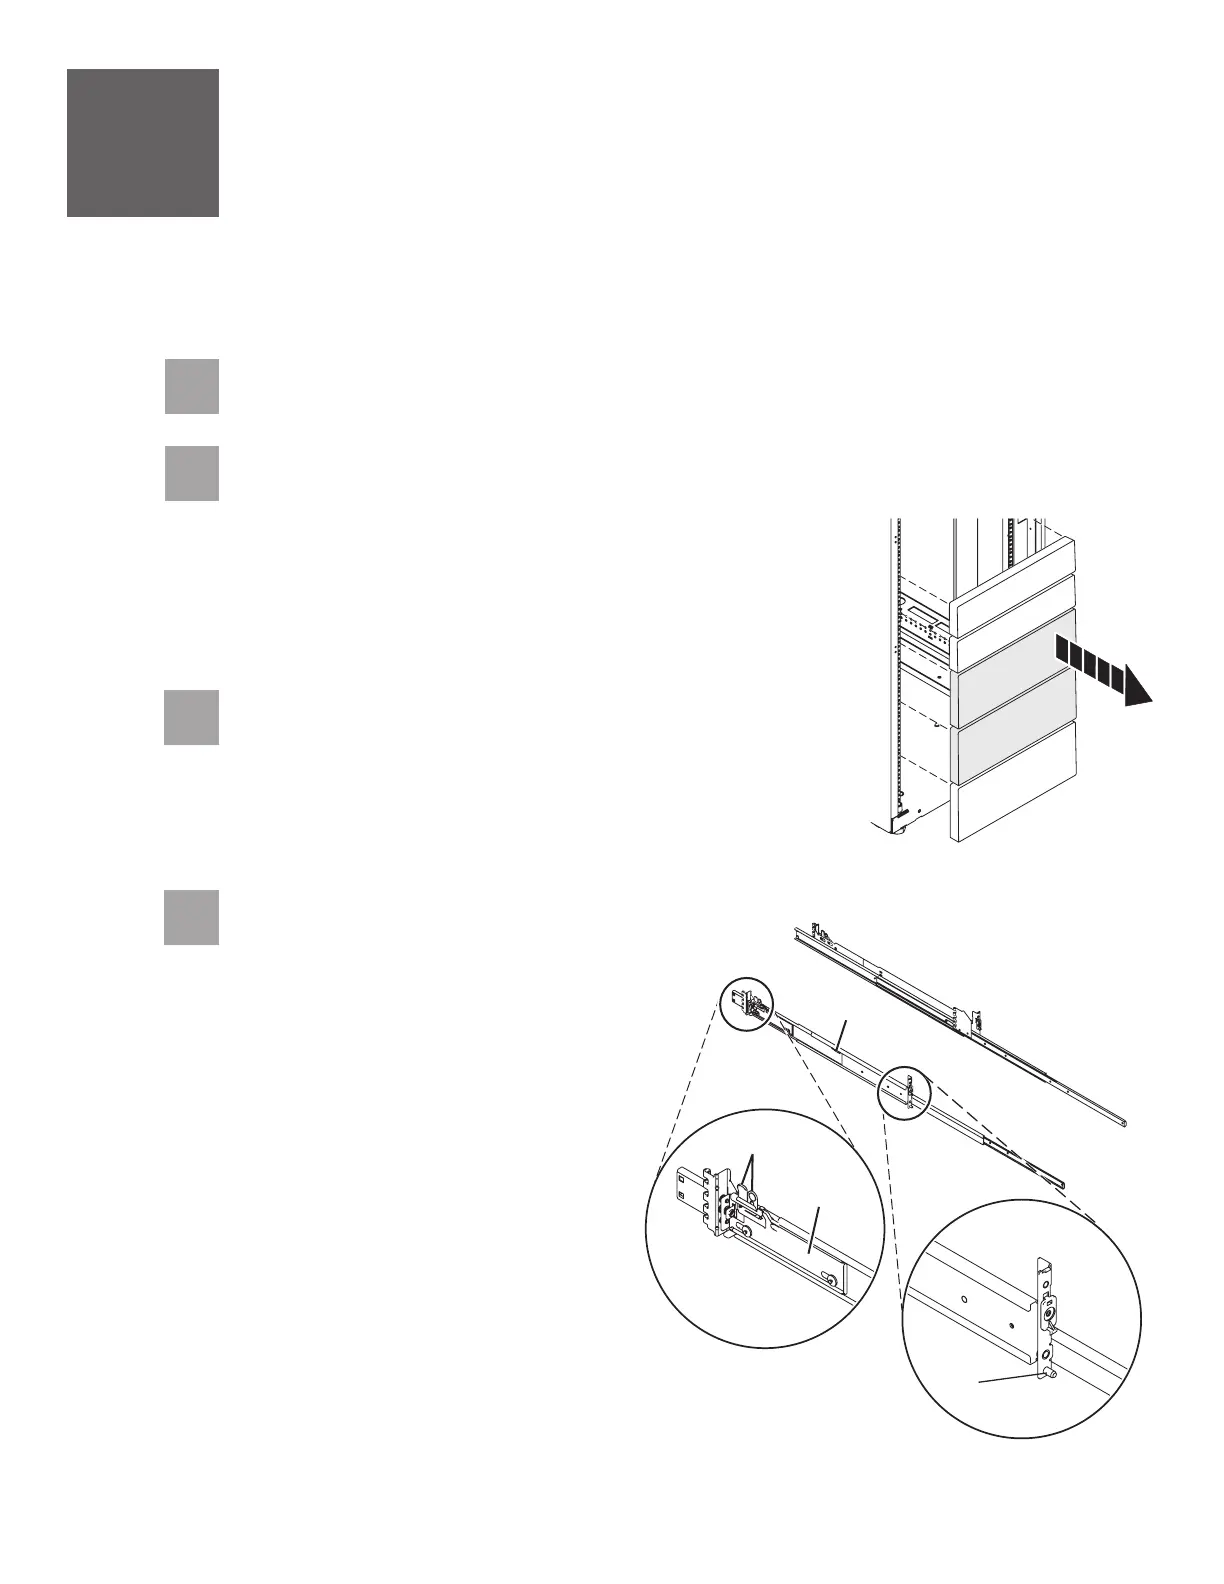
Install the slide rail assemblies
4
4.3
Follow the rack-mounting template to mark the
location on the rack where you will place the
server. Use the self-adhesive placement dots
found on the rack-mounting template.
Pull the back latch-assembly
release tabs to the retracted
position and lock the latch
assembly . Make sure the
alignment pins that are located
on the back of the slide rail are
fully retracted.
From the back of the rack, insert
the front alignment pin into the
hole in the front of the rack, as
identified by the self-adhesive
placement dot.
C
B
D
D
1.
2.
C
B
Front
Back
A
D
Note: Install units into the lower part of the rack first.
Place larger and heavier units in the lower part of the
rack.
4.4
Install the slide rail assemblies .A