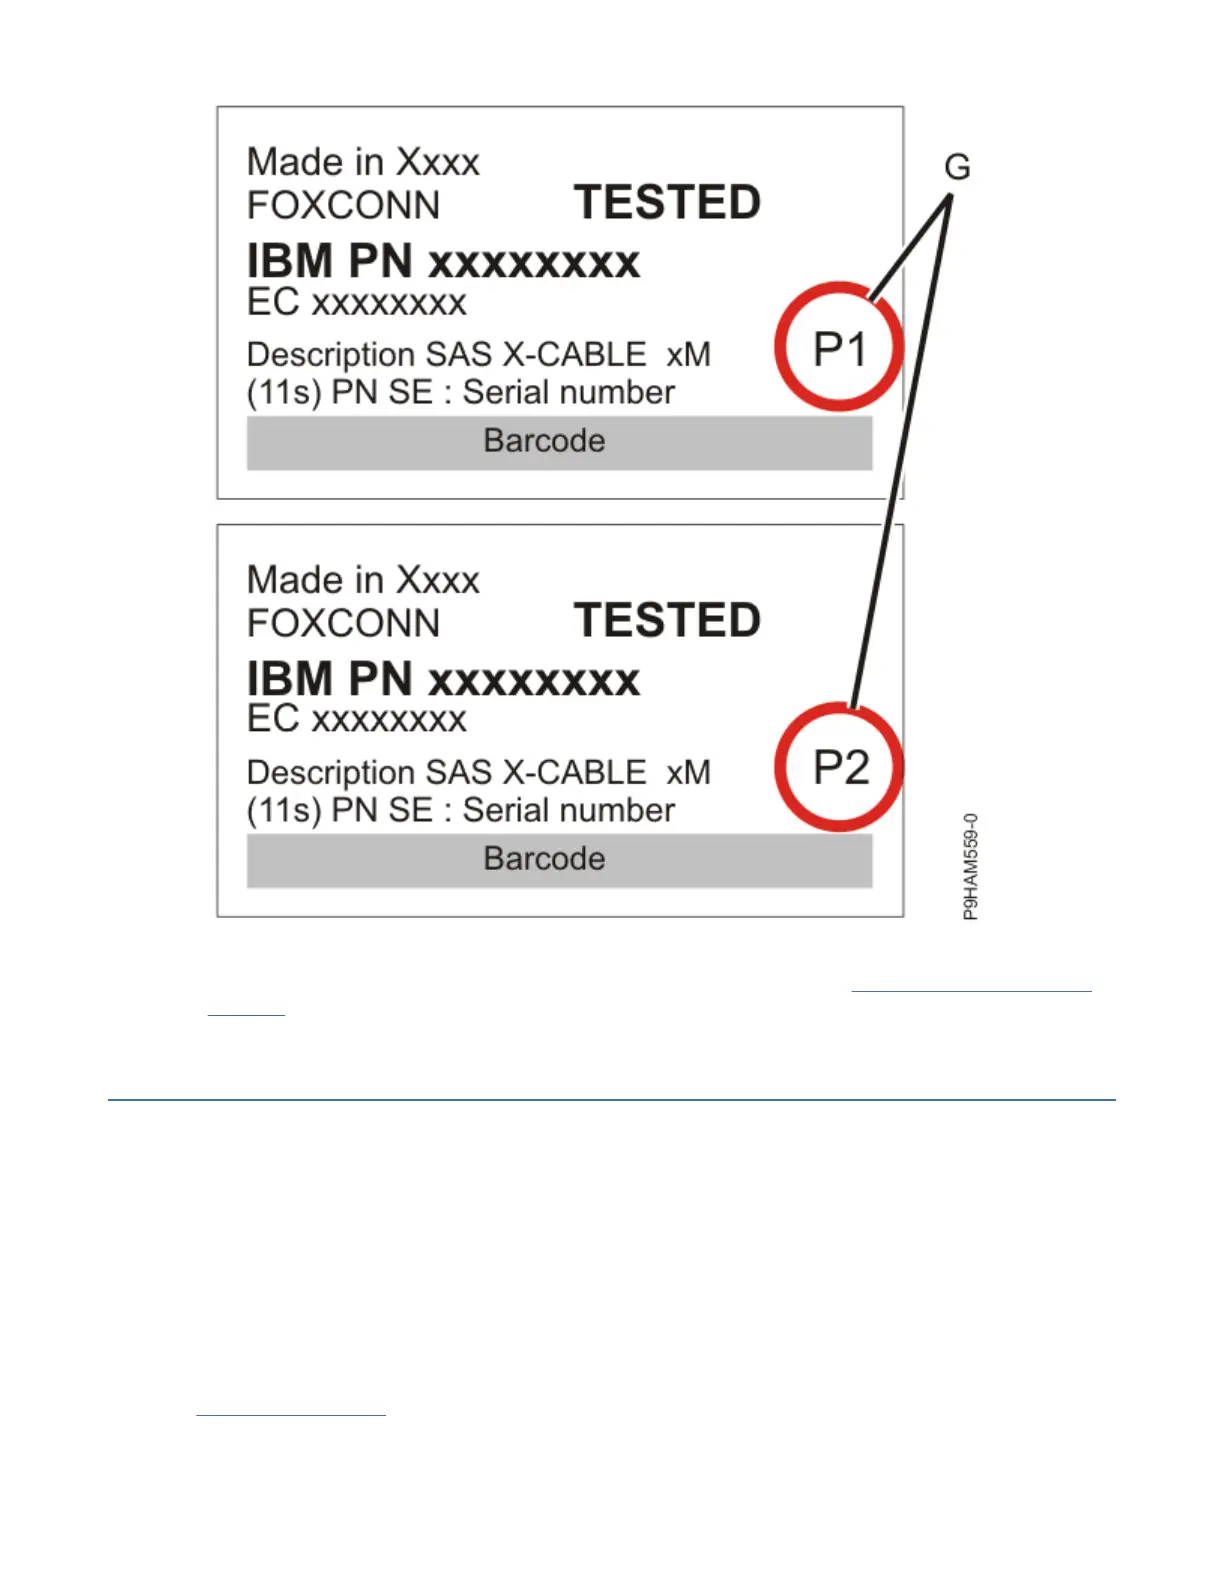
Figure 30. Labels for SAS adapter cables that show P1 and P2 identiers
21. For more information about SAS cabling and cabling congurations, see Serial-attached SCSI cable
planning (http://www.ibm.com/support/knowledgecenter/POWER9/p9had/p9had_sascabling.htm).
Connecting cables, power cords, and installing covers
To reconnect cables, attach power cords, and install the side covers, complete the steps in this
procedure.
Procedure
1. Ensure that you have the electrostatic discharge (ESD) wrist strap on and that the ESD clip is plugged
into a ground jack or connected to an unpainted metal surface. If not, do so now.
2. If your installation requirements included the removal of the SAS cables from the ESMs, review the
labeling that you completed and reinstall the cables.
Note: Do not apply power until instructed to do so.
3. Route the power cords through the power cord retention brackets (D) for strain relief, as shown in
Figure 31 on page 34.
Note: If your disk drive enclosure arrived to your site preinstalled in the rack, the power cords might
be connected.
Installing the 5887 disk drive enclosure or setting up a preinstalled 5887 disk drive enclosure
33

 Loading...