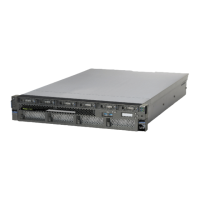
Figure 58. System backplane screw locations
c) Using a Phillips screwdriver, unscrew and remove the two screws (B) that attach the backplane to
the power supply cage. See the following gure.
d) Using a Phillips screwdriver, unscrew and remove the four screws (C) that attach the backplane to
the sides of the system chassis. See the following gure.
e) Using a Phillips screwdriver, unscrew and remove the remaining four screws (D), which are
aligned vertically, that attach the backplane to the sides of the system chassis. See the following
gure.
f) After you remove the screws, place your ngers in positions (A) and (B) and slide the system
backplane slightly toward the front of the system as shown in the following gure.
Note: Slide the system backplane carefully. There is just enough space for the power connectors
to clear the flange on the power supply cage (C).
Figure 59. Preparing the system backplane for removal
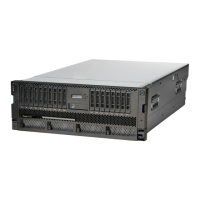
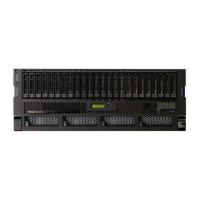
Removing and replacing the system backplane in the 9009-41A, 9009-42A, or 9223-42H
61
 Loading...