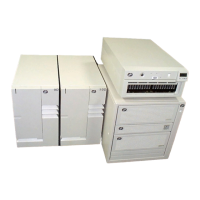
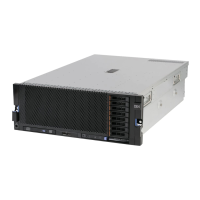
6. To remove a drive from bay 1 or 2, complete the following steps:
a. Find the drive you plan to remove.
b. Disconnect the cables (flat and power) from the rear of the drive.
c. Remove the screws that hold the drive in the housing.
d. Slide the drive out of the bay.
7. If you are replacing a disk drive from bay 1, note the SCSI address of the disk
drive you just removed.
Replacement
To replace a diskette or lower hard drive, perform the removal steps in reverse order.
Note: If you are replacing a disk drive in bay 1, make sure the address of the new
drive matches the address of the drive you just removed.
7-14 Service Guide

 Loading...


