3. From the rear of the rack, insert the two pins at the front of each rail into holes
20 and 22 from the top on each side of the rack.
4. Align the top nut clips at the rear of the rack with the top hole at the rear of each
rail. Install each rail to the rack, using four M5x14 hex head screws that are
supplied with this unit.
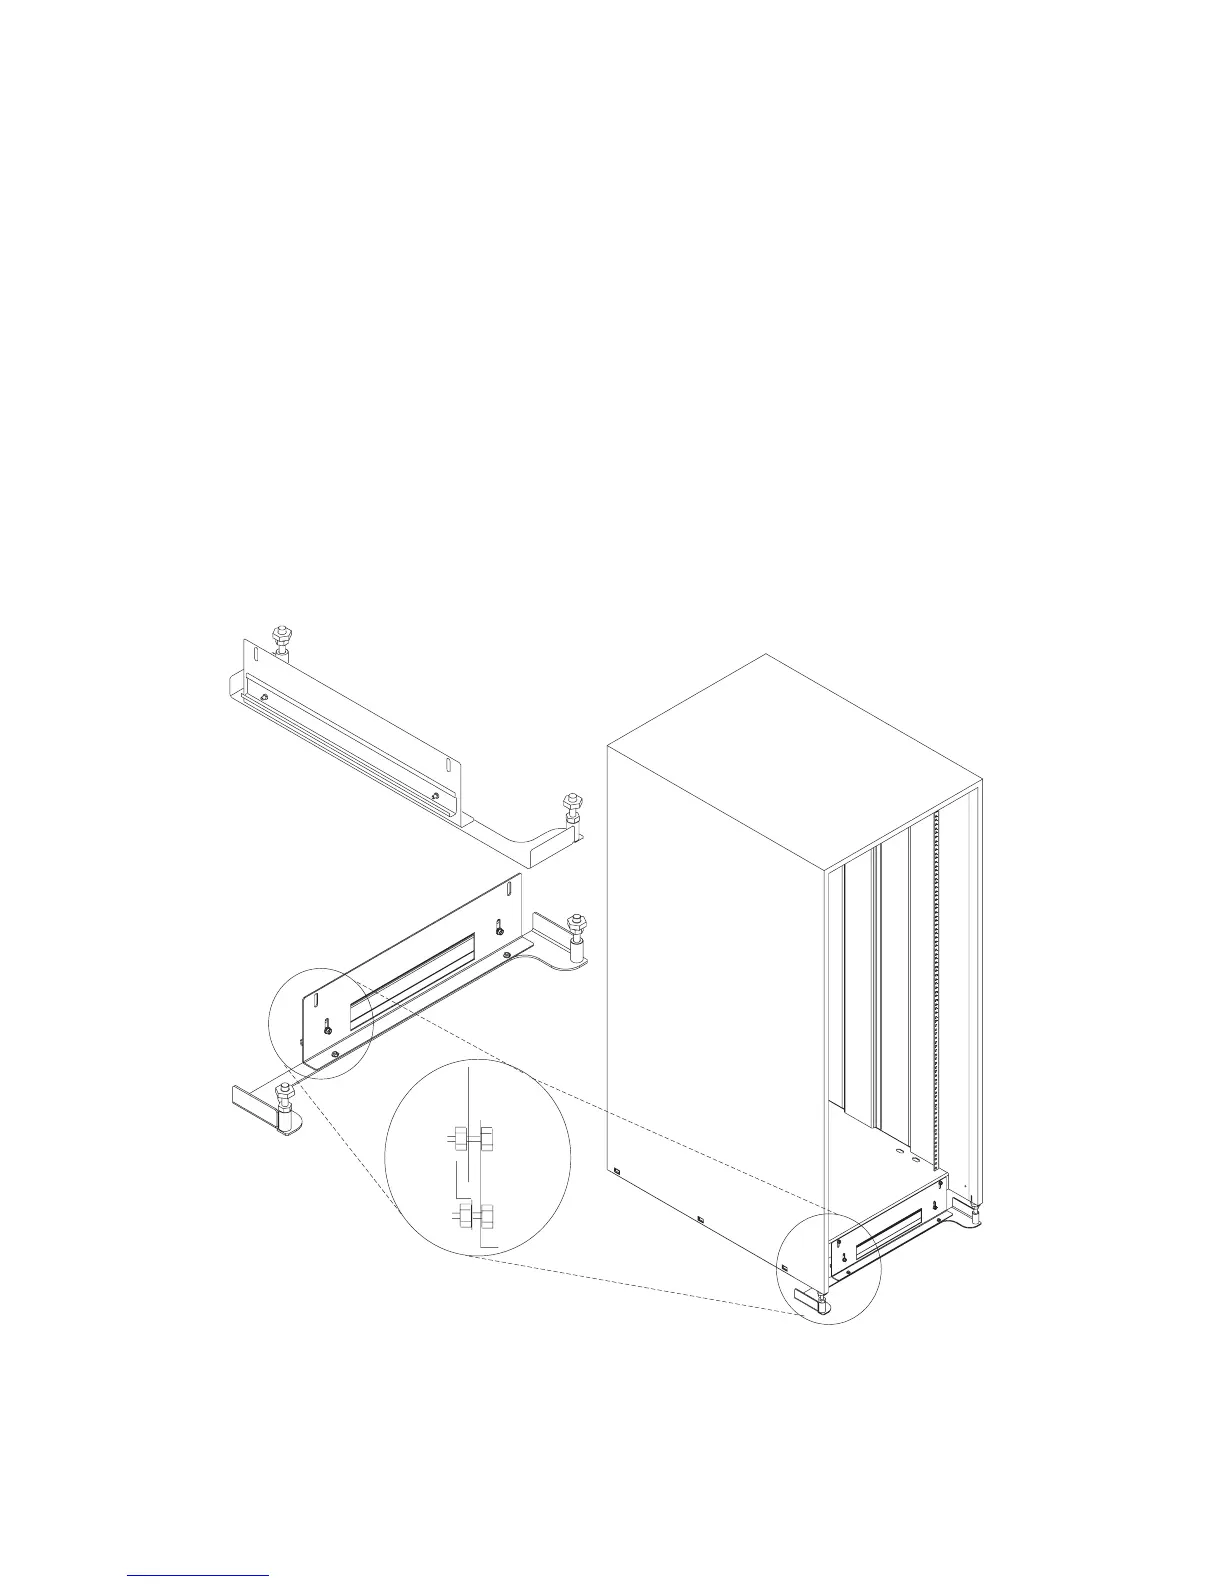
Installing the Rear Stabilizer on the Rack Unit
1. Loosen the lower screws on the stabilizer assembly.
2. Slide the stabilizer assembly onto the bottom of the rack.
3. Install screws at the top of the stabilizer assembly and tighten.
4. Tighten the lower screws on the stabilizer assembly.
5. Adjust the bolts to the floor to ensure that the stabilizer is level and does not
move.
Chapter 7. Removal and Replacement Procedures 7-5
 Loading...