4
INSTALLATION
BEFORE YOU BEGIN
WARNING: WHEN INSTALLING THIS GAME,
A 3 PRONG GROUNDED A.C. RECEPTACLE
MUST BE USED. FAILURE TO DO SO COULD
RESULT IN SERIOUS INJURY TO YOURSELF OR
OTHERS. FAILURE TO USE A GROUNDED
RECEPTACLE COULD ALSO CAUSE IMPROPER
GAME OPERATION, OR DAMAGE TO THE
ELECTRONICS
DO NOT DEFEAT OR REMOVE THE GROUNDING
PRONG ON THE POWER CORD FOR THE SAME
REASONS AS GIVEN ABOVE. USING AN IM-
PROPERLY GROUNDED GAME COULD VOID
YOUR WARRANTY.
HAVE A QUALIFIED ELECTRICIAN CHECK YOUR
A.C. RECEPTACLE TO BE SURE THE GROUND
IS FUNCTIONING PROPERLY.
This installation is recommended to be per-
formed by a 2 man installation crew. No special
electrical or "Electrician" skills are needed for
installation, as all electrical connections are sim-
ple plug in types.
The following tools will be necessary for installa-
tion:
Step ladder *
Cordless Drill with Phillips head bit
Diagonal cutters
7/16" Combination wrench
Ratchet with 7/16" socket
5/16” Allen (included)
* Might be required in some situations.
SINGLE INSTALL INSTRUCTIONS
1. Remove the banding from the pallet.
NOTE: BE SURE TO STAND TO THE SIDE
WHEN CUTTING THE BANDS, AS THEY ARE
UNDER PRESSURE, AND COULD SPRING
OUT CAUSING INJURY.
2. Lift out all cage parts as well as any other
parts shipped along with the game.
3. Remove the 2 game halves from the pallet.
4. Remove all of the cabinets from their
packaging and skids.
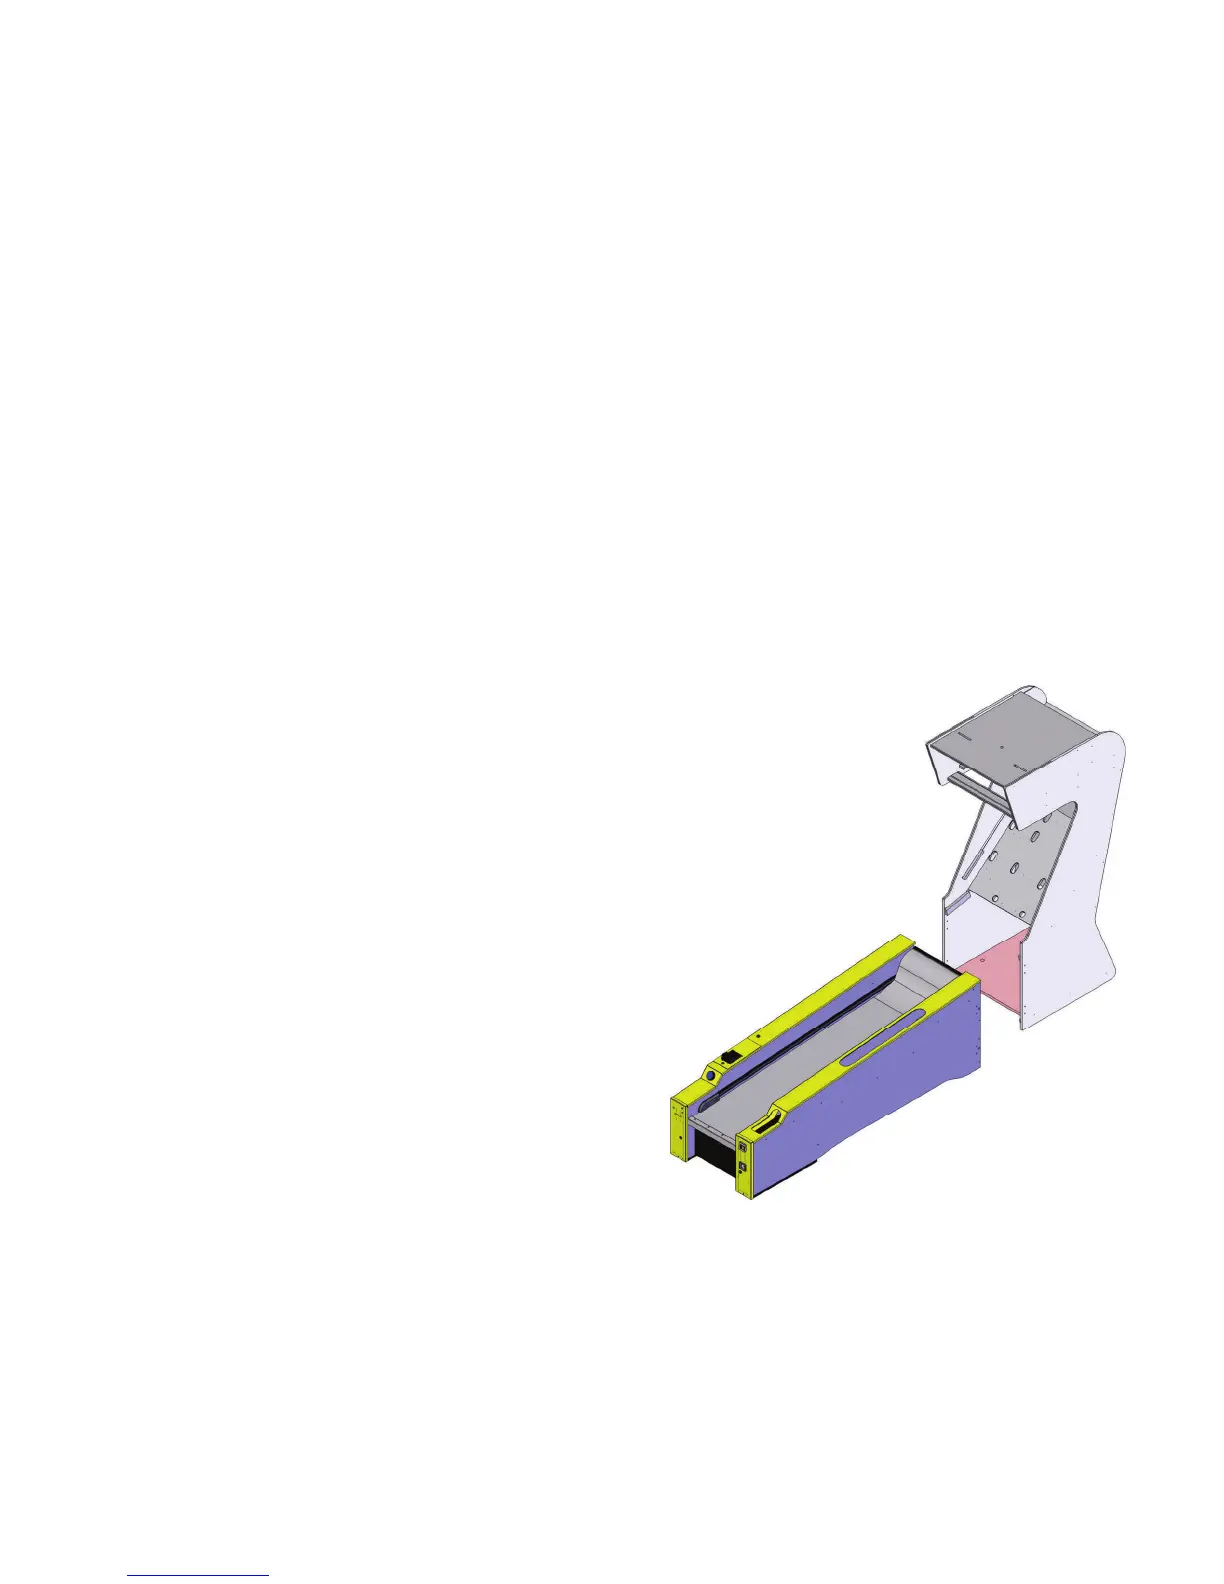
5. Position the back half of the alley cabinets as
shown below.
6. Open the ticket door and slide the top left
cover back and then off to access the wire
harnesses. Connect the six wire harnesses.
If installing more then one game see “Link
Install Instructions” before continuing.
7. Replace top cover and close the ticket door.

 Loading...