>>
01
OFF
ACC ON
START
02
>>
03
04
[X]
05
[X]
06
[X]
>>
07
>>
08
09
10
[Y]
11
[Y]
12
[Y]
13
14
NOTE: [X], [Y] & [Z] are numerical variables
identifi ed in the FUNCTION PAIRING CHART.
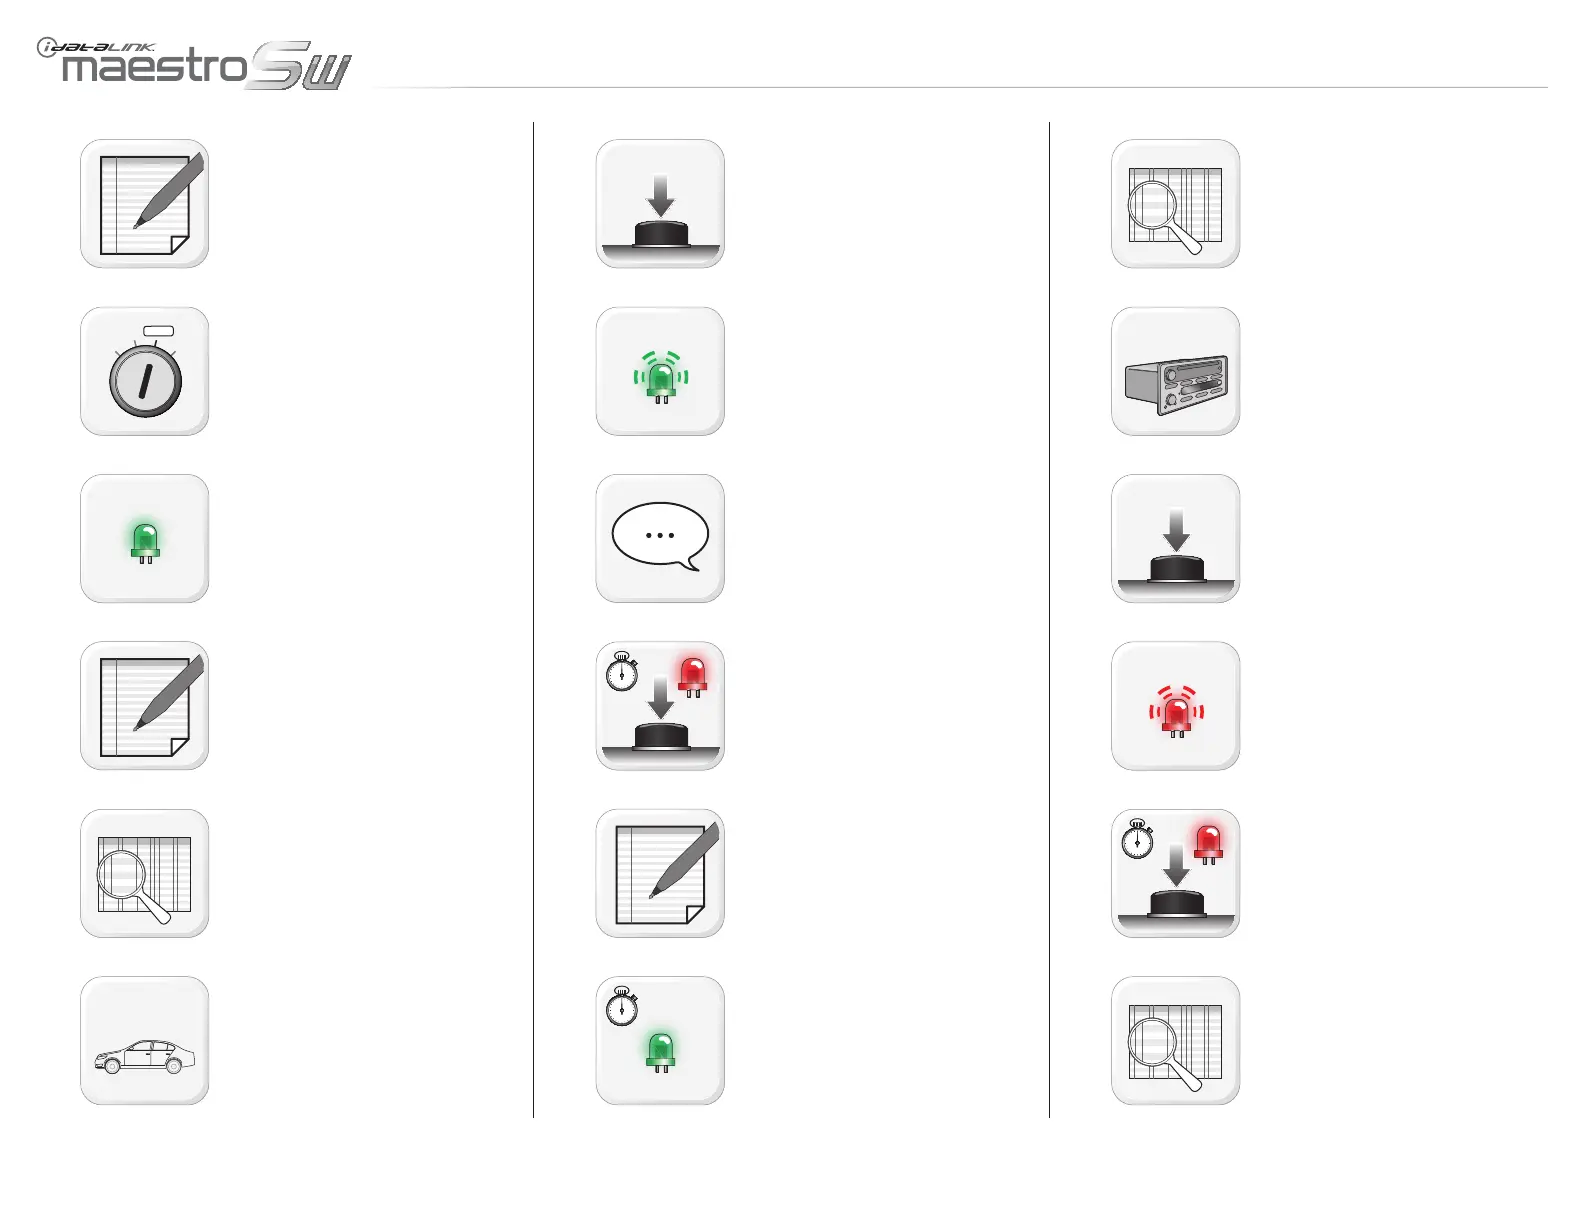
Turn key to ON position.
LED will turn solid GREEN.
NOTE: If LED fl ashes GREEN once [1x], the
module is already programmed. To repro-
gram the module, reset module and repeat
programming procedure.
Refer to FUNCTION PAIRING CHART.
Find the number associated to the vehicle
make: [X].
Press programming button [X] times.
LED will fl ash [X] times.
EXAMPLE: If the vehicle make number is 3,
the programming button must be pressed 3
times and the LED will fl ash 3 times.
Press and hold programming button until LED
turns solid RED to register selection.
NOTE: To go back to function 1, press pro-
gramming button repeatedly until function 1
is reached.
Wait, LED will fl ash GREEN 1 time.
Refer to FUNCTION PAIRING CHART.
Find the number associated to the radio
brand: [Y].
Press programming button [Y] times.
LED will fl ash [Y] times.
Press programming button until LED turns
solid RED to register selection.
Refer to FUNCTION PAIRING CHART.
fuNCTION PaIRINg PROCEDuRE - 1 Of 2
www.maestro.idatalink.comAutomotive Data Solutions Inc. © 2012
ADS-SW(SI)-ALL01-AS-IG-EN
PagE 6 Of 8
• 20120913
DOC.: #9729

 Loading...