Allocating Functions to Remote Buttons
Button functions can be changed from the factory default discussed before.
NOTE:
This will change all remotes learnt and any learnt after the change.
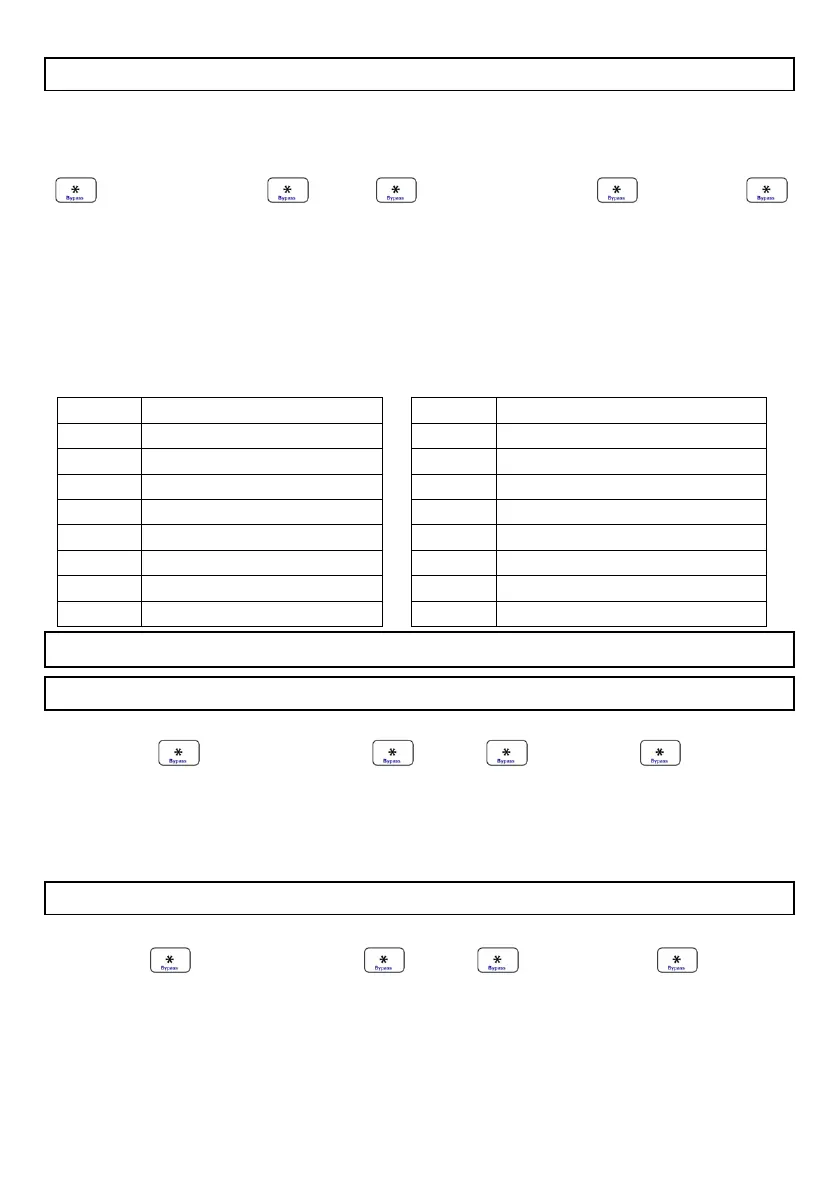
+ [MASTER CODE] + + [23] + + [Button Number] + + [Option] +
1. Press and hold the [*] for 3 seconds and the keypad will confirm with a beep.
2. Enter the [Master Code] followed by [*]
3. Enter the menu number [23] followed by [*].
4. Enter the button number that is to be changed, see Figure 2: Remote Transmitter
Button Defaults, E.g. [2], followed by [*].
5. Enter [option] from the table below followed by a second [*].
Table 2: Remote Button Options
Date and Time
Changing the Time
Time is entered in the 24 hour format for example, 13:07.
+ [MASTER CODE] + + [40] + + [HHmm] +
1. Press and hold the [*] for 3 seconds and the keypad will confirm with a beep.
2. Enter the [Master Code] followed by [*].
3. Enter the [Menu Number] followed by [*].
4. Enter the time [1309] followed by a [*].
Changing the Date
Time is entered in DDMMYY format for example, 150120.
+ [MASTER CODE] + + [41] + + [DDMMYY] +
1. Press and hold the [*] for 3 seconds and the keypad will confirm with a beep.
2. Enter the [Master Code] followed by [*].
3. Enter the [Menu Number] followed by [*].
4. Enter the date [150120] followed by a [*].