9.3. Installation
Decide where to mount your 862-01-HX-40RAMC, the detector must be parallel to the
ground for best performance. If the ground is not flat, adjust the vertical angle of the
mounting bracket until the detector is parallel to the ground.
The suggested mounting height is 3.0m. You can however install the detector at 2.5m
and still maintain the 12m detection length by adjusting the vertical angle by 2.5%
upwards.
Set the dipswitch settings (seen in the Hardware section) to your needs. Leave
dipswitch 1 ON to allow for the walk test.
Use masking seals and strips to set the detection length and area that you require
(seen in the Detection Area section)
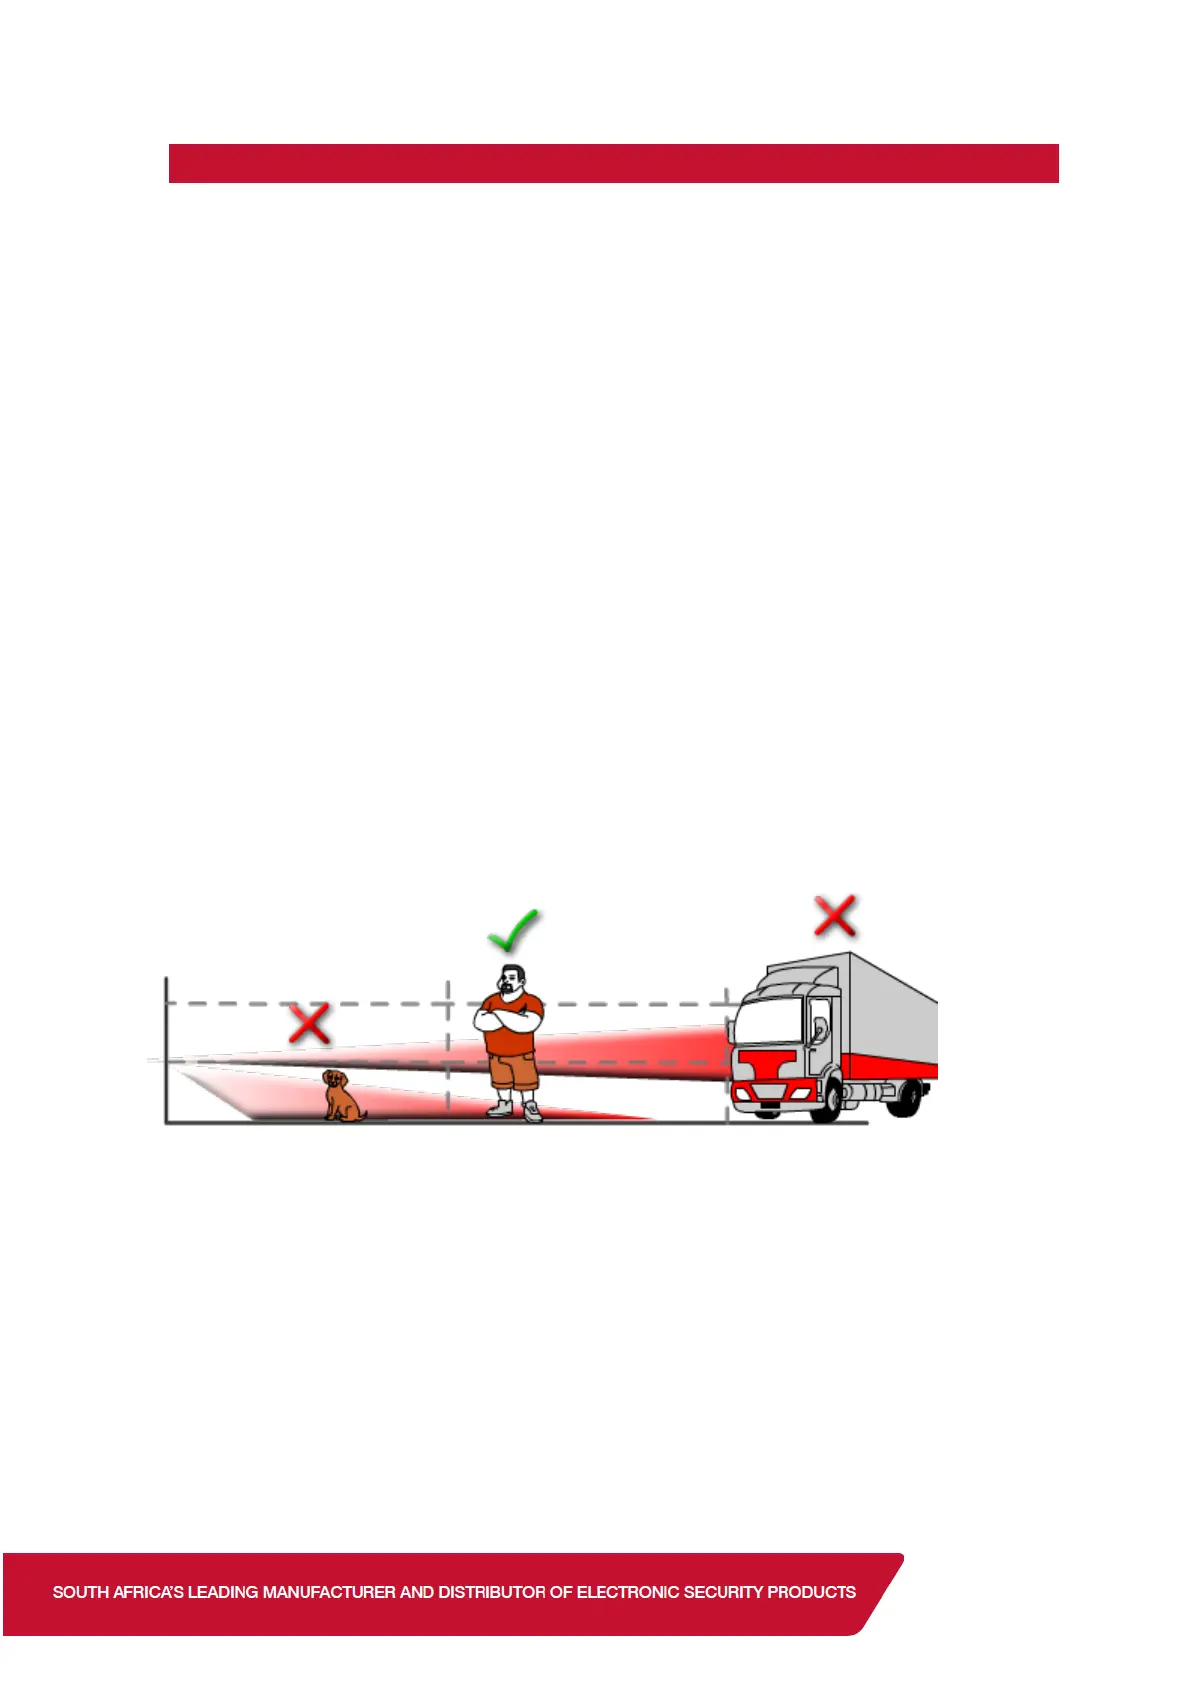
Do a thorough Walk Test with the cover on the detector. Walk in the areas that require
detection and make sure the LED turns on for 2 seconds to indicate detection. Then
walk in the areas that do not require detection and make sure the LED does not turn
on.
After completing your Walk Test turn dipswitch 1 off to exit Test Mode.
NB: Both detection areas must be blocked for detection
 Loading...