Rev. 1.0 Page 9
1. Remove the connector kit from the Evaluation Kit and Connect the N-
BNC adapter to the COM-120B’s T/R RF IN/OUT connector located
in the lower left corner of the instrument.
2. Remove the TNC-BNC adapter from the Evaluation Kit and connect
the COM-120B’s Antenna Input located in the upper right corner of
the instrument.
3. Connect the AC Line cord to the COM-120B’s rear panel receptical
and apply power with the power switch located in the lower left corner
of the instrument.
The COM-120B will begin it’s power on sequence followed by a selftest.
The Selftest can be aborted by pressing a mode key such as [REC].
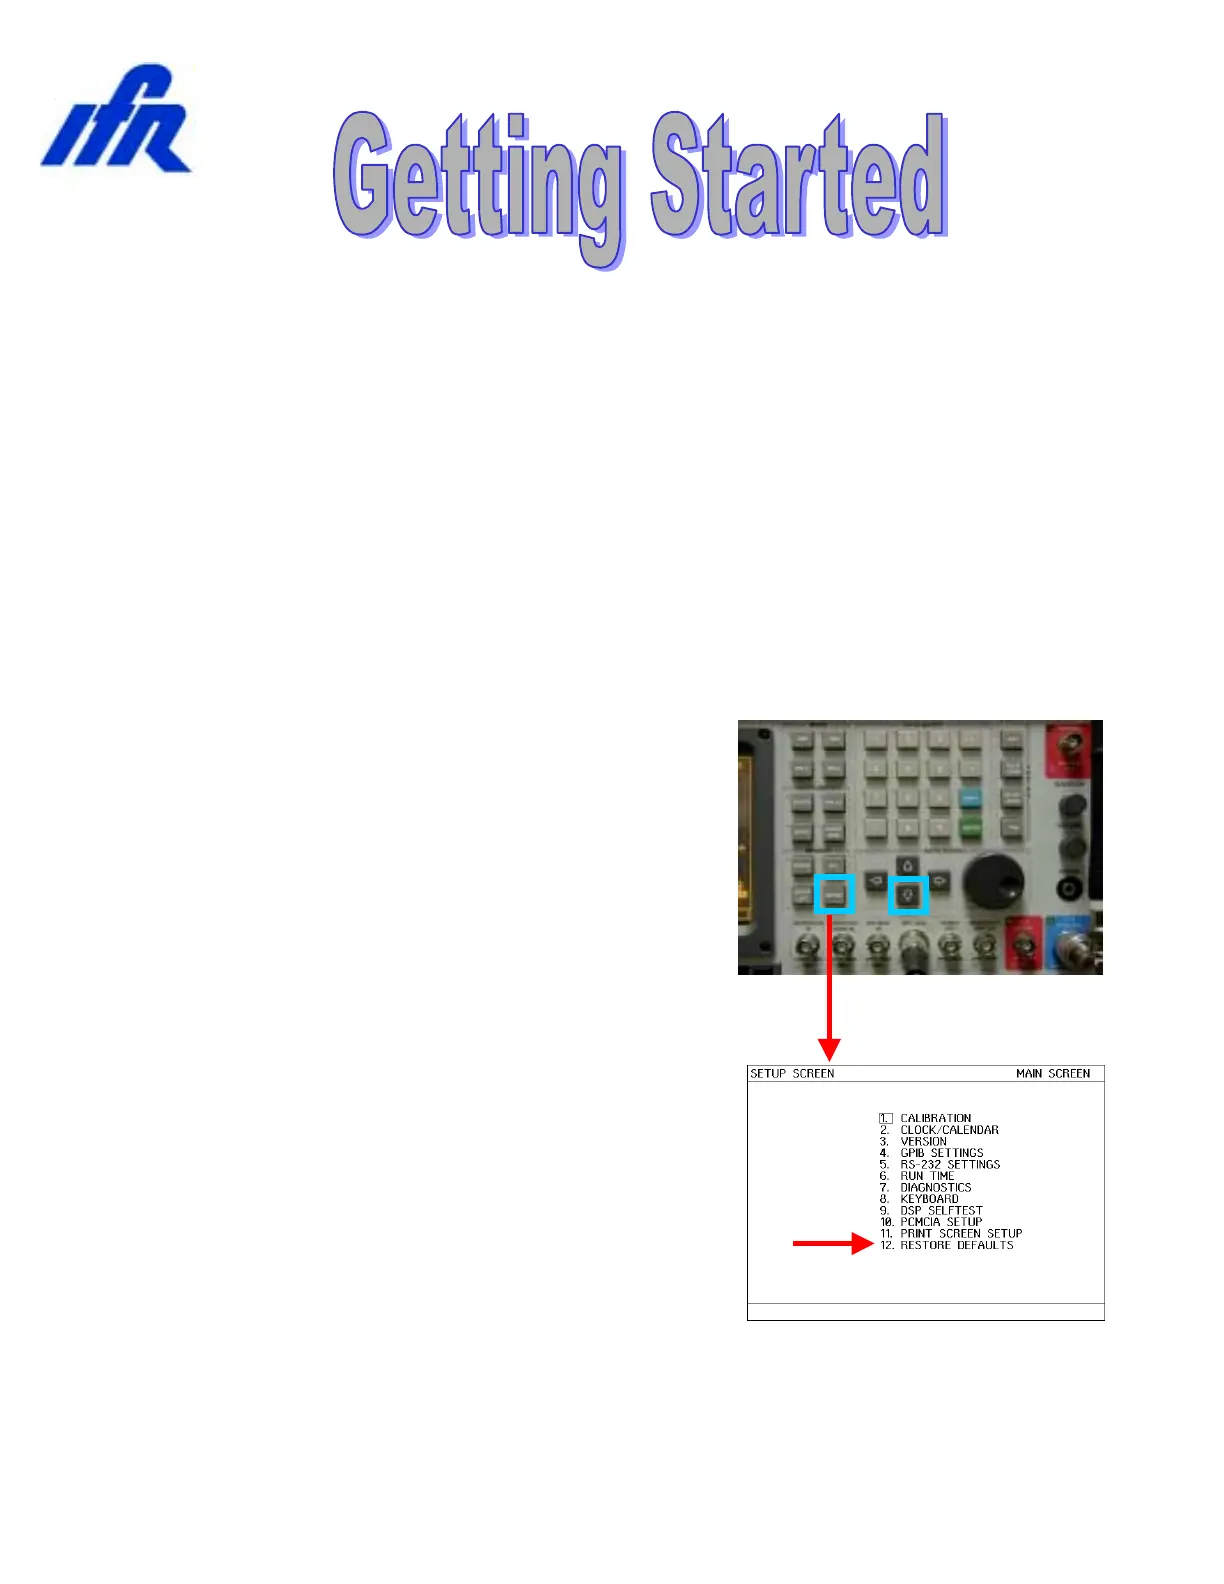
The COM-120B should be preset to factory
default conditions prior to performing any of
the following procedures. To do this, press
the [SETUP] key to access the system
setup screen.
Press the down arrow key until item 12 is
selected as indicated by the cursor box.
Press the [ENTER] key to activate Factory
Defaults.
 Loading...