Do you have a question about the iHome AUTOVAC NOVA and is the answer not in the manual?
Ensure AUTOVAC is charged, near the router, and phone Wi-Fi is correctly configured for optimal connection.
Confirm AUTOVAC is docked and powered. Ensure phone is connected to the correct 2.4 GHz Wi-Fi and password is ready.
Verify AUTOVAC LED is lit. If not, press and hold the power button for 3 seconds.
Follow specific button press sequences for Nova/Halo or Eclipse/Juno to activate Wi-Fi setup mode.
Select your 2.4 GHz network and enter the correct password to establish the connection.
If network is not listed, force close app, toggle phone Wi-Fi off/on, reconnect to 2.4GHz, then reopen app.
Open phone Wi-Fi settings and connect to the network broadcast by the AUTOVAC device.
If AUTOVAC network is not visible, ensure device is in setup mode via model-specific button presses.
Follow button instructions for Nova/Halo or Eclipse/Juno to ensure their Wi-Fi is projected for connection.
The AUTOVAC network connection may show 'No Internet'; remain connected to it to continue app setup.
Keep the app open to allow the AUTOVAC to establish its connection, which may take a few moments.
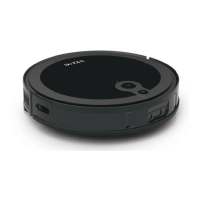
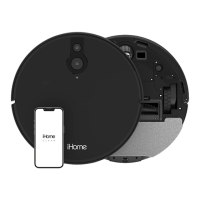
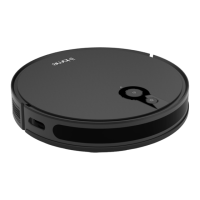
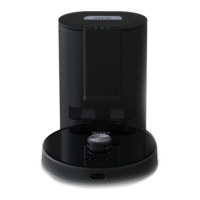
The device described in the manual is an AUTOVAC robotic vacuum cleaner, designed to automate floor cleaning. The manual outlines the setup process for connecting the AUTOVAC to a Wi-Fi network, which is essential for its operation and control via a mobile application.
The AUTOVAC is a smart home appliance that provides automated cleaning of floors. It operates by navigating a designated area, collecting dust, dirt, and debris. The device is designed to be controlled through a mobile application, allowing users to initiate cleaning cycles, schedule cleanings, and monitor its status remotely. The core function revolves around its ability to connect to a home Wi-Fi network, enabling smart features and integration into a connected home ecosystem. Different models, such as Nova, Halo, Eclipse, and Juno, are mentioned, suggesting a range of devices with potentially varying features and capabilities, all falling under the AUTOVAC brand for automated cleaning. The device is equipped with indicators (like LED lights) to communicate its status, such as being powered on, in Wi-Fi setup mode, or connected to a network.
The AUTOVAC offers several usage features aimed at convenience and ease of operation:
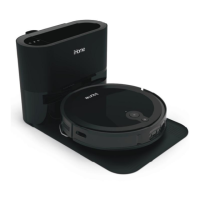
While the manual primarily focuses on setup and connectivity, it implicitly touches upon maintenance through its operational requirements:
In summary, the AUTOVAC is a user-friendly robotic vacuum cleaner designed for automated cleaning, with a strong emphasis on seamless Wi-Fi connectivity and mobile app control. Its usage features prioritize convenience and remote management, while its maintenance aspects are largely tied to ensuring stable network connectivity and proper charging.
| Type | Robot Vacuum |
|---|---|
| Suction Power | 2000Pa |
| Battery Life | Up to 120 minutes |
| Dustbin Capacity | 600 ml |
| Mop Function | Yes |
| Wi-Fi Connectivity | Yes |
| App Control | Yes |
| Voice Control | Yes (Amazon Alexa, Google Assistant) |
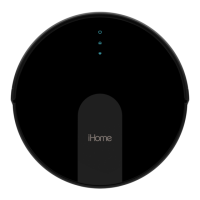
| Model Number | AUTOVAC NOVA |
| Battery Type | Lithium-Ion |
| Runtime | Up to 120 minutes |
| Charging Time | 4-5 hours |
| Filter Type | High-Efficiency Filter |
| Noise Level | 65 dB |
| Scheduling | Yes |
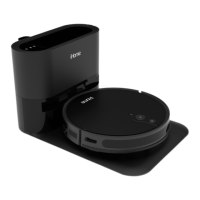
| Auto Recharge | Yes |
| Warranty | 1 year |
| Cleaning Modes | Auto, Spot, Edge |
| Virtual Wall | Yes |