re
I
I
\
I
[.'
t
r
I
i.
(
1·.
I ,
L_
I.
t~.
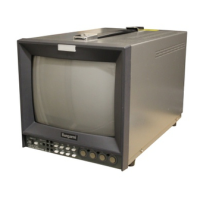
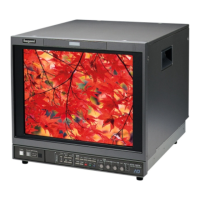
5-2. Front Left Operating Section
<TM1 4-20RH/RP>
(l)REMOTE SENSOR
NO BURST LED
@()VER LOAD LED
@DEGAUSS switch
@POWER LED
@POWER switch
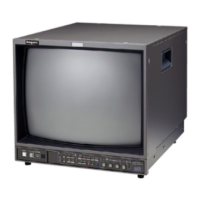
<TM20-20 /3 0RH /RP>
@POWER LED
@OVER LOAD LED
(DREMOTE SENSOR
@NO BURST LED
@DEGAUSS switch
@POWER switch
Fig. 5-2 Front Left Panel
(l)Degaussing
When the power is switched "ON" and this monitor
·starts up, the charged shadow mask is automatically
degaussed. You can also degauss at any time by
pressing the
!DEGAUSS! switch indicated by © in
Figure 5-2. Pressing the
!DEGAUSS! switch over and
over 11g11in continuously
lrns no effect, so after pressing
the switch, wait two or three minutes, then press
again.
(2)Warning LED
The WARNING LEDs ® and @ in Figure 5-2
indicate the following warnings.
® OVER LOAD LED
This LED lights · up when the ABL circuit
operates (when the brilliance rises too high) .
&CAUTION
If you use this monitor with the OVER LOAD LED lit up continu-
ously, the
CRT will deteriorate, so lower the brilliance.
® NO DURST LED
This LED lights up when there is no burst for the
signal for the selected channel (black and white
signal) or when the color
killer circuit opera tes
{when th e CONTRAST or CHROMA is
fully off).
(3)Remote Sensor
The section indicated by CD in Figure 5-2 is the
photoreceiver section for the RCT-20 optional infra.red
remote control.
- 13 -
 Loading...