9
Battery Installation
4 x AA size alkaline batteries are the standard conguration and
recommended for ease of use when getting started. Upgrading to a
rechargeable battery pack can be carried out at any time.
1. Remove the battery cover from the transmitter.
2. Insert four new AA batteries according to the polarity markings on the
battery holder.
3. Reinstall the battery cover.
WARNING: DO NOT ATTEMPT TO CHARGE NON-RECHARGEABLE BATTERIES, YOU
MAY CAUSE AN EXPLOSION.
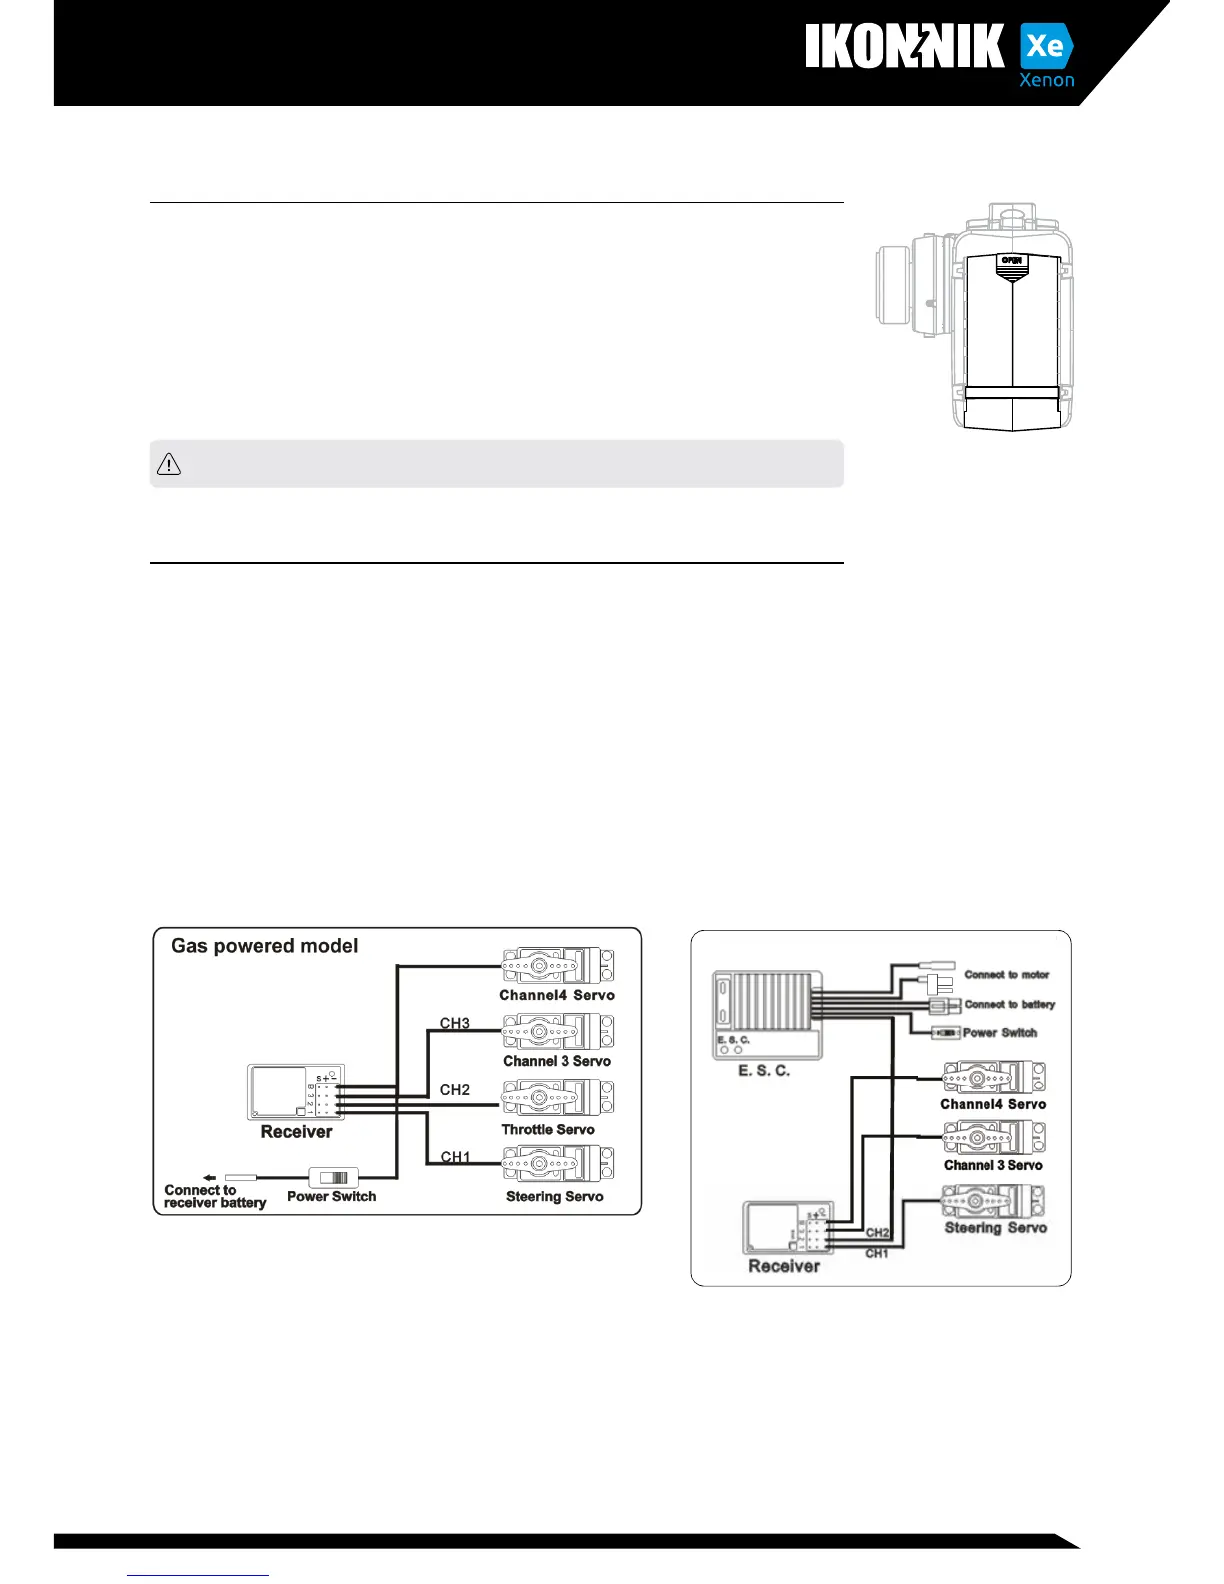
Receiver Installation and Connection
Installation
To achieve full operating range with your radio system it is critical that the
receiver antenna be undamaged and installed properly. It should be installed
with as much of the antenna as possible in a vertical position. The end of the
antenna should be contained inside an antenna tube. When installing:
• Ensure there are no kinks in the antenna or antenna tube.
• Never fold the end of the antenna over the tube, this will reduce the
operating range of the system and damage the antenna.
• Ensure the receiver is mounted securely or padded against hard impacts.
Connection
• Channel 1: Controlled by the wheel, connect to a servo for steering.
• Channel 2: Controlled by the trigger, connect to the ESC or a servo for
throttle/brake.
• Channel 3: Controlled by the adjustment knob
(0-100%) for optional use. This port can also be used to connect a
transponder device used in racing.
Electric Powered Model