BEFORE STARTING
• Read completely the microINR Meter and microINR Chips
instructions for use.
• Read also the instructions for use of the disposable lancets
and/or lancing device.
The instructions for use will guide you on the handling and use
of the microINR System.
CHARGING THE microINR® METER
The microINR Meter uses lithium batteries (like cellphones).
Charge the battery completely before using the Meter for the first
time. The recommended charging time is approximately 3 hours.
To charge the Meter, connect the charger provided within the
kit, to the mini-USB port of the Meter.
SETTING TIME & DATE
Check that the time and date are correct, as it is necessary for
the Chips’ expiration date determination.
Meter’s time and date are set during the manufacturing
process, so probably you will not need to change them.
If necessary, please follow the steps described at section 2.4
of the Meter’s instructions for use to adjust the time and date.
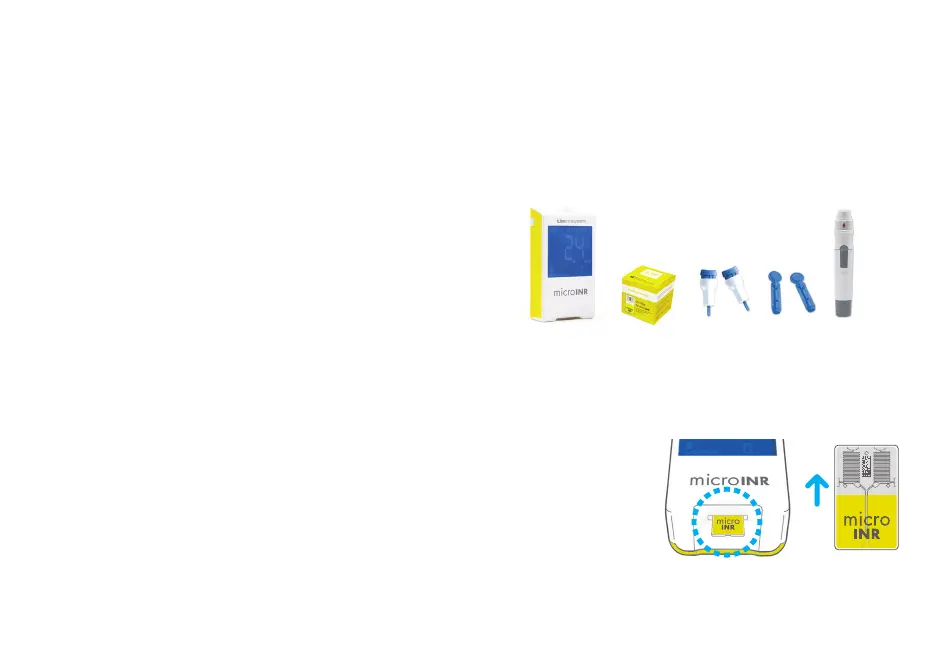
GETTING READY FOR THE TEST
Prepare all items needed for the testing:
• microINR Meter
• microINR Chips (not supplied)
• Disposable lancets and/or lancing device (not supplied)
• Means for skin cleaning (not supplied)
The fingerstick area must be clean, free of contaminants and
completely dry. We recommend washing your hands in warm
soapy water and drying them thoroughly.
It is convenient to warm your hands. You can keep your hands
below your waist and massage the finger soly.
TESTING
Insert the Chip
Remove a Chip from its pouch and hold it by the yellow part so
that the “microINR” logo can be read correctly. Insert the Chip
into the slot and push it
until it stops. The Meter
will turn on
automatically.
Warming up
A flashing hourglass
appears on the screen. Wait for the Meter to be ready for
testing, while preparing your hands for the fingerstick. Make
sure your hand is warm and fingertip clean.
 Loading...