14
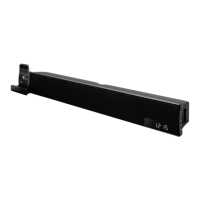
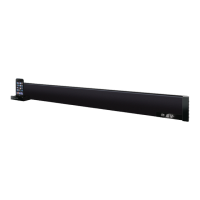
ITP180B User Guide
Getting started
1 UsetheTAPE MEASURE to decide
how high you’d like to hang the bar
speaker on the wall.
Thebarspeakermustbehungwithin
6feetofanACpoweroutletforthe
attachedACPowerCordtoreach.
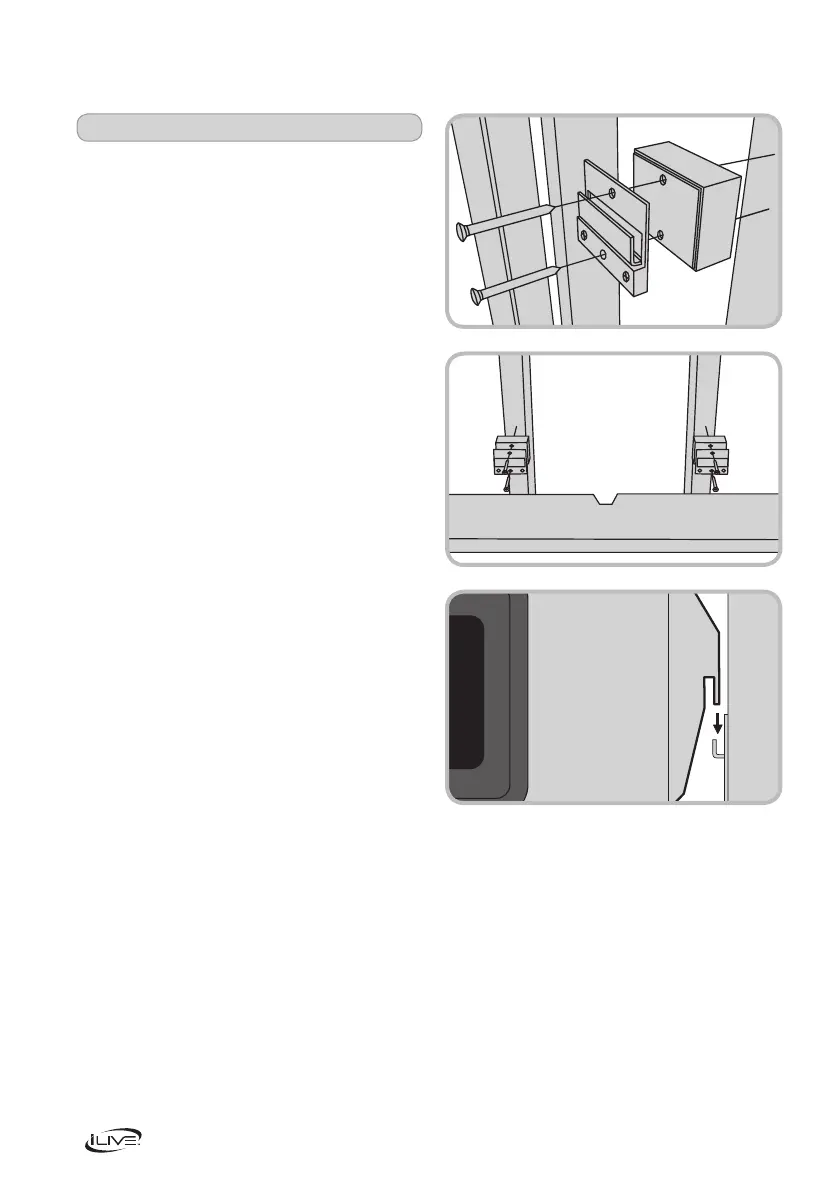
2 UsetheSTUD FINDER to locate 2
parallel wooden studs to screw the
mountingbracketsinto.
3 Mark the wall at the center of the
studs using the pencil.
Line the LEVEL up on both of your
markstomakesuretheyarelevel.
Ifthey’renot,adjustthemarksas
neededtomakethemlevel.
4 Afteryou’vedoublecheckedyour
markings,DRILL through the top hole
onbothmountingbracketsdirectly
intothemarksyou’vemadeonthewall.
If you are using the brackets only and
no spacers, use the included short
screws. If you are using any of the
spacersorcombinationofthespacers,
use the long screws.
5 UsetheLEVEL to level each of the
hanging brackets, then DRILL the
secondscrewintothebottomhole
onbothmountingbrackets.
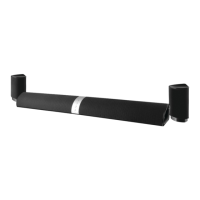
6 Slidethebarspeakerontothemounting
brackets,andmakesurethereisa
firmandstableconnectionbefore
letting go of the bar speaker.
Finally, use the LEVELtoconfirm
that the bar speaker is level.
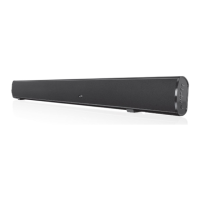
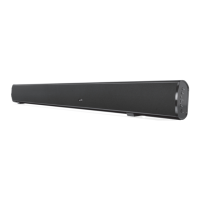
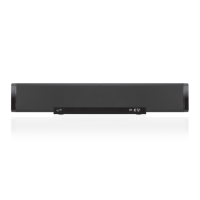
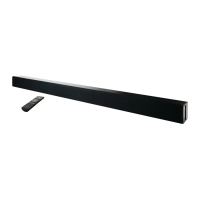
POWER
SOURCE
VOLUME
PLAY/PAUSE
S
iPod DRAWER
LINE IN