Step 6: Keep going until you have completely covered the area you want to treat.
And repeat 2-3 times per session (If your skin is very sensitive, please reduce
treatment frequency per session accordingly.)
DO NOT treat repeatedly in the same spot within 3 minutes. Always move the
treatment window to a new area after each laser pulse. Otherwise it may result in
discomfort or skin heating, which would cause skin injury.
Step 7: After finishing treatment, press the ice button can help cooling skin or use
some moisture gel (Package does not include the gel) in 15 minutes, you can also
choose pressing ice button when you are removing hair.
NOTE: Compared results with two method in using IMENE T4 device
Using the ice function during the IPL laser treatments
Advantage: Painless
Disadvantage: slow results.
Using the ice function after finish the IPL treatments
Advantage: more effective.
Disadvantage: you may feel discomfort
Step 8: Power off and disconnect adapter, use wet cloth or cotton pads to clean
the lamp treatment window. Put the device and accessories into the package and
store it in safety place.
09
10
4.2 How To Treat:
Step 1: Clean Skin, shave the hair where need to be treated.(You must wait for
your skin calming down and there is no redness then you will be able to start)
Step 2: Clean the lamp window, connect to power supply.
Step 3: Press the power button 2s to power on the device, choose suitable energy
level, from low level to higher level.
Step 4: Wear the goggles to avoid IPL light stimulate eyes.
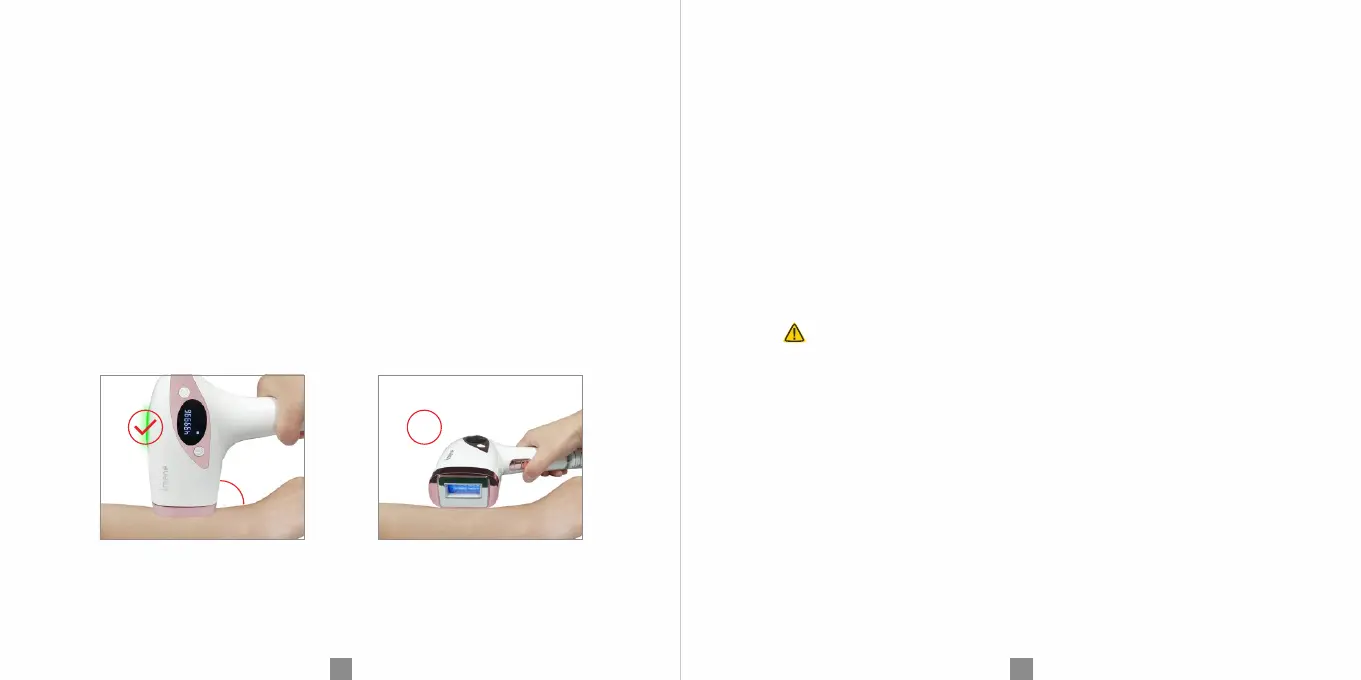
Step 5: Let the treatment window touch treated area vertically (The indicator will
turn continuous green), Flash and move the lamp port position on each turn, Don't
overlap and miss any area, Run through all the hair removal areas in sequence.
(Figure 4)
 Loading...