April, 2019 IMPCO Technologies PPI-68 REV. E
3030 South Susan St. Page 13 of 15
Santa Ana, CA 92704
www.impcotechnologies.com
3030 S Susan Street, Santa Ana, CA 92704
Ph: +1 714 656 1200 Fax: +1 714 656 1400
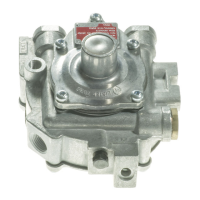
18. Apply two drops, one each on opposite sides
(180° apart) of the threads on the primary
pressure adjustment.
19. Once tested to ensure no leaks exist and a stable
pressure between 4 and 5 PSI (27.6-35.5 kPa) is
obtained, remove the test port fitting and replace
the primary test port plug (1) at the top of the
regulator. Apply Loctite 567 or equivalent thread
sealer, then torque to 1-2 turns past finger tight.
Replace the tamper resistant plug (7) on to the
primary cover (4).
Idle Screw Models Only (Continue to next Step for
models without an Idle Screw):
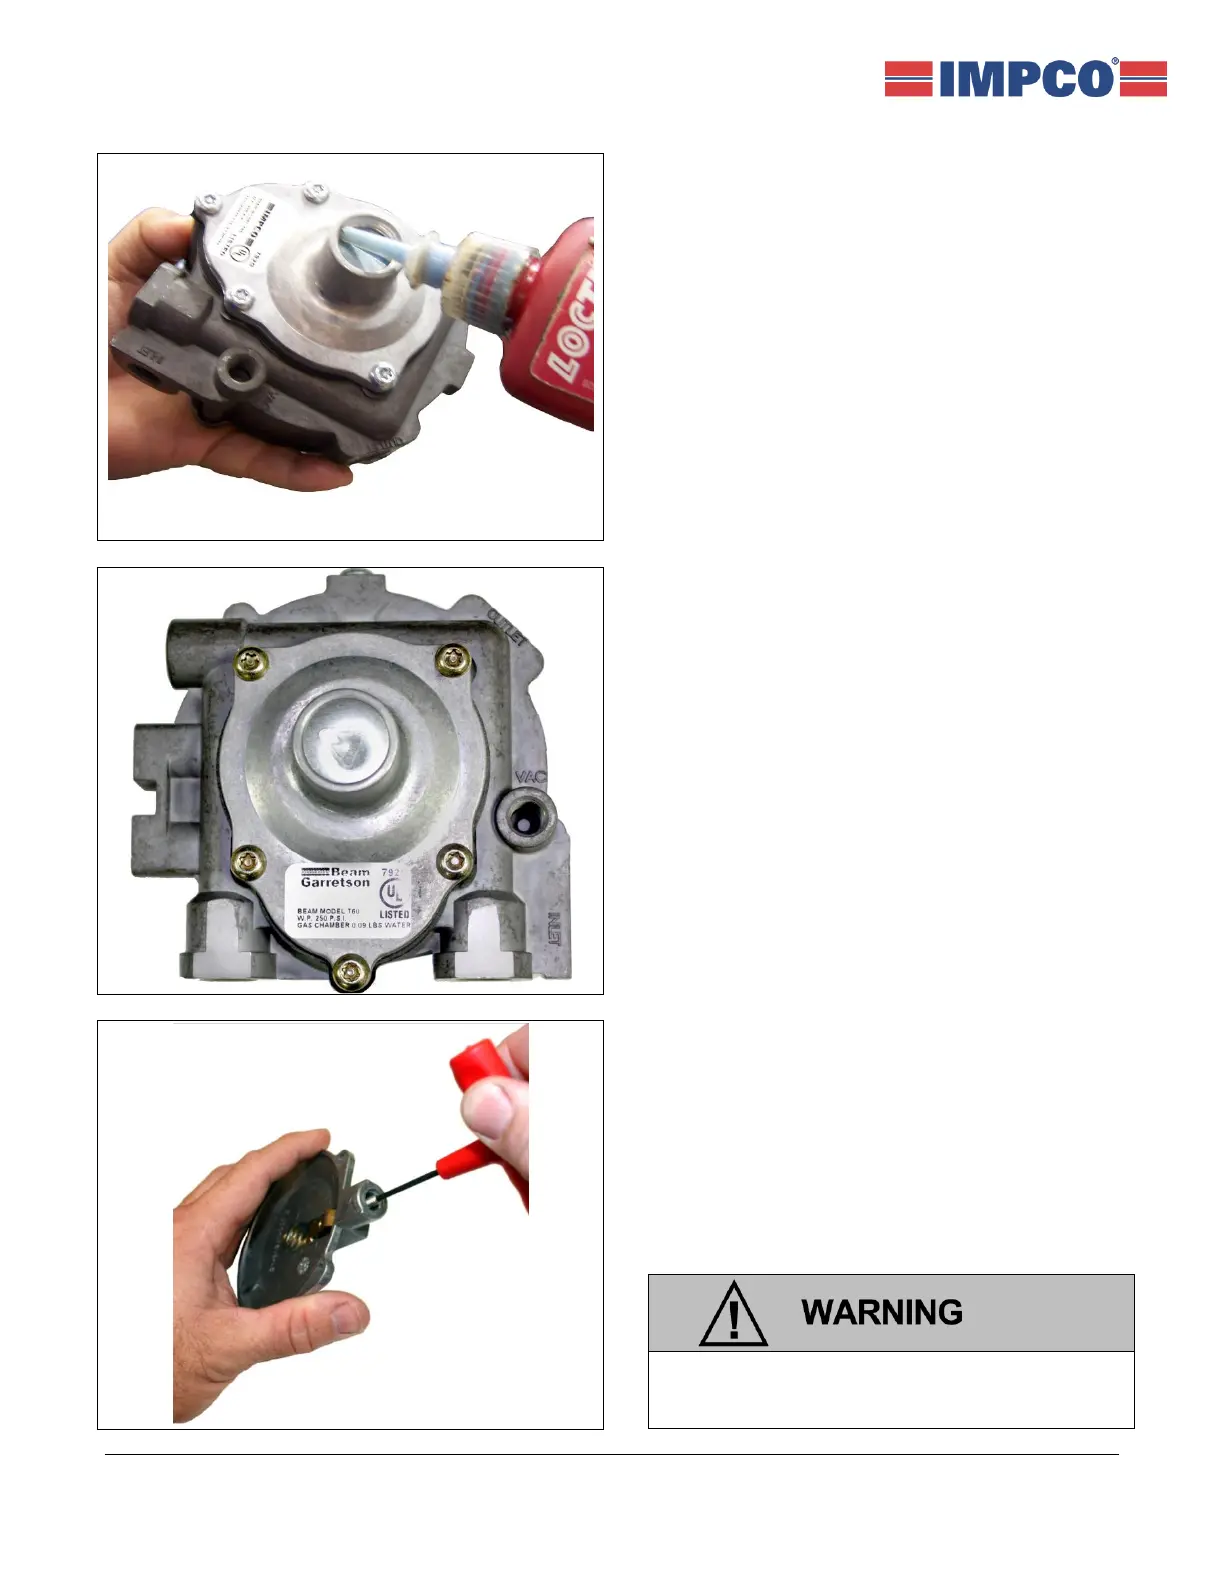
20. Remove the tamper resistance plug covering the
idle screw (32) (refer to the process shown in Step
11). Replace the idle screw (25) by unscrewing it
counterclockwise. Install the new idle screw,
turning it until the screw makes contact with the
lever, then make one additional turn.
Use care when drilling the expansion plug hole
by not drilling further into the idle screw or
regulator body.
 Loading...