6
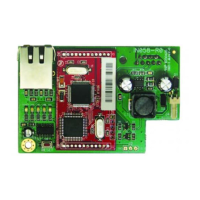
SmartLAN Ethernet interface
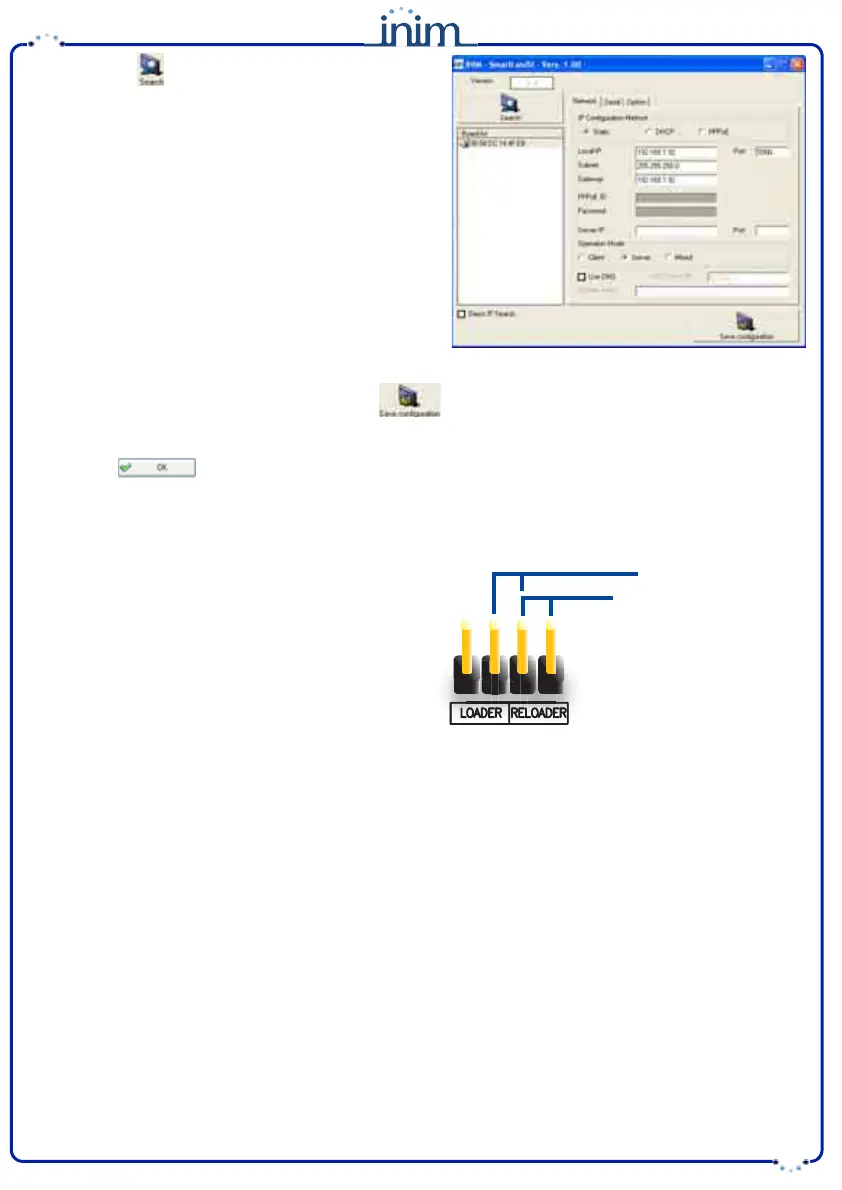
5. Click-on the button to search for the SmartLAN/SI
board in the network. When found, the application will
update the window with the new data.
6. Select Network, to make the SmartLAN/SI configura-
tion compatible with the LAN it is connected to.
7. In the IP Configuration Method section, select
"Static".
8. The main programming section will allow you to
change the:
•• Local IP
•• Port
•• Subnet
•• Gateway
9. In the Operation Mode section, select "Server".
10.If, at any point, you wish to change the password,
access the Option section and, in the Password (TCP
Server) field, click-on Enable then type-in the new password (max 8 alphanumeric characters).
11.Once the configuration is complete, press the button to send the new configuration to the board,
save it to the database and exit the window.
12.Type-in the new IP Address and Password on the Application settings window.
13.Press the button to confirm.
Factory default settings
The SmartLAN/G board comes with a jumper inserted in a
default position (see table Description of parts, [F]) as
shown opposite.
To delete the current settings, work carefully through the
following steps:
1. Remove the jumper from the default position and place
it in the "RELOADER" position.
2. The blue LED blinks for 10 seconds.
3. When the blue LED stops, replace the jumper in the
default position.
The SmartLAN/SI board is incapable of restoring the factory default settings, however, the "RESET" button (see
table Description of parts, [E]) will re-initialize its microprocessor.
Default position
“RELOADER” position
 Loading...