Chapter 2 Installation 17
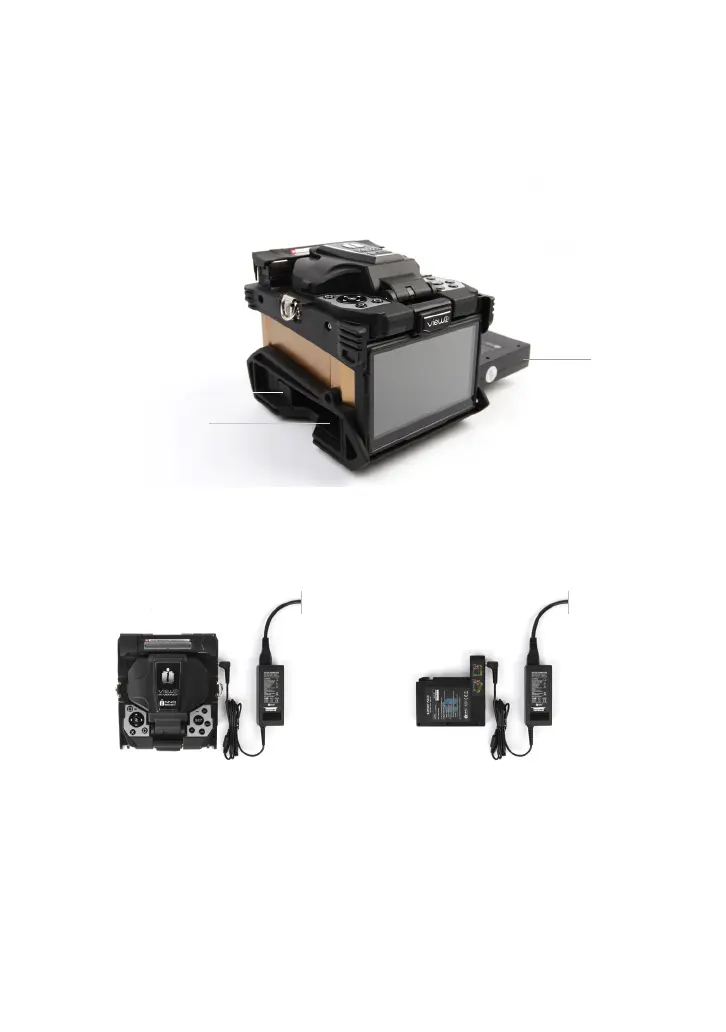
Insert the battery into the power unit dock until it clicks into place.
Insert
Release button
Take out the battery
Power supply
Battery
Switch off the splicer. Press the [Release] button at the side of the splicer and take
out the battery from the splicer.
Charge the battery
Connect the battery charger to the battery.
Charging progress is indicated by ve lit LEDs continuously sweeping from 20% to
100% on the battery indicator (see below).
As charging proceeds, one LED is lit when 20% charged. When it’s fully charged,
all ve LEDs are lit (i.e. 100%).
Step 1 Step 2