Do you have a question about the InSinkErator Badger 900 and is the answer not in the manual?
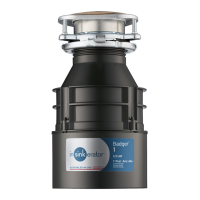
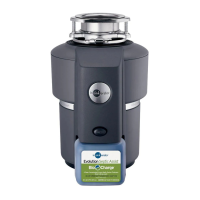
Lists and illustrates all parts of the disposer from A to M.
Lists necessary tools and materials for installation.
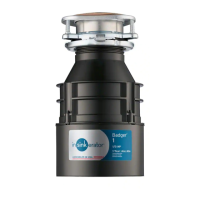
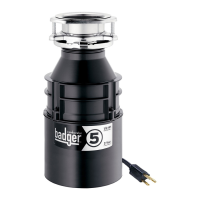
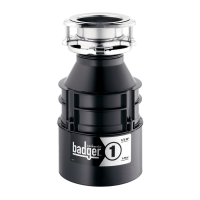
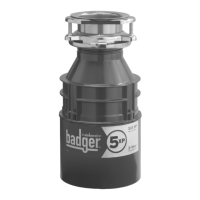
Provides a table of dimensions (A and B) for various Badger disposer models.
Important note on removing the drain plug when connecting a dishwasher.
Steps for safely turning off power and disconnecting electrical supply before removal.
Guidance on supporting the unit and releasing it from the mounting assembly.
Alerts users to the risk of the unit falling during removal or installation.
Instructions for loosening mounting screws and removing the snap ring.
Instructions for applying plumber's putty around the sink flange for sealing.
Pressing the flange into the drain and clearing excess putty.
Installing the fiber gasket, backup flange, and mounting ring components.
Securing the assembly with screws, noting variations for sink thickness.
Crucial step to remove drain plug when connecting a dishwasher to prevent overflow.
Procedure for removing the electrical cover and inserting the power cable.
Details on necessary switches and hazards of improper grounding.
Connecting disposer wires to power source and ensuring proper grounding.
Tucking wires into the disposer and refitting the electrical cover plate.
Aligning mounting tabs and hanging the disposer onto the mounting ring.
Caution against leaks if mounting tabs are not correctly engaged on ramps.
Locking the mounting ring by ensuring tabs engage over the slide-up ramps.
Detaching and placing the removable part of the specification label.
Reattaching drain pipes and dishwasher connection, if applicable.
Inserting stopper, filling sink, and checking for water leaks.
Warning against positioning body parts under the disposer during installation or removal.
Detailed guidance on proper grounding for electrical safety.
Basic precautions to follow when using electric appliances and disposers.
Step-by-step guide for running the disposer, including water usage.
Key guidelines on what to grind and what to avoid for optimal performance.
Instructions for cleaning the grind chamber and baffle to remove food buildup and odors.
Procedure to free a jammed motor using the self-service Jam-Buster wrench.
Details on what is covered by the warranty and specific exclusions.
How to obtain warranty service and the required documentation for claims.
| Type | Continuous Feed |
|---|---|
| Motor Speed | 1725 RPM |
| Anti-Jamming Feature | Yes |
| Voltage | 120 V |
| Motor Type | Induction |
| Power Cord | Sold Separately |
| Overload Protection | Manual Reset |