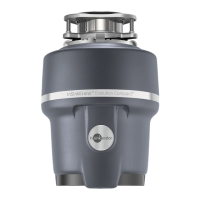
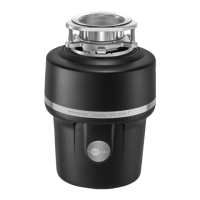
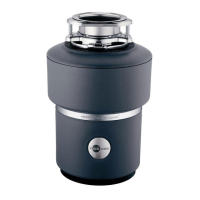
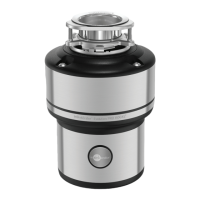
E volution Septic Assist®
Food W as te Disposer Designed for Septic Syst em/Triturador de Desperdicios de Alimentos Diseñado para Sistemas Sépticos
6
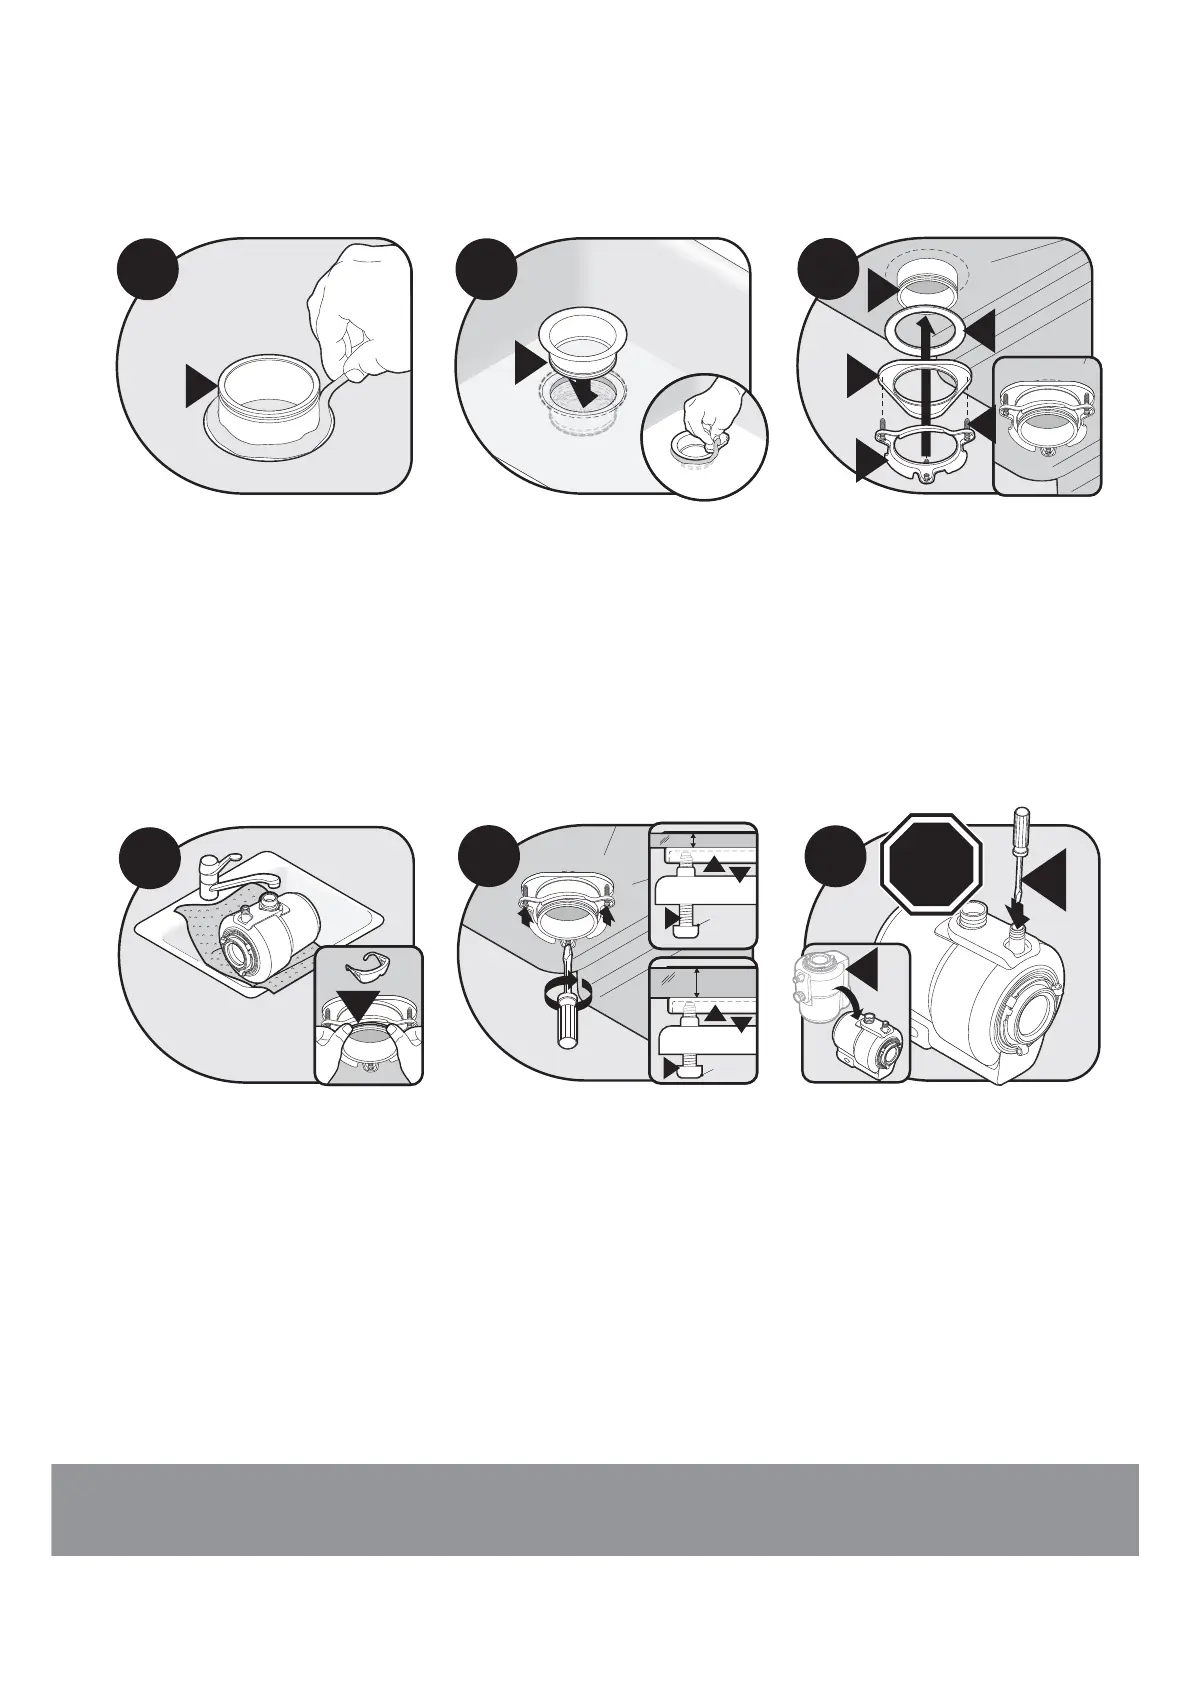
Press flange (C) firmly into sink drain.
Remove excess putty.
Presione la brida (C) firmemente en el
desagüe del fregadero. Retire la masilla
sobrante.
Installation/Instalación
12
C
D
E
F
G
11
C
10
C
Evenly apply 1/2” thick rope of plumber ’s
putty around flange (C).
Aplique una tira gruesa de masilla de
plomería, de 1/2” (1,27 cm), en forma
uniforme alrededor de la brida (C).
Insert fiber gasket (D), backup flange (E)
and mounting ring (F).
Inserte la junta de fibra (D), la brida de
soporte (E) y el anillo de montaje (F).
Optional/
Opcional/
Facultatif
13
I
F
E
14
15
J
!
*
Stop and read
Deténgase y lea
Hold in place while inserting snap ring (I).
Place a weight such as the disposer on the
sink flange to hold it in place. Use a towel
to prevent scratching sink. Pull snap ring
open and press firmly until it snaps into
place.
Sosténgalos en su lugar mientras inserta
el anillo de cierre (I). Coloque un peso,
por ejemplo el triturador, sobre la brida del
fregadero para mantenerla en su lugar.
Utilice una toalla par a evitar que se ra ye
el fregadero. Abr a el anillo de cierre y
pre sione firmemente hasta que se coloque
en el lugar.
Tighten 1-1/2” screws (G) evenly and firmly
against backup flange. Use shorter 1-1/8”
screws(H)ifsinkismorethan3/8”thick.
Ajuste los tornillos de 1-1/2” (3,81 cm) (G)
en forma uniforme y firme contra la brida
de soporte. Utilice tornillos más cortos de
1-1/8” (2,85 cm) (H) si el fregadero tiene
másde3/8”(0,95cm)deespesor.
* CAUTION: DISHWASHER CONNECTION
ONLY If you do not need to attach the
dishwasher, go to Step 17. Turn disposer (J)
onto side and insert screwdriver into
dishwasher inlet.
* PRECAUCIÓN: SÓLO PARA CONEXIÓN
DEL L AVAVAJILL AS. Si no es necesario
conectar el lavavajillas, pase al Paso 17.
Voltee el triturador (J) sobre un lado e
introduzca el destornillador en la entrada
del lavavajillas.