8
CARDIOSTRIDER ASSEMBLY INSTRUCTION
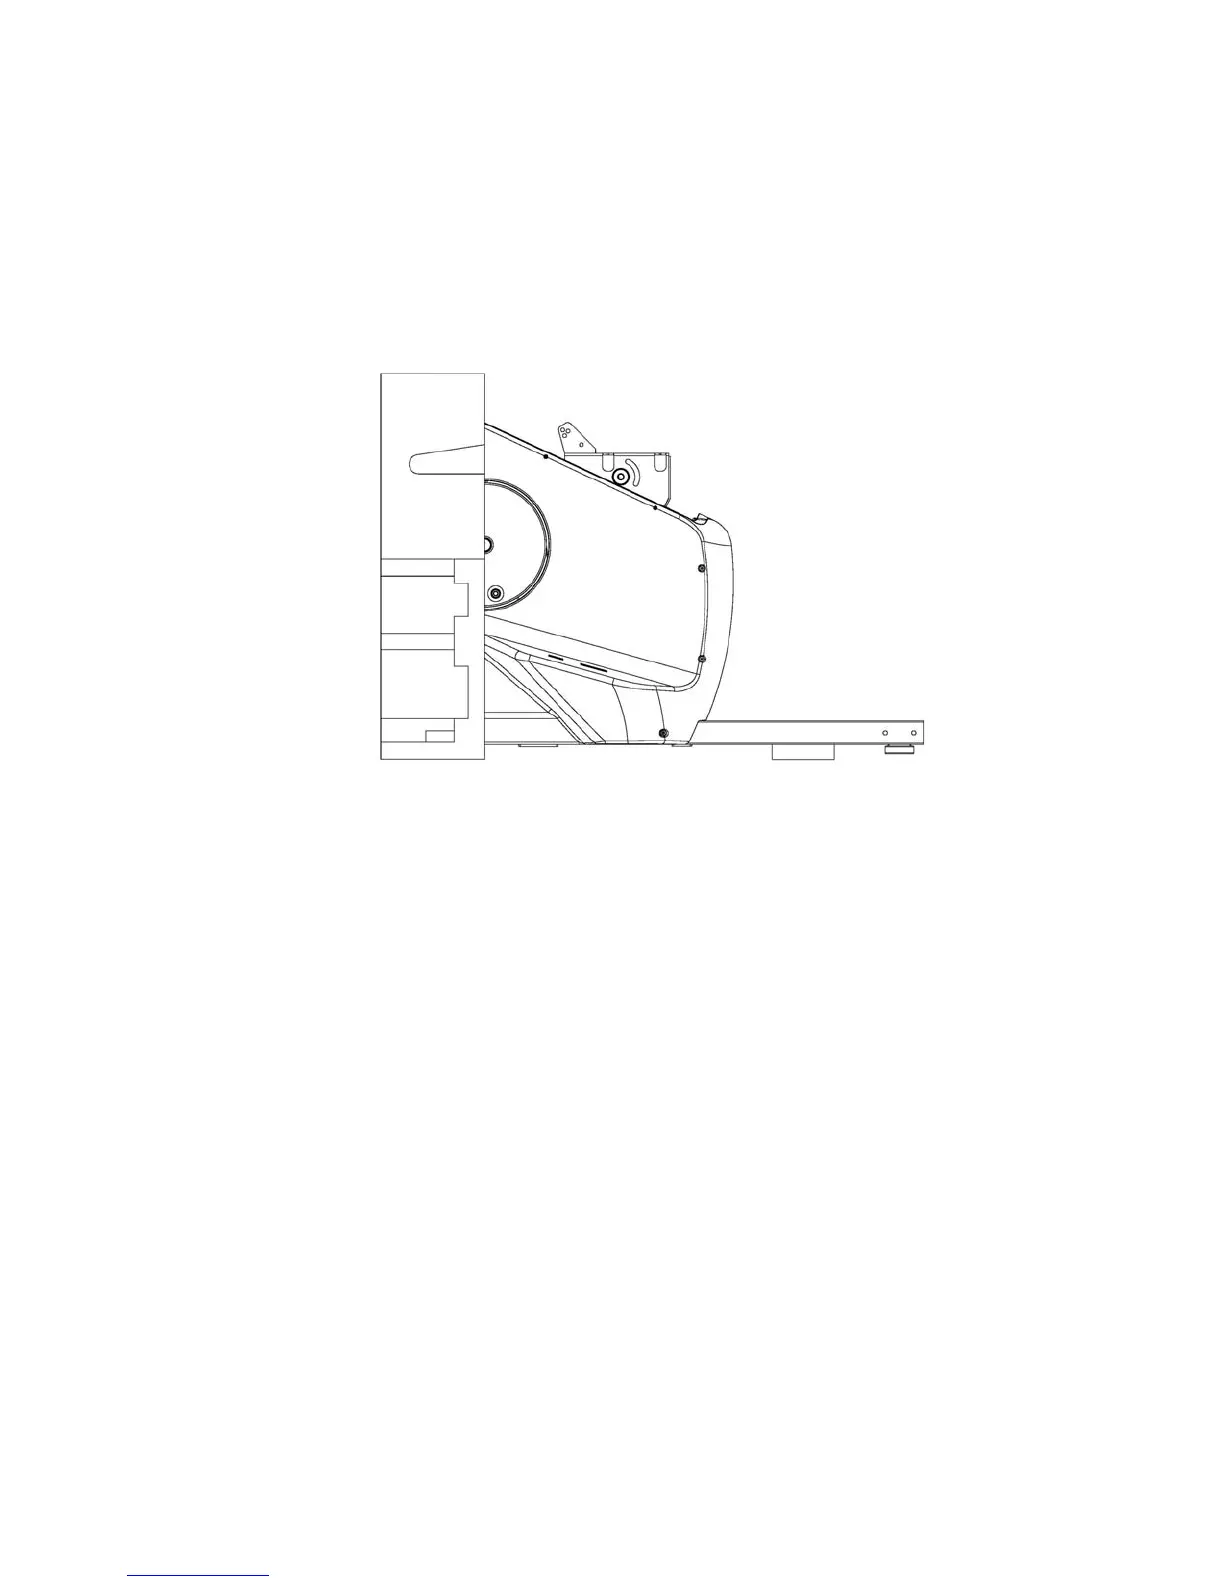
STEP 1 (see figure 1)
a) Remove contents of packaging leaving only the large styrofoam block supporting the rear
part of the unit. The center tube should protrude freely at the front as shown below.
b) Slide Front Frame Assembly (#43) up to Main Frame Assembly (#25). Assemble computer
connectors (#40 and #41).
c) Assemble Front Frame Assembly (#43) to Main Frame Assembly (#25) with qty 8 – M8x16
screws (#32), qty 8 – M8 lock washers (#38), and qty 8 – M8 washers (#3).
d) Remove the remaining large Styrofoam block at the rear of the unit. Place Rear Stabilizer
Tube Assembly (#16) underneath Rear Mounting Bracket. Ensure that the transport
wheels are facing backwards.
e) Attach the Rear Stabilizer Tube Assembly (#16) to the frame as with qty 2 - M8x70 carriage
bolts (#15), qty 2 - M8 Curved Washers (#17), and qty 2 – M8 Cap Nuts (#18).