90667, 90668 & 90669 Rise & Recline Chair User Manual
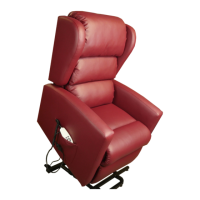
Note: Both back receivers need
to be lowered onto the two flat
bars at the same time and evenly
to prevent binding.
Note: Do not assemble the chair
if the upholstery or any of the
parts of the chairs are damaged.
Check all parts carefully before
assembling the chair. If any
problem is apparent contact the
vendor.
Assembly Directions Continued:
Electrical Connections:
Note: Make sure all the wires
are properly connected to
ensure proper function.
(1). Connector for the motor
and wiring.
(2). Connector for wiring and
adaptor.
(3). Connector for adaptor
wiring and plug wiring.
4) Hand control connection.
Chair Placement:
• Allow sufficient space in
front of and behind the
chair for reclining
purpose.
• To allow for unimpeded
reclining make sure
there is a minimum of
65 cm behind the chair.
• Ensure there is at least
45cm in front of the
chair.
• Place the chair on a flat
surface/floor in a dry
room.
Caution:
Make sure there is no obstruction behind or
in front of the chair for a safe recline and lift
during operation.
The area between the seat and the footrest
should be kept clear to avoid a pinching
hazard while the chair is operating.
Moving the chair:
If the chair needs to be relocated to
another part of the room or to a separate
room, then there are four castors supplied
that can be fitted to allow the easy
movement of the chair.
There are four fixing points for the castors
as shown below. See Image 1)
The castors should be attached with the
nut clamping the castor to the brackets
provided. (See image 2)
Image 1
Image 2a
Image 2b