User Guide for NUC7i5BNKP, NUC7i7BNKQ
5
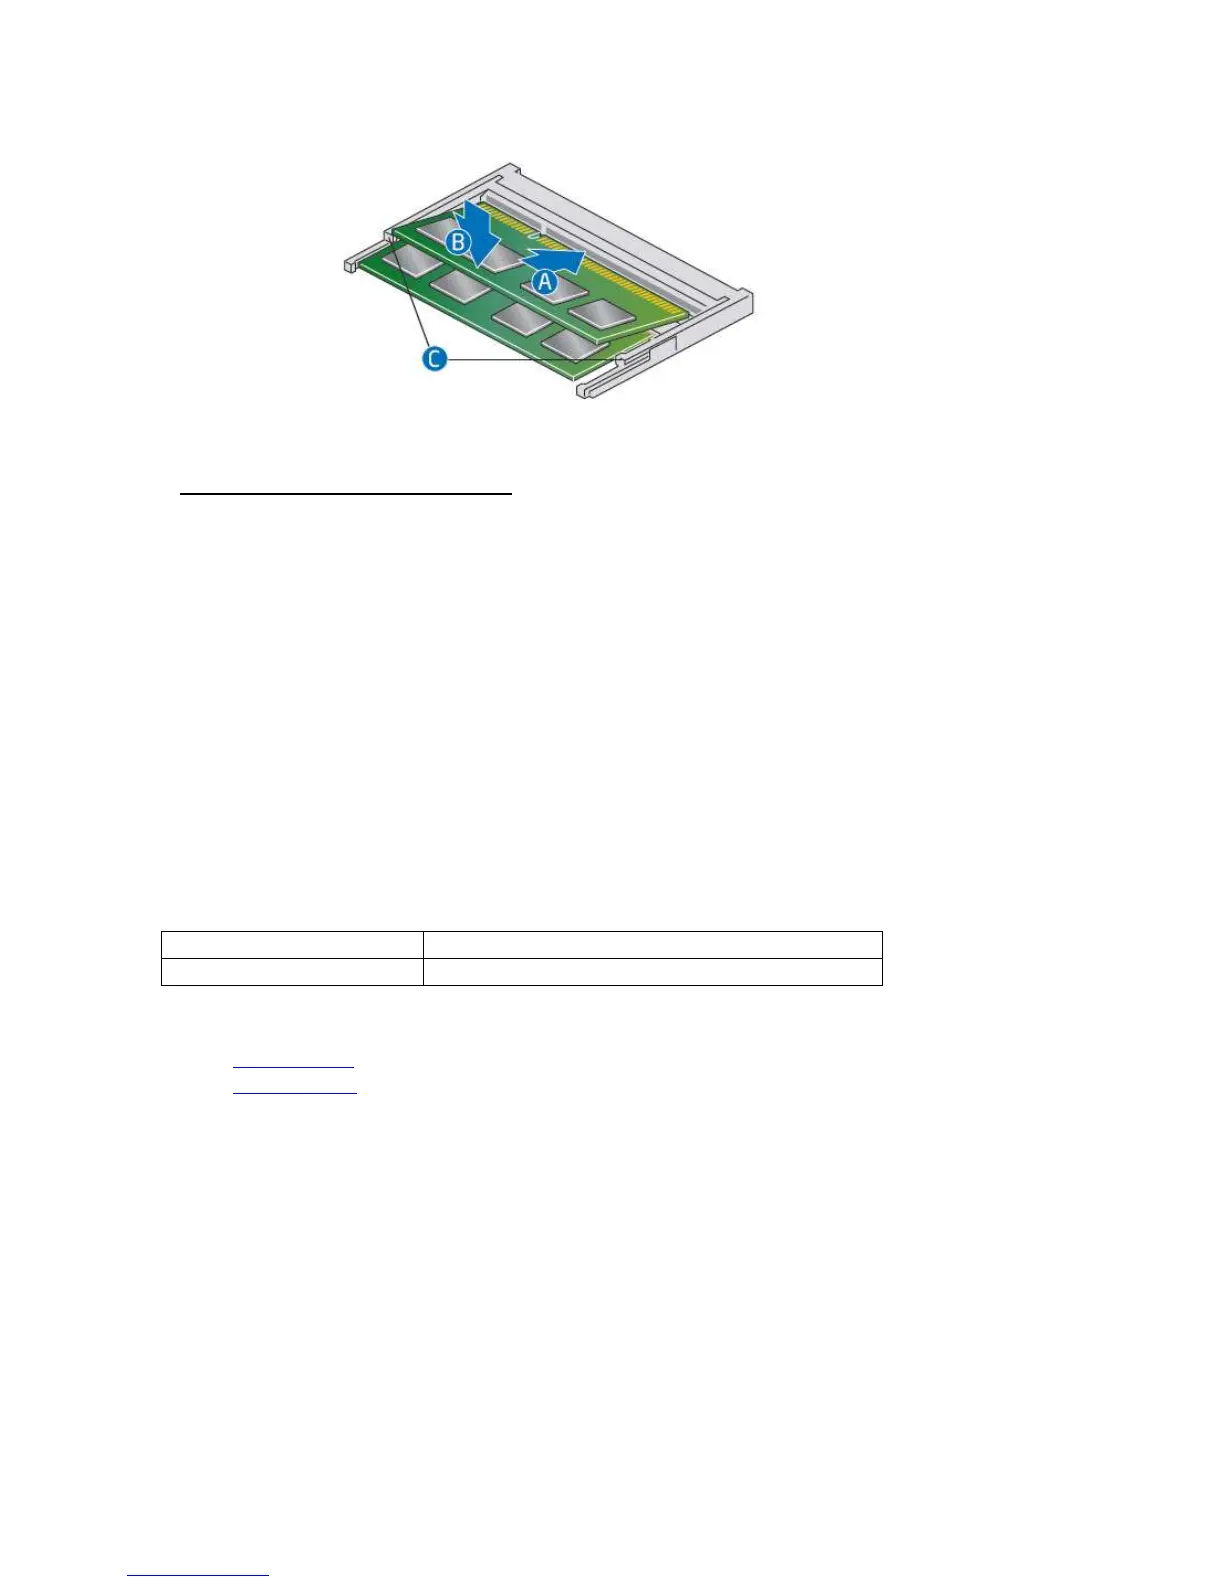
Install an additional memory module
a. Align the space at the bottom edge of the memory module with the key on the socket.
b. Insert the bottom edge of the module at a 45 degree angle into the socket (A).
c. When the module is inserted, push down on the outer edges of the module until
the retaining clips snap into place (B). Make sure the clips are firmly in place (C).
4. Reinstall and reconnect any parts you removed or disconnected to reach the memory sockets.
5. Replace the computer’s cover and reconnect the power cord.
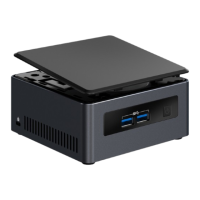
Changing an M.2 SSD
The Intel NUC Kits NUC7i5BNKP and NUC7i7BNKQ support either an 80mm or 42mm SSD. Both mini
PCs come pre-installed with an m.2 SSD.
Pre-installed M.2
One 256GB Intel® 600p NVMe SSD
One 512GB Intel® 600p NVMe SSD
Find compatible M.2 SSDs in the Intel Product Compatibility Tool
NUC7i5BNKP
NUC7i7BNKQ
To Change an M.2 SSD:
1. Remove the small silver screw from the 80mm or 42mm metal standoff on the board (A).
2. Remove the pre-installed SSD from the connector.
3. Align the space at the bottom of the new M.2 SSD to the key on the connector.
4. Insert the bottom edge of the M.2 SSD into the connector (B).
5. Secure the card to the standoff with the small silver screw (C).
 Loading...