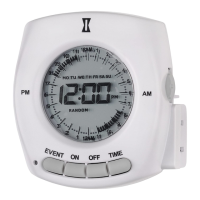
3
- The battery voltage is continuously
monitored. If a low voltage is
detected, the TOD display will
alternate between the current
TOD display and the “Lo” (low
battery) display (Fig. 16).
The timer requires two LR44 -
batteries to keep time up to three
months without power.
Replace the batteries as soon -
as possible after the low battery
display appears.
Change the batteries within one minute of unplugging in order -
to keep the time and programming settings. Afterwards, if the
display is wrong or displays MO, “12:00 AM”, reset the time
and programming.
While the batteries are removed, the timer will turn off the -
display to conserve power.
Dispose of the used batteries promptly according to local -
regulations. Keep batteries away from children.
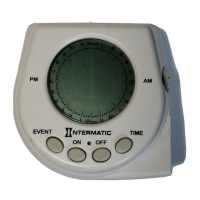
RANDOM
MO TU WE TH FR SA SU
12
1
1
2
2
3
3
4
4
5
5
66
7
7
8
8
9
9
10
10
11
11
PM
AM
12
PM
Fig.
16
About the Battery
To conserve battery power, as soon as setup and programming are
complete, plug the desired device into the timer and plug the timer
into a properly grounded outlet.
8 – Plug In Timer
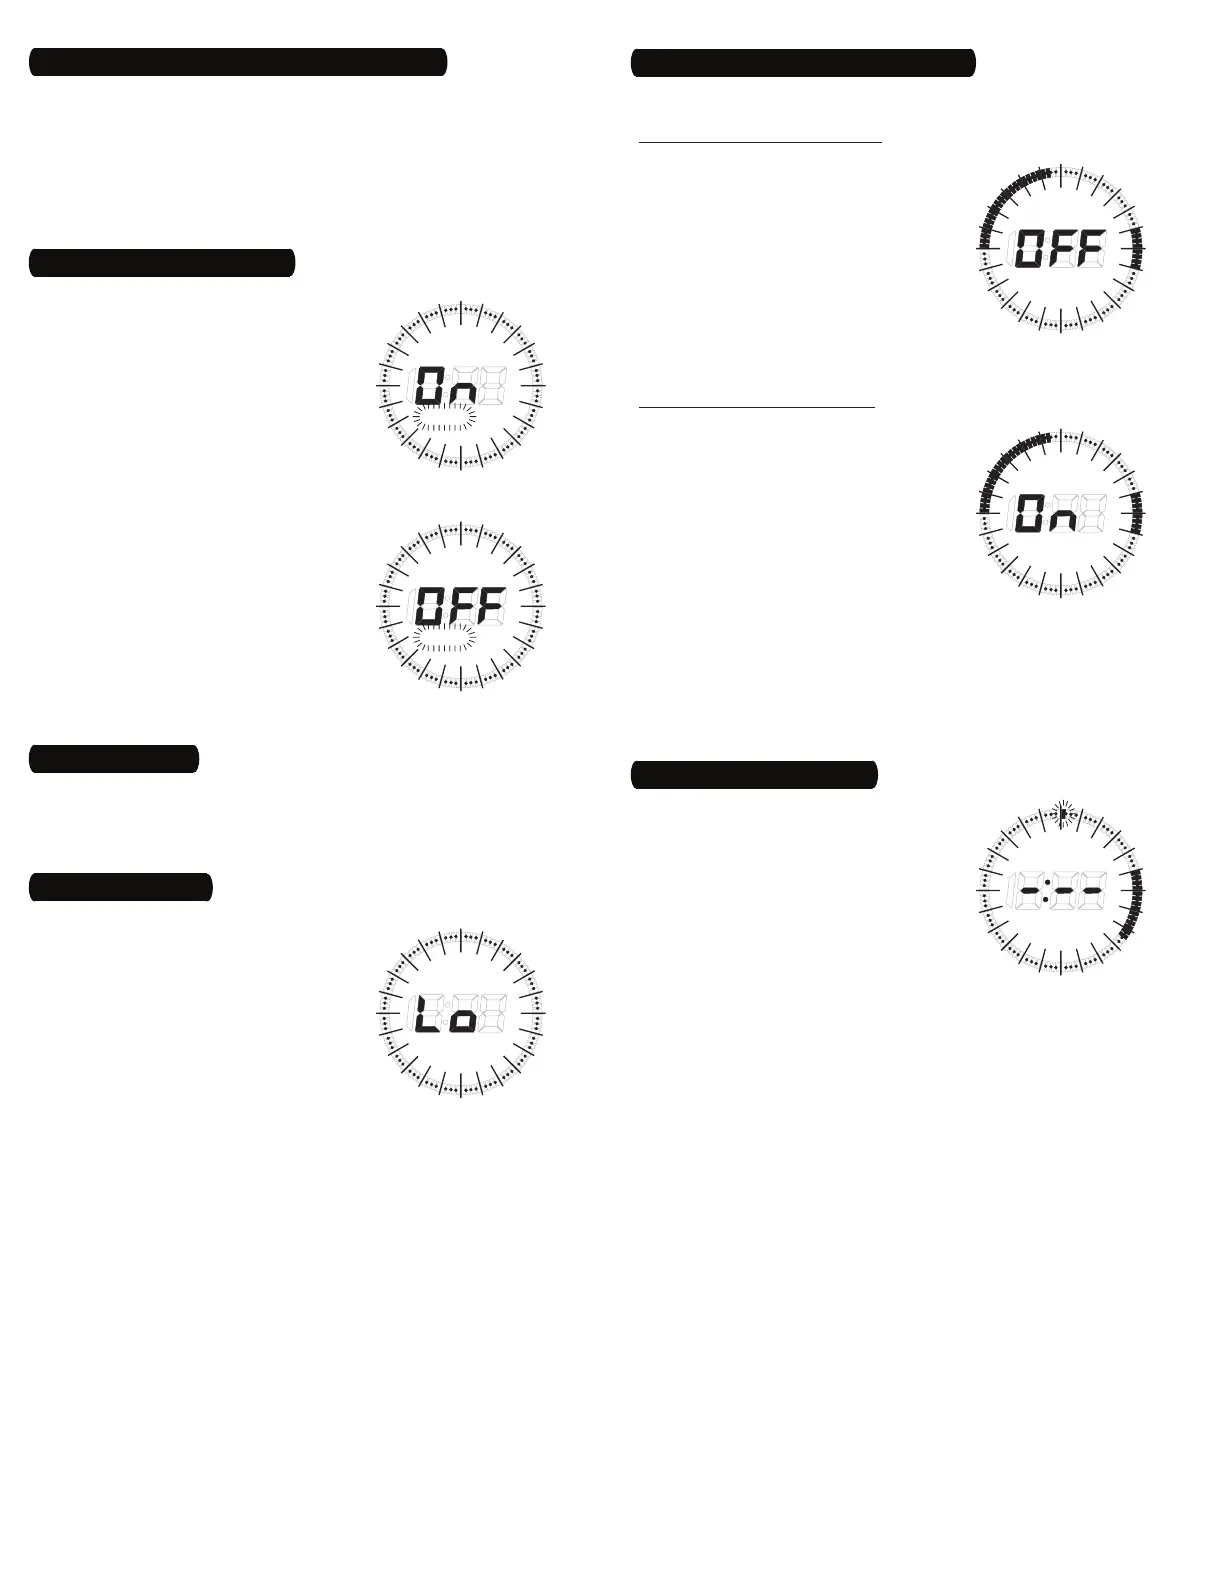
The RaNdom feature gives your
home a “lived-in” look by varying your
settings by random 5-minute increments
of ±15 minutes.
Continue in programming after all of 1.
the desired On Events are set until
the RANDOM feature lights up.
The RANDOM display begins to flash 2.
and the TOD display is replaced with
“On” or “OFF” (Fig. 14 and 15).
Press the 3. ON button to turn the
RANDOM feature on or the OFF button
to turn it off.
NOTE: The selector wheel may also
be used to toggle between “On” and
“OFF”.
Press the 4. TIME button to return
to normal operating and end the
programming session.
RANDOM
MO TU WE TH FR SA SU
12
1
1
2
2
3
3
4
4
5
5
66
7
7
8
8
9
9
10
10
11
11
PM
AM
12
PM
Fig.
14
RANDOM
MO TU WE TH FR SA SU
12
1
1
2
2
3
3
4
4
5
5
66
7
7
8
8
9
9
10
10
11
11
PM
AM
12
PM
Fig.
15
7 – Select RANDOM Feature
Manually Overriding with ON or OFF
The ON and OFF buttons can be used to override the timer’s
programming.
Manually Overriding an ON Event
If the device is currently on, press the 1.
OFF button to immediately turn it off.
The device will remain off until the 2.
next ON Event or until the ON button
is pressed.
If the device was programmed to 3.
be on and manually turned off, the
TOD display will toggle between the
current time and “OFF” to indicate
normal programming has been
interrupted (Fig. 17).
Manually Turning the Device ON
If the device is currently off, press the 4.
ON button to immediately turn it on.
The device will remain on until the 5.
end of the next ON Event or until the
OFF button is pressed.
If the device was programmed to 6.
be off and manually turned on, the
TOD display will toggle between the
current time and “On” to indicate
normal programming has been
interrupted (Fig. 18).
NOTE: If pressing the oN or oFF button in step 2 or 5 doesn’t have the
expected results, the timer may have simply gone back to original
programmed setting and require one more push of the button.
RANDOM
MO TU WE TH FR SA SU
12
1
1
2
2
3
3
4
4
5
5
66
7
7
8
8
9
9
10
10
11
11
PM
AM
12
PM
Fig.
17
RANDOM
MO TU WE TH FR SA SU
12
1
1
2
2
3
3
4
4
5
5
66
7
7
8
8
9
9
10
10
11
11
PM
AM
12
PM
Fig.
18
Changing Program Times
1. Enter the programming mode by
pressing and holding the EVENT
button. The TOD display is replaced
after 2 seconds by “-:--“ and
sequences through the DOW choices
for your chosen operating mode.
When the desired DOW choice 2.
appears, release the EVENT button.
A flashing cursor will appear at 3.
12 midnight (Fig. 19).
With no button pressed, turn the 4.
selector wheel until the cursor reaches the period of time that you
would like to change from on to off, or from off to on.
Press and hold the 5. OFF or ON button while you turn the selector
wheel, moving the cursor to the end of the time period you’d like
to change.
Release the button. The change is now complete.6.
RANDOM
MO TU WE TH FR SA SU
12
1
1
2
2
3
3
4
4
5
5
66
7
7
8
8
9
9
10
10
11
11
PM
AM
12
PM
Fig.
19
Ensure that the time is currently being displayed.1.
Press and hold the TIME button until the hours begin to flash.2.
Follow the same procedure as outlined in Section 4, “Set the 3.
Time, Day and Operating Mode”.
NOTE: Changing the Operating Mode will clear all the events
currently programmed in the timer.
6 – Change the Time, Day or Operating Mode
 Loading...