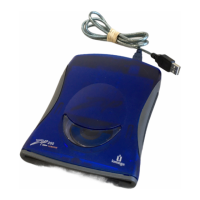
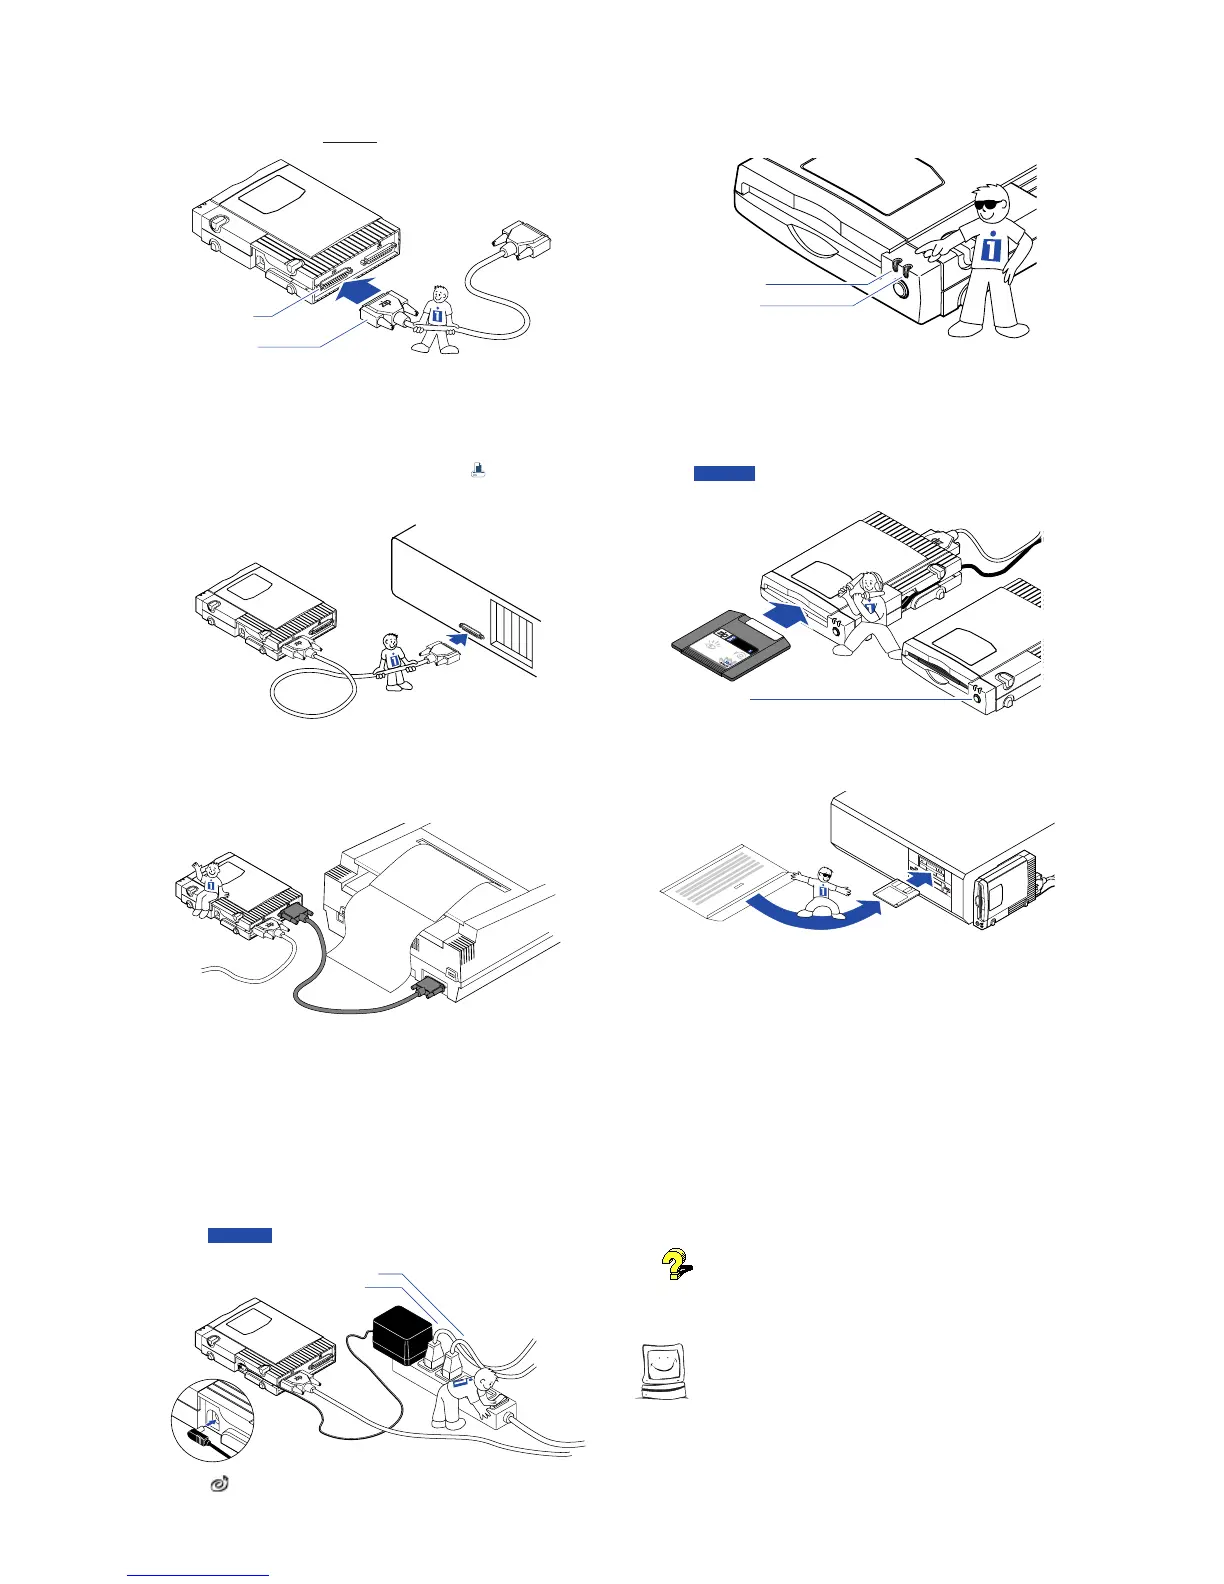
Check the green power light to make sure
the Zip drive power connection is OK.
If the power light does not come on, refer to the "Troubleshooting"
section in your Zip User's Guide.
Green Power Light
Amber Busy Light
(Flashes when drive is transferring data,
or when inserting or ejecting a disk)
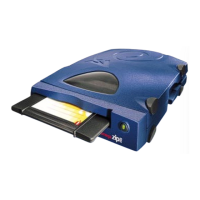
Insert the 100MB "tools" disk into the
Zip drive.
Always make sure the green power light is on before inserting (or
ejecting) a Zip disk. When you insert a Zip disk, the amber busy light
on the Zip drive will flash momentarily.
CAUTION Never put anything except Zip disks into the Zip drive
as this could damage your drive. M
Insert Gently!
Disk Eject Button
Tools
Insert the Install diskette for Windows/DOS
into the computer's floppy drive.
Start the Setup program as described
below and follow the screen instructions to
install your Zip Tools software.
Windows
®
95 Users: Open My Computer and double click on
the floppy drive icon to open a window for the Install diskette. Double
click on the Setup icon to install Tools 95 on your system.
Windows 3.1 Users: Start Windows. In the Windows
Program Manager, select the File menu and choose Run. In the
Command Line box, type a:setup if the Install diskette is in drive a: (or
b:setup if it is in drive b:), then click OK or press the Enter key.
DOS Users: Run GUEST.EXE from the DOS prompt for the
Install diskette, then run INSTALL.EXE from the DOSSTUFF directory
on the Zip "tools" disk. After the software installation is complete, run
RECLAIM.EXE from the DOSSTUFF directory. If you need detailed
instructions, refer to MANUAL.EXE on the Install diskette.
If you need help, refer to "Troubleshooting" in the Zip User's
Guide. The electronic manual (MANUAL.EXE) located on the Install
diskette also includes problem solving information for software
installations under Windows 95, Windows 3.1, and DOS.
Congratulations! When the software
installation is complete, your Zip drive will
be ready to use.
Use your Zip drive just like any other drive on your system.
Your Zip drive will have its own drive letter, and you can store and copy
files to and from the Zip drive using the same methods you use for your
other drives. For additional information on using your new drive and
Zip tools software, refer to the Zip User's Guide.
7
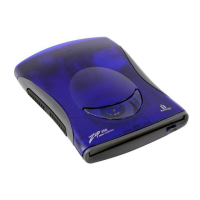
Connect the end of the cable marked "zip"
to the Zip connector on the back of your
drive.
(If the connector does not go on easily, try
turning it over. Tighten all connector screws.)
Zip Connector
Blue Connector
Connect the other end of the cable to your
computer's parallel port (printer port).
(If a printer is connected to the only parallel port,
disconnect it.)
The parallel port may be marked with a printer icon ooo. A parallel
port may also be labeled "Printer" or not marked at all. Check your
computer Owner's Manual if you are unable to locate your computer's
parallel port.
OPTIONAL: You can connect a printer to
the Zip drive using a standard printer cable.
The Zip drive must have power in order for the printer pass-through
feature to work.
o
o
o
o
o
o
o
o
o
o
o
o
o
o
ooooo
o
o
o
o
o
o
o
o
o
o
o
o
o
o
ooooo
o
o
o
o
o
o
o
o
o
o
o
o
o
o
o
o
o
o
o
o
o
o
o
o
o
o
MNOTE: If you use other peripherals or software keys (dongles)
that hook to the parallel port, refer to the information under #8
in the "Troubleshooting" section of the Zip User's Guide. M
Turn your computer ON, and connect the
Zip drive's power supply.
(The power cord fits
in the groove on the side of the drive.)
Always turn on power to your computer before or at the same time as
you supply power to your parallel port Zip drive. Iomega recommends
using a power strip to turn on all your devices at the same time. Power
must be applied to the Zip drive before DOS begins to load.
WARNING Use only an approved Iomega Zip power supply.
Other power supplies may damage your Zip drive. M
Computer Power Cord
Printer Power Cord
To make it easier to move your Zip drive between home and
work, you may want to purchase an extra power supply, cable,
and carrying case. Call 1-800-MY-STUFF to order Zip accessories.
4
5
6
3
8
9
10
EN125508
 Loading...