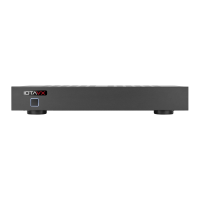
4. Loudspeaker output
For connecting loudspeakers via loudspeaker cable (observe polarity!).
5. Trigger Connection
The switch allows you to enable or disable the remote turn-on (trigger) operation.
If you connect the trigger input of the AVXP 2-840 to the trigger output of another device, the
AVXP 2-840 will automatically switch on or off when the other device is switched on or off.
If you connect the trigger output of the AVXP 2-840 to the trigger input of another device, the
other device will automatically switch on or off when the AVXP 2-840 is switched on or off.
Note: If the trigger switch on the back of the device is set to "On", the AVXP 2-840 can only be
switched on and off using signals via the trigger input and the POWER button on the front of the
device is on without function.
6. Fuse
The fuse may only be replaced in consultation with specialist personnel.
7. Power switch
For switching the power supply of the AVXP 2-840 on or off.
8. IEC Power Connector
The IEC power connector accepts any standard IEC power cord.
Basic operation
Before making any connections between the AVXP 2-840 and other devices, read the manuals that came with
your other components. Do not connect the power cord to the AVXP 2-840 until you have completed and verified
all connections.
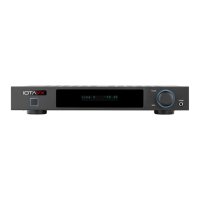
Turn on the device:
Press the POWER button to turn on the AVXP 2-840. As soon as the power LED lights up white, the device is
ready for operation. Press the POWER button again to put the AVXP 2-840 into standby mode. As soon as the
power LED lights up red, the device is in standby mode.
Note: If the trigger switch on the back of the device is set to "On", the AVXP 2-840 can only be switched on and
off using signals via the trigger input and the POWER button on the front of the device is on without function.
Operating states of the standby button:
● Power LED lights up red: the device is in standby mode
● Power LED lights up white: the device is on and ready for operation
● Power LED flashes: the protective circuit is active. Please switch off the device using the rear power
switch and check the connected cables and speakers for possible short circuits.
 Loading...