English
Notes:
Performing a standard installation will install the software directly into your Applications folder
on your Mac’s hard drive.
If you want to change the location to which the software will be installed, clicking Change
Install Location will return you to the previous step, Choose Destination Location.
5. Click Install. The Password dialog opens.
6. Enter your user password and click OK. The Note Manager software is installed
on the drive you selected and the Install Succeeded message is displayed on
the Installer.
7. Click Close to close the Installer and complete the installation.
Using the Digital Pen Preferences Tool
About the Preferences Tool
When you use your Digital Pen to write text, everything you write is saved as a series of
TIFF (Tagged Image File Format) images in the receiver unit memory. Before you can
work with your text on your Mac, you first need to transfer the TIFF images from the
Digital Pen to your Mac’s hard drive. When you connect the Digital Pen to a USB port
on your Mac, your text is automatically transferred directly from the Digital Pen to your
Mac.
Before you can start transferring your text from the Digital Pen, you first need to set
preferences on your Mac. By setting preferences, you decide:
• where on your Mac’s hard drive you want to save the TIFF images;
• whether you want to erase the TIFF images from the Digital Pen after you
have imported them to your Mac.
You set these preferences using the Digital Pen Preference Tool.
Setting Preferences with the Digital Pen Preference Tool
The following procedure describes how to set preferences using the Digital Pen
Preference Tool:
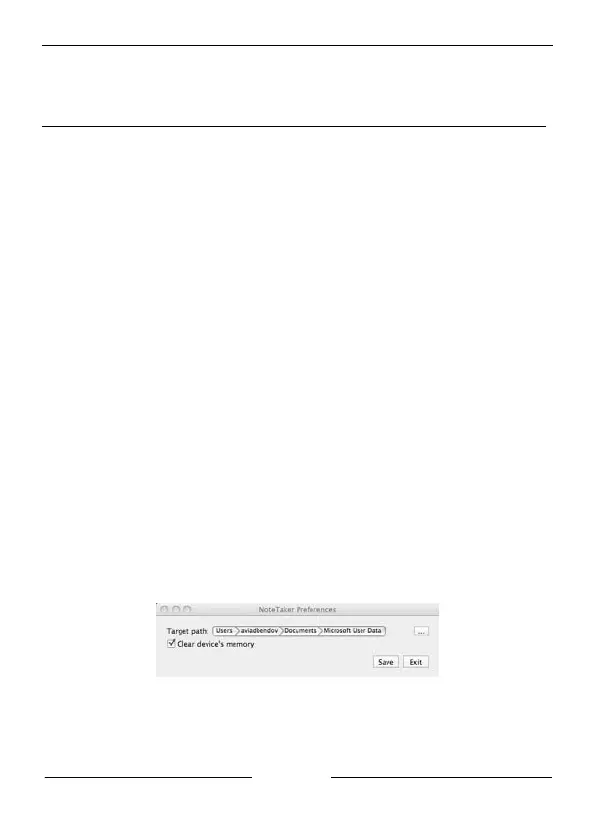
1. Click on the Digital Pen Preferences icon. The Digital Pen Preferences dialog
opens:
Figure 2: Digital Pen Preferences dialog
 Loading...