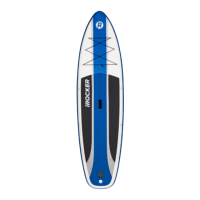
FIN INSTALLATION
Insert fin into notched section of fin box first then rock fin towards rear of
the board until fin is seated completely in the fix box.
Lock fin into place by flipping the lever lock down into the locking position
Test to make sure fin is secured.
Note: The two fixed side fins may become bent/curved due to the manner
that the board is packaged into the box for shipping. This is not a defect
and the fins will move back into place.
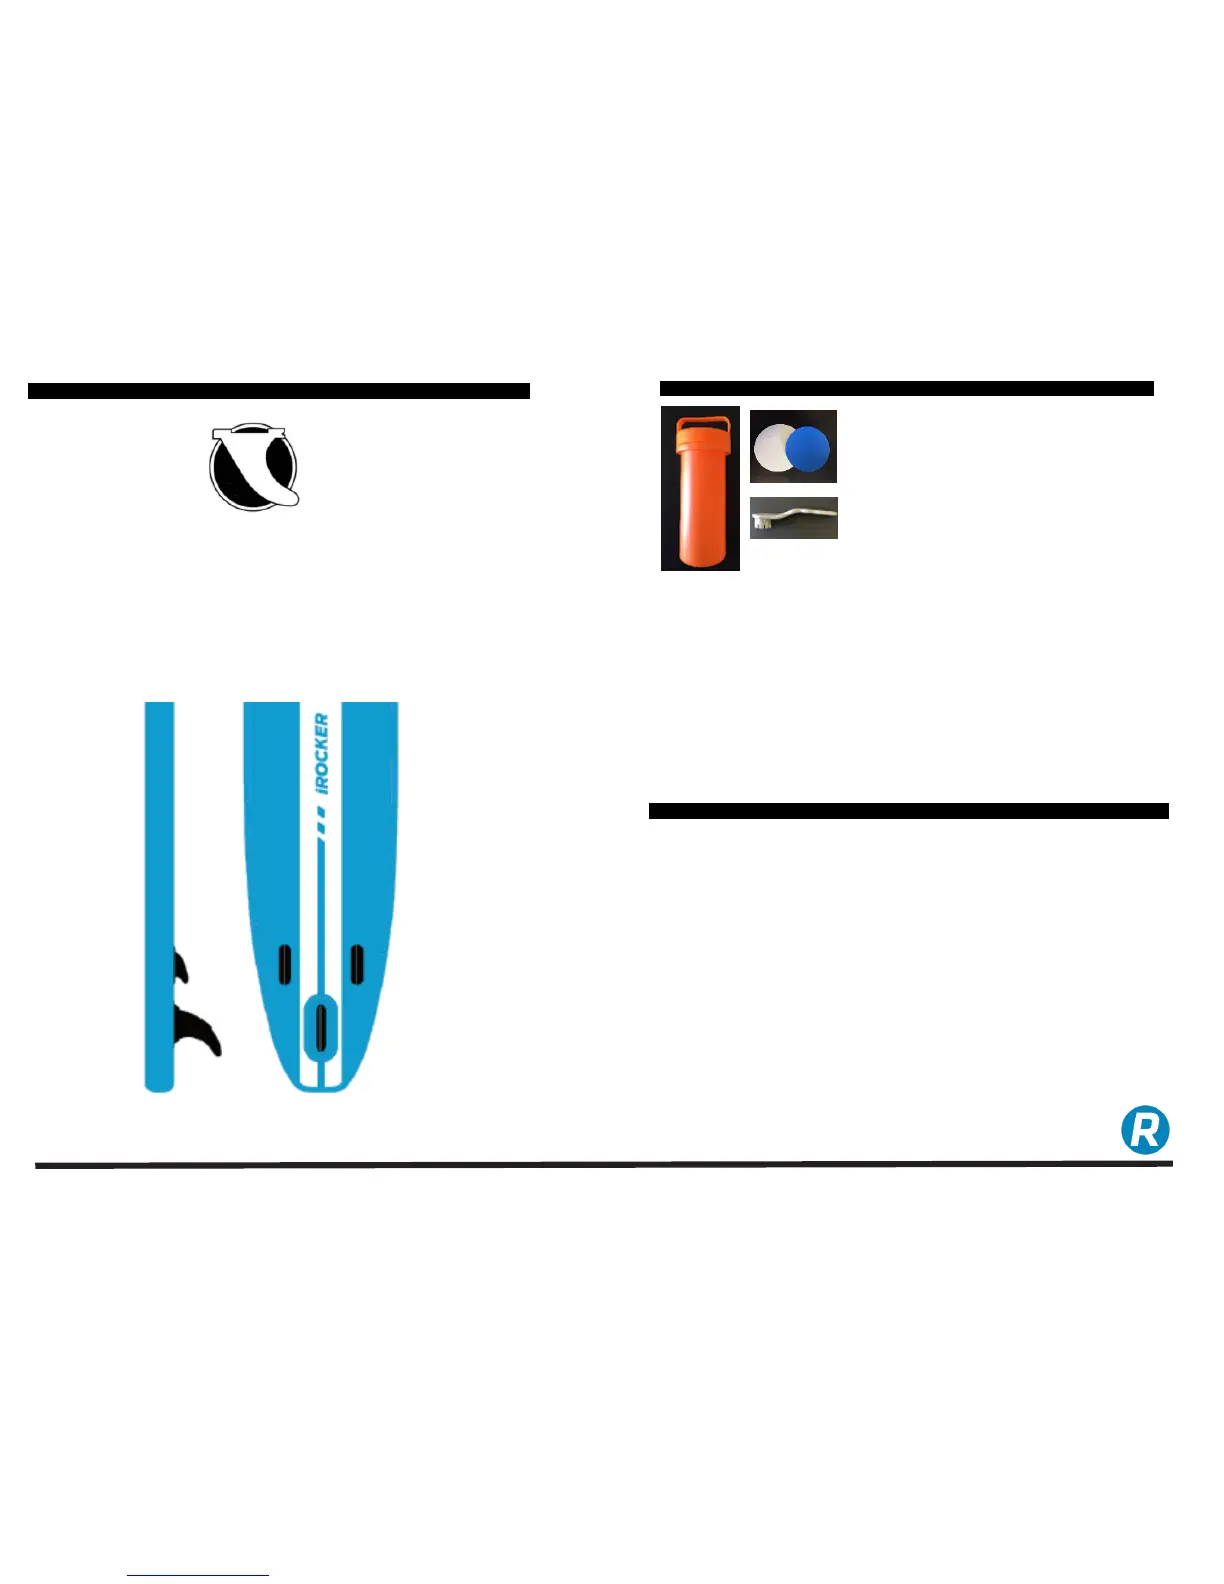
REPAIR KIT CONTENTS&APPLICATION
REPAIRING LEAKS &TEARS
THE REPAIR KIT
The board comes equipped with
an emergency repair kit for small
leaks and/or tears including a valve wrench
and repair patches.
*Repair glue is not included*
The wrench included in the repair kit should ONLY be used for leaking valves. Should
you hear air escaping around the edge of the valve please ONLY use to tighten by
turning clockwise and ONLY when the board is fully inflated. It should not be used to
deflate your board. Improper use of this tool will void the 2 year warranty.
DIRE CTIONS FOR REPAIR KIT USE
1. Completely deflate the paddle board
2. Thoroughly clean the surface around the leak and the matte side of the patch
with rubbing alcohol. Both surfaces must be free of moisture, oil, and debris.
3. Apply glue (not included) carefully and evenly to both paddle board surface and
matte side of the patch.
4. Apply thin layer around edge of patch to seal patch to the board
5. Allow glue to dry for 24 hours before using paddle board.