Page 7 of 13
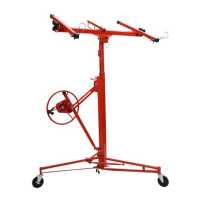
Assembly
Note: A Wrench and an Allen Wrench (not included) are tools required for installation, along with
cordless or electric drill with a 7/16" drill bit.
Do not exceed 250 lb. weight capacity, distributed evenly across both frames. Be aware of dynamic
loading! Load movement could cause excess load, causing product failure. Strap ladder securely to
rack. When expanding the Arm, leave approximately 2.5” of the tube in the frame.
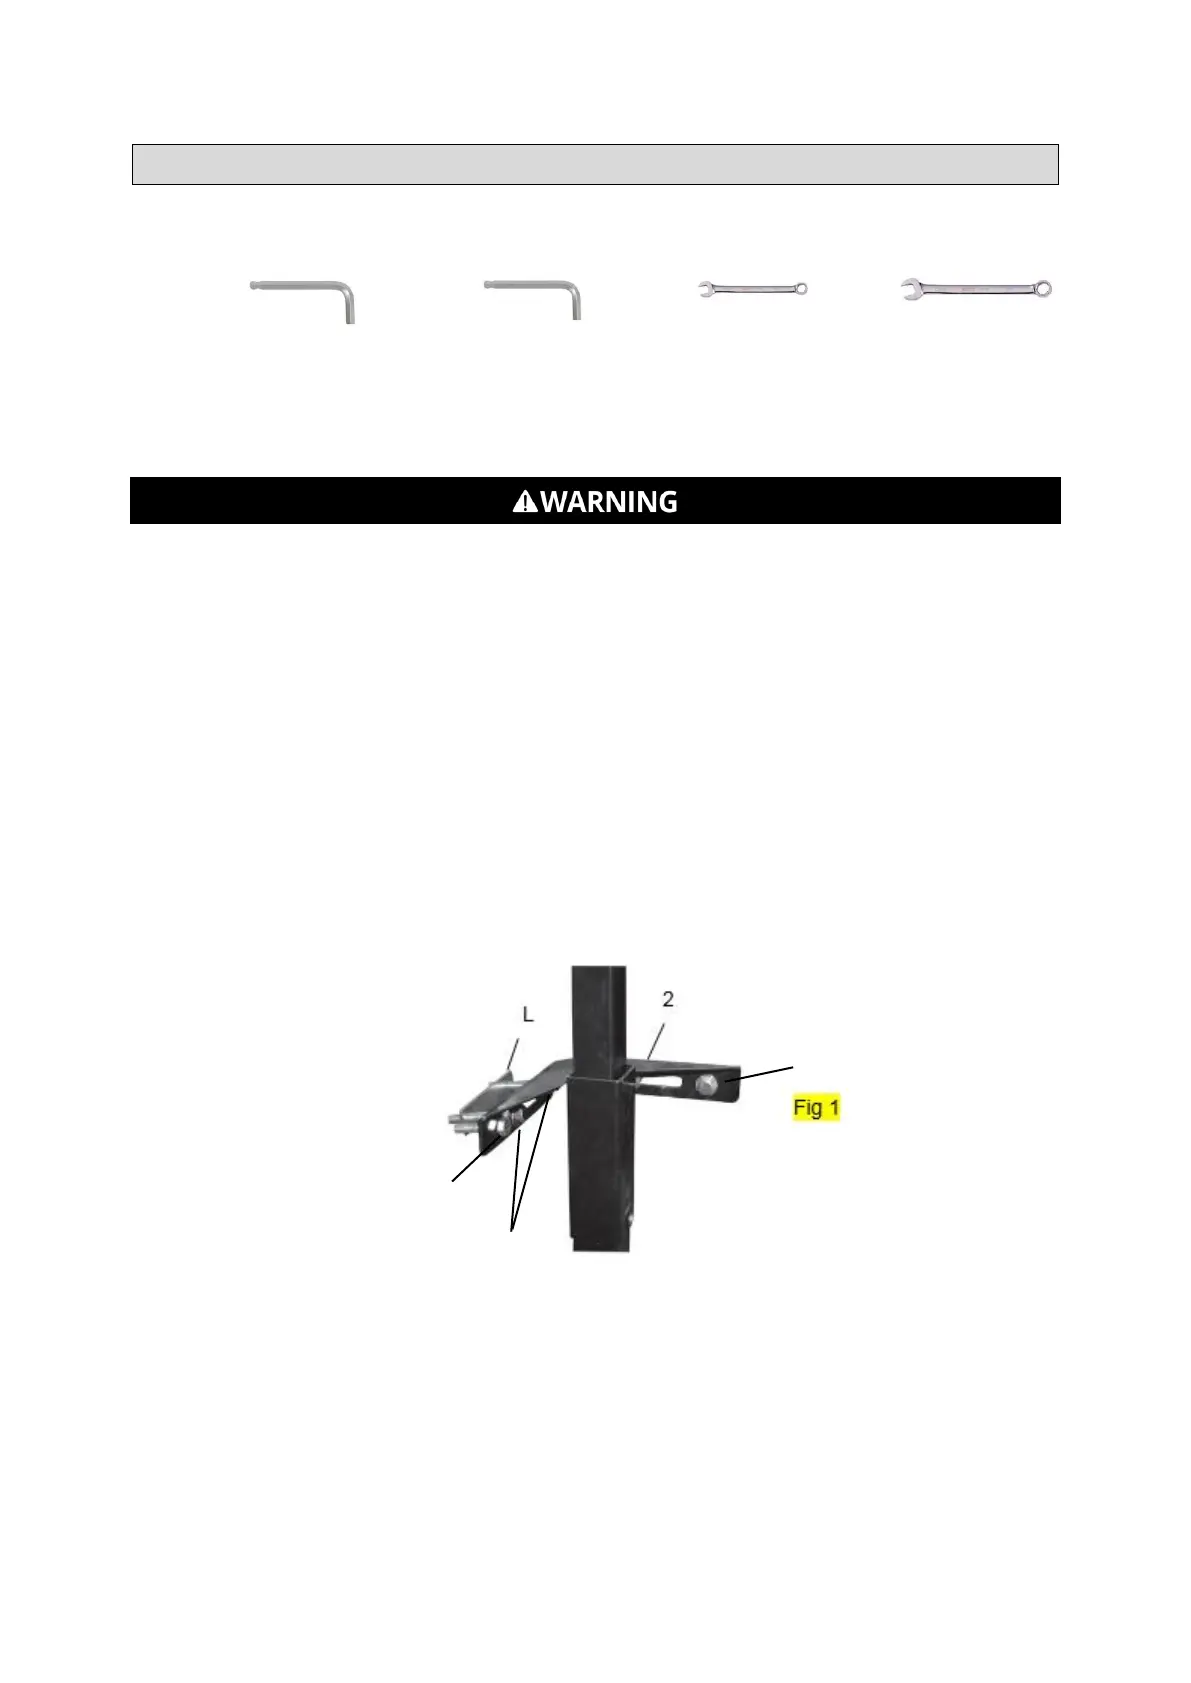
Step 1 - Refer to Fig. 1
Choose the left or right side of the truck bed on which to mount the Multi-Use Truck Rack. The Front
Upright Support Bracket (2) will be bolted to the front bulkhead with one bolt on each side of the
upright section and one bolt in the side stake pocket of the truck bed. The height of the Front Upright
Support Bracket should allow the Backing Plate (L) to be drawn tightly againstthe flat surface of the
sheet metal of the bulkhead of the truck.
Make sure that the Backing Plate (L) is level and mark the drill holes through the two holes of the
Backing Plate (L). Drill ONLY two 7/16" holes in the front bulkhead and ensure that those two holes
align with the holes in the Backing Plate. Drill one hole near the center of the stake pocket.