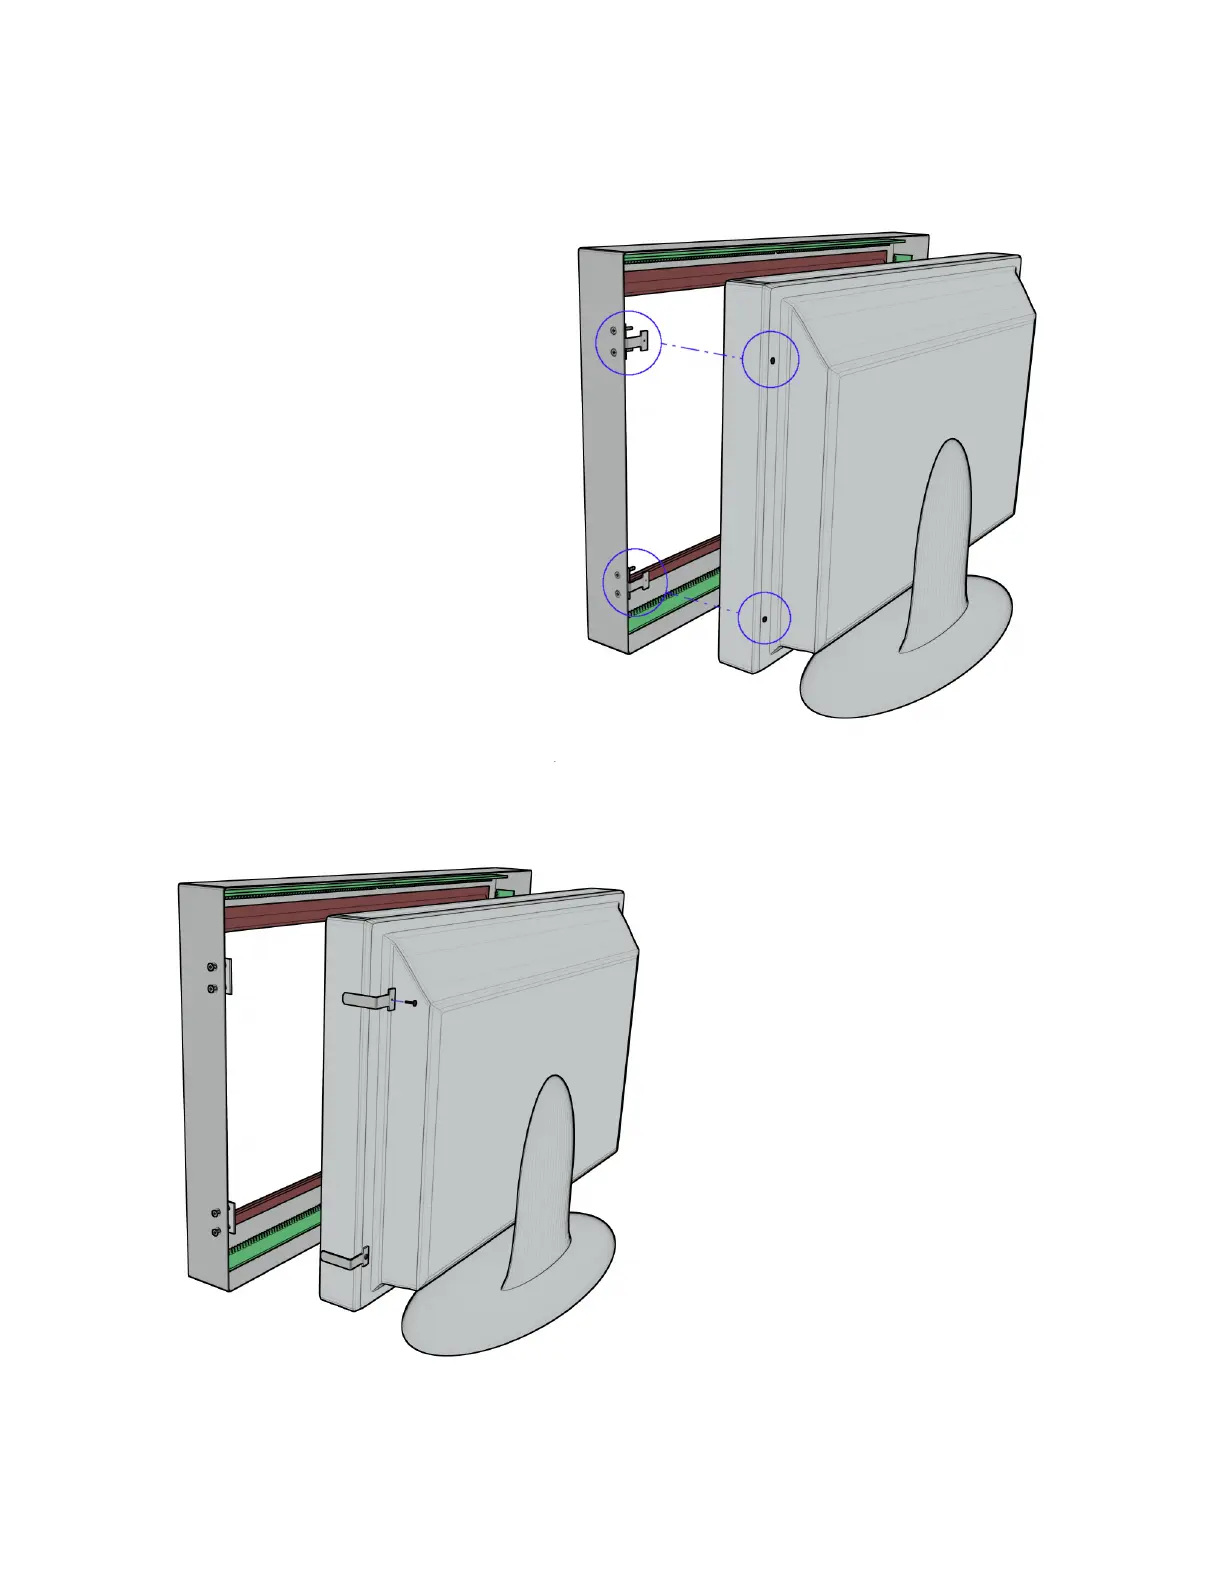
Step 2:
Loosen, but do not remove, the two pinch plate
screws holding each of the mounting brackets in
place.
Slide the mounting brackets out of the pinch
plates and mount on the rear of the display either
with the provided screws, or with the existing
screws set aside in step 1.
Step 1:
Align the touch panel in front of display and
match the mounting brackets to the mounting
screws on the rear of the display.
In some cases the mounting point will
be an empty screw hole, and the
correct screw will be provided with
the touch panel.
In other cases, the mounting point will be one
of the case screws of the display. In this
situation, remove the existing screw and set it
aside for step 2
 Loading...