L.83.0072 - Release 8.0.1 CH 2013
ista International GmbH - Grugaplatz 2 - 45131 Essen
http//www.ista.com
Device Manual
2.4-Y optosonic u 3 radio net 9/15
Nur für den internen Gebrauch — For internal use only — Uniquement pour utilisation interne
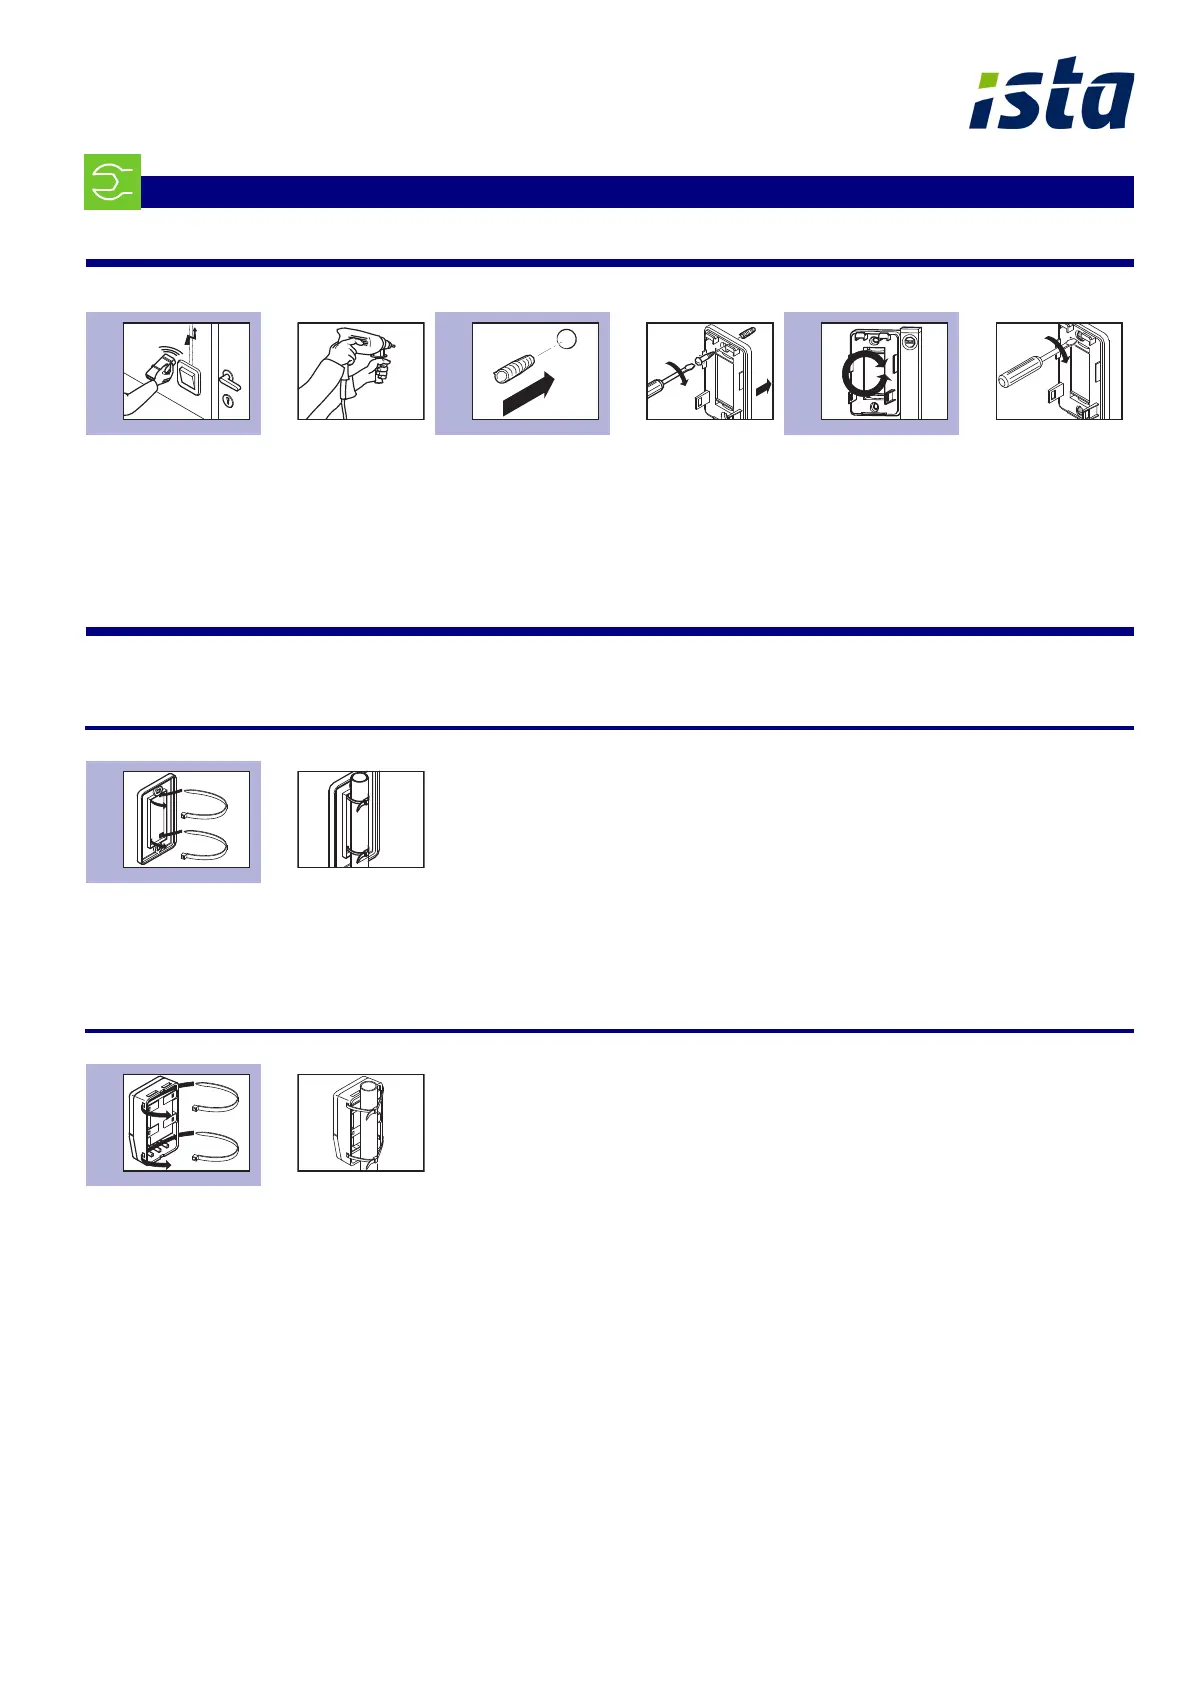
3.1 Screwed installation
1. Prior to drilling, check that there are no electricity cables,
gas or water pipes below the surface at the installation site.
2. Drill a hole (6 mm)
with a mounting plate for determining the hole distance.
3. Insert dowels.
4. Attach the mounting plate to the wall.
5. Align the mounting plate vertically
using spirit level.
6. Tighten screws firmly.
Continue with "Final steps", step 1.
3.2 Installation with cable ties
3.2.1 With mounting plate
1. Connect cable ties to the mounting plate.
2. Fasten the mounting plate with cable ties (e.g. with a pipe).
Continue with "Final steps", step 1.
3.2.2 Without mounting plate
1. Connect cable ties to optosonic u 3 radio net .
2. Fasten the optosonic u 3 radio net with cable ties (e.g. with
a pipe).
Continue with "Final steps", step 2.
3 Installation
1 2 3 4 5 6
1 2
1 2
 Loading...