-10-
HOLD
1
MAX/MIN
2
UNIT
3
LIGHT
5
VEL/FLOW
4
C/ F
6
READ
7
RST/CLR
8
REC
9
START/NEXT
SAMPLE
AREA
0
OPTION
ENTER
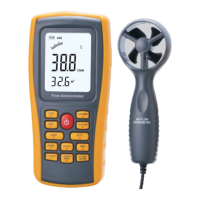
Air Flow Anemometer
Wi nd d irection
-11-
Hold the Anemometer with your hand , place the vane in
the air flow with the air direction matching the direction
of the arrows printed on the inner walls of the vane (
please do not extrude the fan leaf, which may cause the
inaccuracy measurement )
1). Wait for 2 seconds with the unit is ready for use.
2). Place the vane in the same direction of the wind to
capture the accurate data ,temperature within 20℃
3). Press light key to open or close the backlight.
Backlight will turn on if the vane is rotating or
within 7 seconds after a key is pressed.Backlight
will turn off if there is no further operation of
key for 7 seconds.
Wind /Air Temperature Measurement:
1). Small Vanes pattern will showing along with the
display of "TEMP" symbol.
2). Press button ℃/℉(or number 6 key) to Switch ℃/℉ .
Du ct a re a
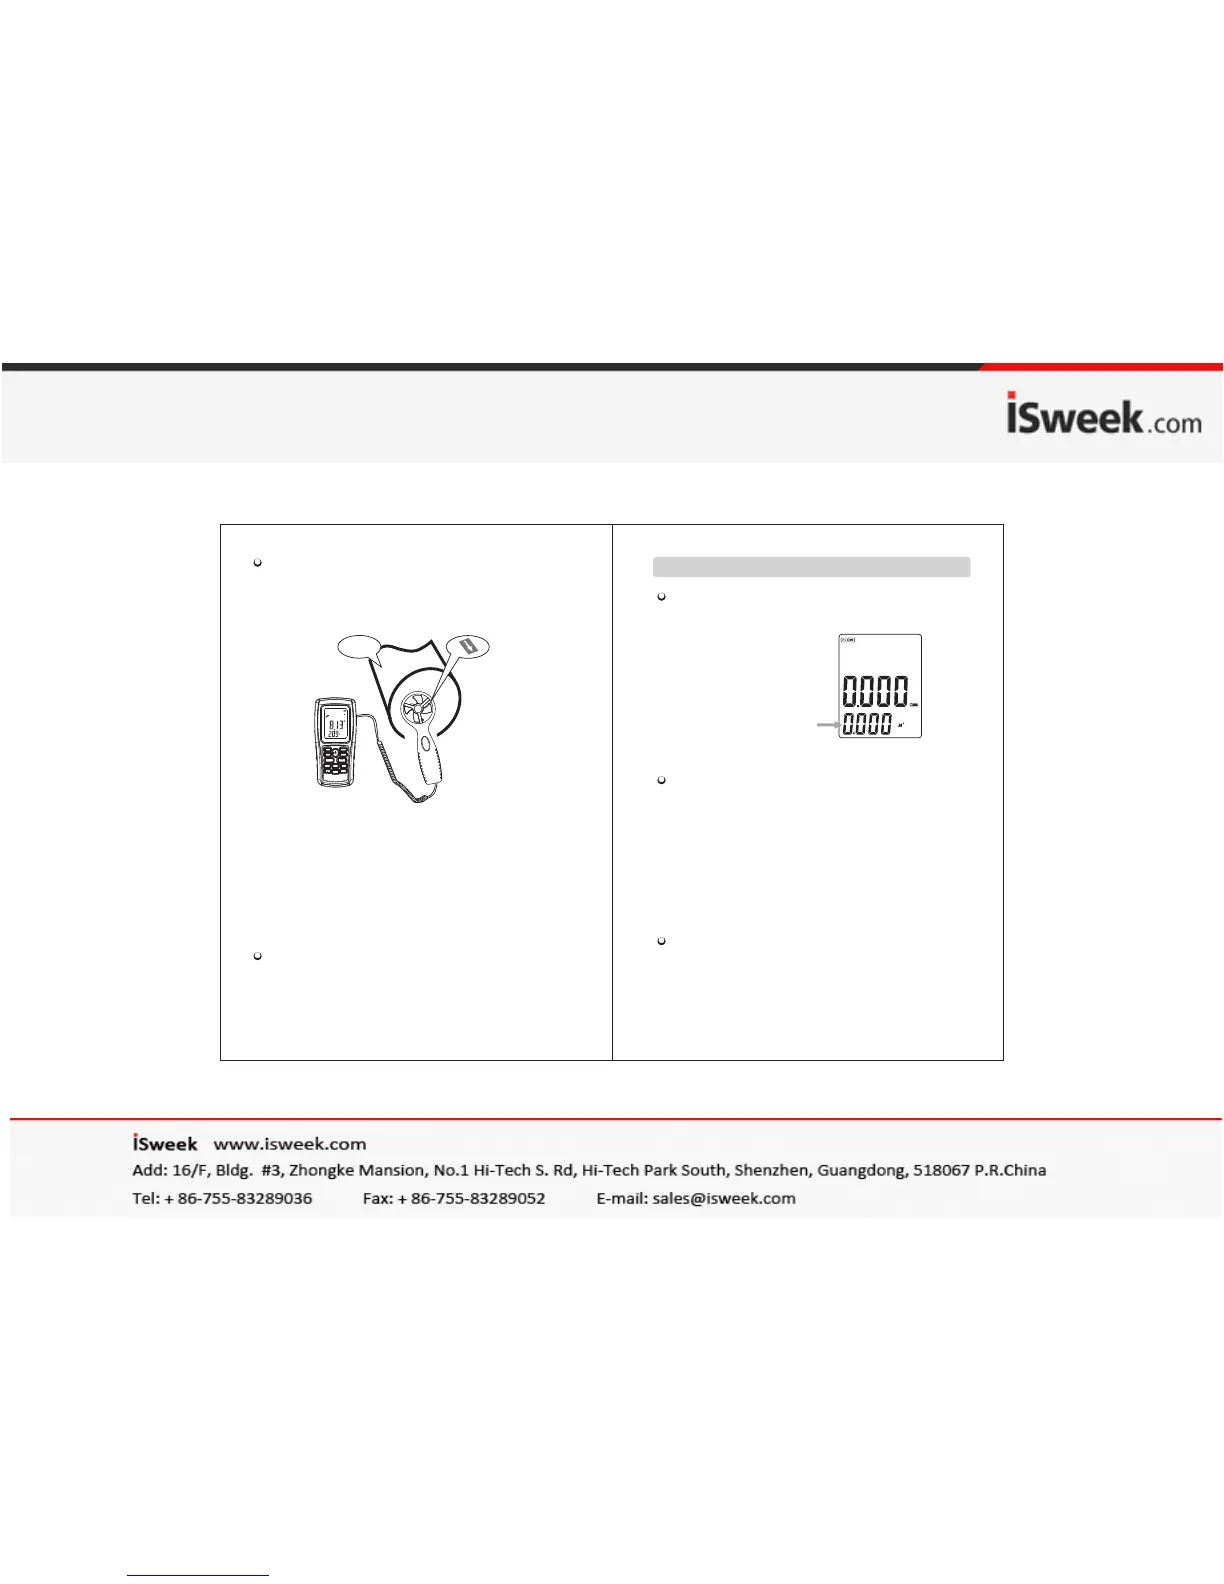
Measurement of Windflow
(If the area value has
been set before, the
last setting will be shown )
Press the "VEL/FLOW" key to get into "FLOW" mode,
the LCD screen as shown in following figure :
Select your desired unit of wind flow and duct area:
a. Press the "UNIT" key, the wind flow unit will convert
between CMM and CFM (the defaulted unit is CMM)
b. Press the "UNIT" key, the area unit will convert
2 2 2
between M and FT . (the defaulted unit is M )
2 2
c. Area unit: M and FT will convert accordingly with
the conversion of the wind flow unit.
2
If wind flow unit is CMM, the area unit will be M ;
2
If wind flow unit is CFM, the area unit will be FT .
Press the "AREA " key, the 4 digitals on the upper
LCD disappears at this time press numeric
keys to input a new duct area, such as 1.6, then press
the "ENTER" key to confirm. At this time the LCD
screen as shown in following figure: