1. “TRACK INCREMENT” During recording, press to separate tracks.
2. “AUTO /MANUAL” Press to select mode of track number assignment for recording.
3. “ERASE” Press to erase or unfinalize a CD-R disc/USB
4. “FINALIZE” Press to finalize a CD-R/CD-RW disc.
5. “RECORD” Press to enter record/pause mode.
6. RADIO TUNER DISPLAY
7. “AUX/BLUETOOTH” Press to listen to an external source connected to the AUX IN jack and press
again to switch to Bluetooth.
8. “PHONO” Press to play a vinyl record.
9. “CD/USB” Press to play a CD, press again to switch to USB mode.
10. “TAPE” Press to play a cassette.
11. “AM/FM” Press to listen to the radio. Press again to switch between AM and FM mode.
12. “VOLUME” KNOB Turn to adjust volume. (Note: volume ranges from 00 to 32)
13. RADIO TUNER KNOB In AM/FM mode, turn to tune in a station.
14. “POWER ” Push to turn the unit on or off.
15. “EJECT” To open and close the disc tra
y.
(No
te: This button will not work in AM/FM mode.)
16. “3.5mm HEADPHONE JACK” Accepts headphones/earphones.
17. “USB JACK”
18. STOP Press to stop playback or recording.
19/20. PREVIOUS/NEXT TRACK & REWIND/FF/
In CD Mode, press once to skip to the previous/next track. Press and hold to fast rewind/forward/.
21. PLAY/PAUSE Press to start playback, recording, finalizing or erasing. During playback,
press again to pause.
22&23. “REC LEVEL” BUTTON In record mode, turn to adjust the recording level.
24. “AUX-IN JACK” Connect an external source to the AUX IN socket.
25. “DISC TRAY”
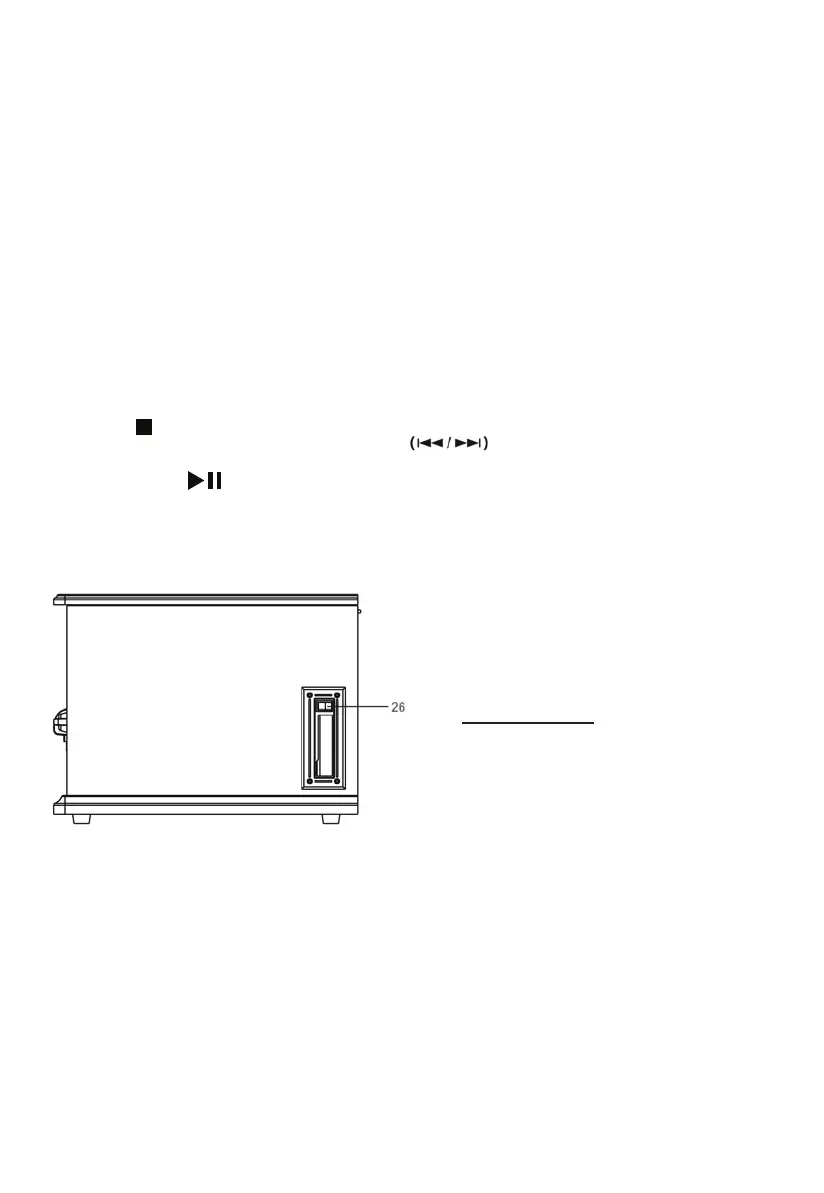
Right Side View
26. CASSETTE FF & EJECT Press halfway to fast forward, press all the way to end and eject the tape.
5