REPLACEMENT PARTS AND ACCESSORIES
Nozzle (#4)
In time, the nozzle may wear or be damaged and may need to
be replaced.
1. Unscrew the handle (#19).
2. Loosen the needle chucking nut (#18).
3. Gently pull the needle (#17) part way back. It doesn’t need
to be fully pulled out.
4. Unscrew the head cap (#3).
5. The nozzle should fall out. If it doesn’t, push it gently to the
side with your thumb.
6. Fit the new nozzle onto the airbrush body.
7. Screw the head cap onto the airbrush body.
• Hand tighten cap or “lightly” tighten it with the
provided wrench.
• DO NOT OVERTIGHTEN!
8. Push the needle all the way forward until it seats with the
new nozzle.
9. Tighten the needle chucking nut.
10. Screw the handle onto the airbrush body.
TIP: Keep a spare nozzle on hand for unforeseen accidents.
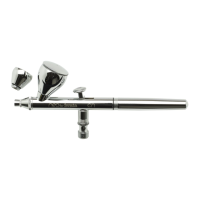
Crown Cap (Optional Accessory)
A crown cap replaces the needle cap (#1). It physically protects the
needle while spraying very fine lines. It also prevents pigment build-up
and spattering when spraying large backgrounds.
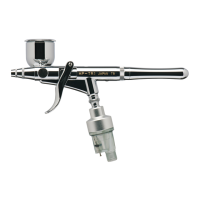
Pre-Set Handle (Optional Accessory)
The pre-set handle replaces the handle (#19). A threaded adjusting
screw mounted behind the handle limits the distance the main lever
can be pulled back. This provides accurate control of paint volume and
is especially useful when doing repetitive, precision work.
13