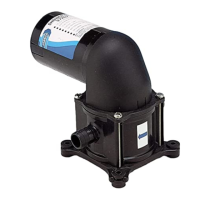
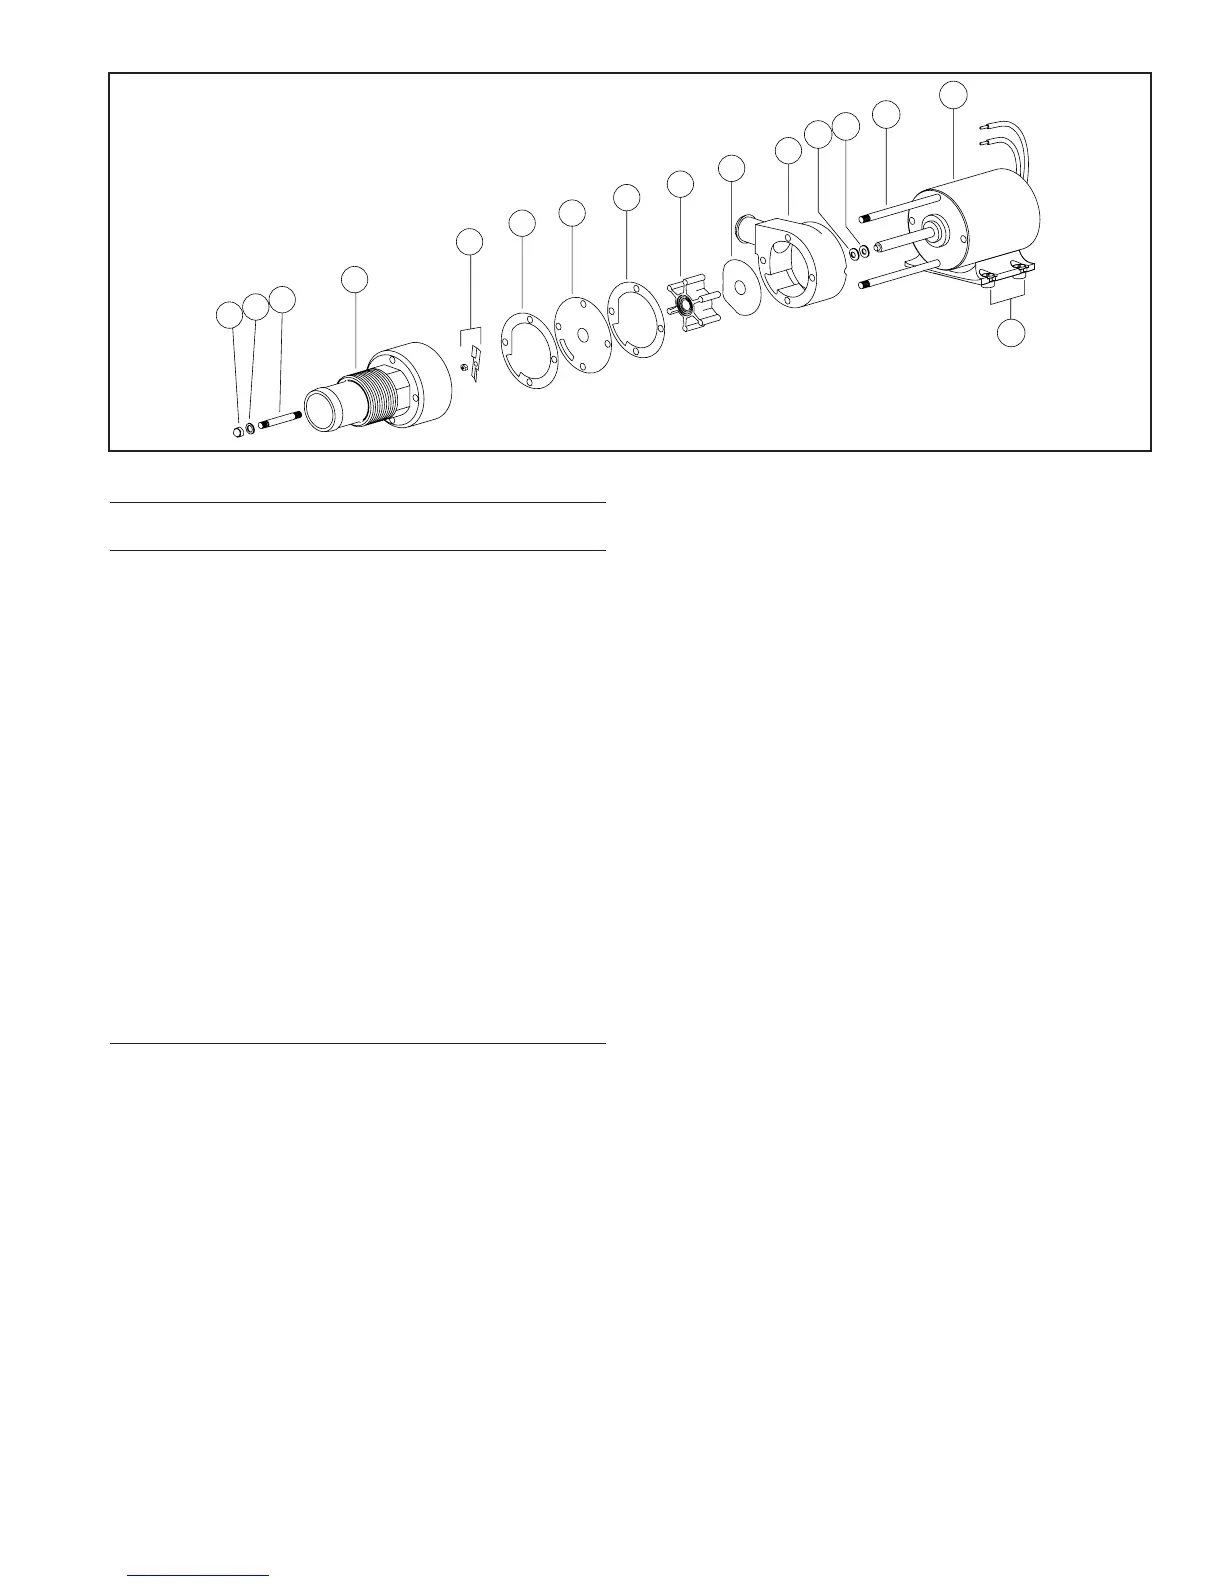
EXPLODED VIEW
impeller (Key 8), small wearplate (Key 9), two studs and
shaft seal as an assembly off the motor shaft and remain-
ing two mounting studs. Remove the starlock retaining
washer on the seal and push the seal out of the seal bore.
Notice: If reconditioning pump with a service kit (Part No.
18598-1000), it is not necessary to remove the seal
because the new seal is pre-installed in the new body. It is
also generally not necessary to remove the slinger or
brass studs screwed into the motor end bell.
ASSEMBLY
If installing a new seal, push it into the seal bore of the
body with the lip pointing toward the impeller bore. Press
the starlock washer into the seal bore with the concave
side up to secure the seal in the bore. Install the two short-
er studs in the two holes with threaded inserts in the new
pump body and tighten finger tight. If required, screw two
longer studs into the tapped holes in the motor end bell.
Slide the new pump body with the shaft seal installed onto
the motor shaft and two long mounting studs in the motor.
Slide the small wearplate over the motor shaft and position
it in the bottom of the impeller bore. Slide the new impeller
onto the motor shaft and, with a counter-clockwise motion,
push it into the pump impeller bore. Position one new gas-
ket on the studs and against the pump body assuring the
cut-out aligns with the inlet groove in the body. Position the
large wearplate and second gasket on the studs and
against the body again aligning the hole in the wearplate
and gasket cut-out with the pump inlet. Position the chop-
per on the end of the motor shaft with drive tab aligned with
flat of shaft and pointing toward the motor. Hold the shaft
to prevent it from turning and secure the chopper to the
shaft with the locknut. Position the macerator housing on
the four studs ensuring the cut-out in the inner wall aligns
with pump body inlet port and hole in the wearplate.
Position a new fiber washer on each of the studs and
secure the macerator housing in place with the four
acorn nuts.
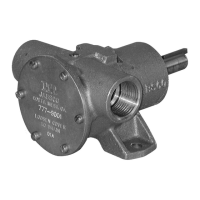
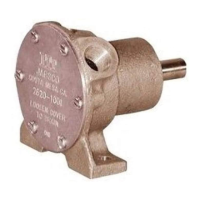
PARTS LIST
PART
KEY DESCRIPTION NUMBER QTY.
1 Acorn Nut 91085-0340 4
2 Fiber Washer* 91613-0140 4
3 Stud* 17288-0010 2
4 Macerator Housing 18594-1000 1
5 Chopper Plate with 37056-1000 1
Locknut
6 Wearplate, Large 18597-1000 1
7 Gaskets (2 ea per kit)* 18596-1000 1
8 Impeller* 6303-0003 1
9 Wearplate, Small 12316-1002 1
10 Body* 18593-1000 1
11 Seal* 1040-0000 1
12 Slinger 6342-0000 1
13 Stud 17288-0000 2
14 Motor 12 volt 17246-0000 1
Motor 12 volt EMC 18753-0638 1
Motor 24 volt 17246-0001 1
Motor 24 volt EMC 18753-0634 1
15 Grommets (Set of 4) 92900-0120 1
Service Kit 18598-1000 1
* These parts are supplied in 18598-1000 Service Kit.
DISASSEMBLY
Notice: Before performing any service, disconnect the
electrical power to the macerator and take precaution to
ensure that it is not restored until service is complete.
Remove the four acorn nuts (Key 1) and fiber washers
(Key 2) from the pump studs (Key 3). Slide the macerator
housing (Key 4) off the studs. Insert a thin bladed 9/32" (7
mm) ignition wrench behind the chopper plate (Key 5) and
onto the flat of the motor shaft to prevent it from turning.
Unscrew (counter-clockwise) the locknut on the end of the
motor shaft and remove the stainless steel chopper
blade.
††
On new model macerators the shaft can be pre-
vented from turning by inserting a screwdriver in the slot of
the motor shaft extending from the motor’s rear end bell.
Remove the pump wearplate (Key 6) and two paper gas-
kets (Key 7). Now slide the pump body (Key 10) with
††
On pumps manufactured prior to April of 1998, posi-
tion a screwdriver between the prongs of the bronze
chopper and unscrew it (counter-clockwise] and
remove it and its lock washer from the motor shaft.
 Loading...