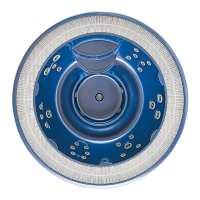
32
31
ITALIANO
(
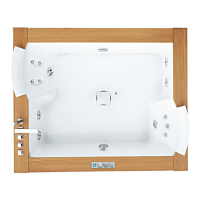
31) AURA UNO e AURA PLUS
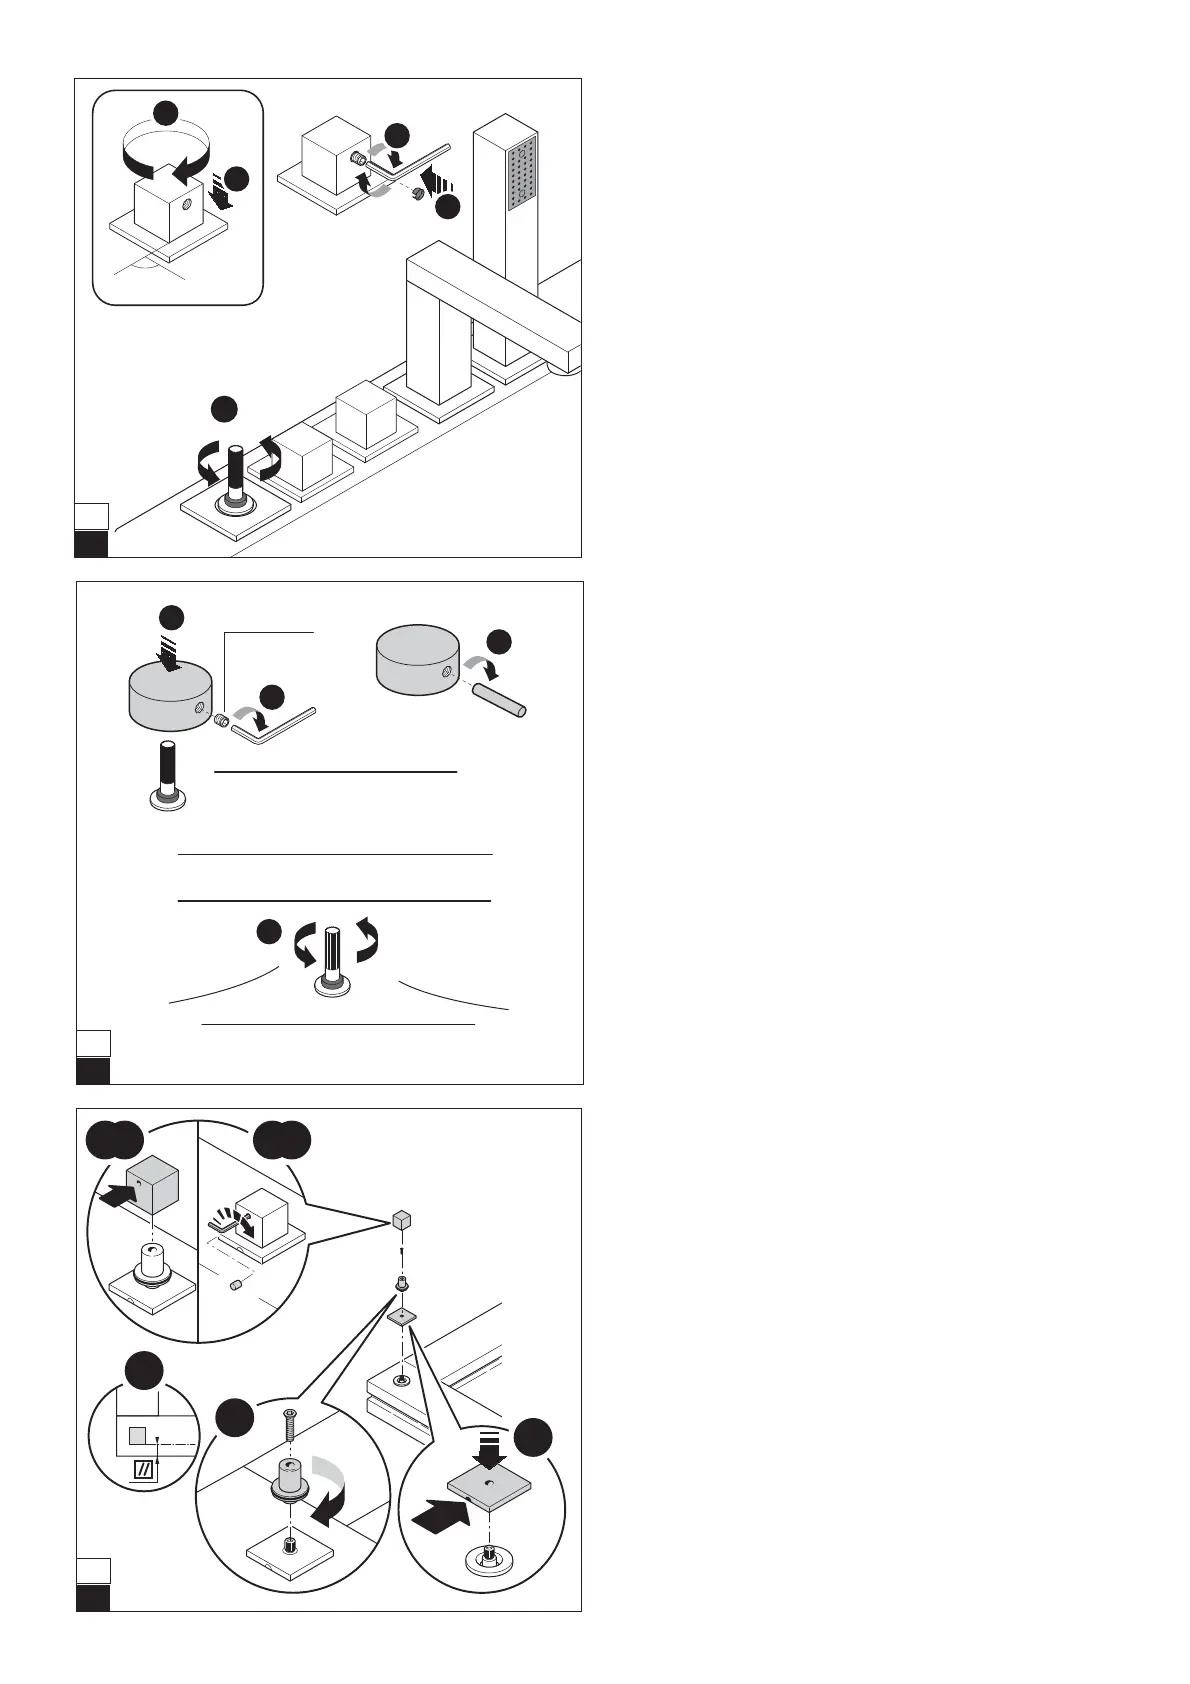
(1) Sollevare il coperchio dello scarico (“salterello”) agendo sull’al-
berino del comando colonna; (2-3) montare la manopola rimanente,
in modo che il foro sia rivolto verso l’esterno vasca, facendo ri-
ferimento a quanto detto per le altre manopole.
ENGLISH
(
31) AURA UNO and AURA PLUS
(1) Raise the cover of the drain via the lever of the column con-
trol; (2-3) install the remaining knob so that the hole faces the
outside of the tub, referring to the information provided for
the other knobs.
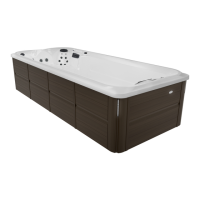
Aura
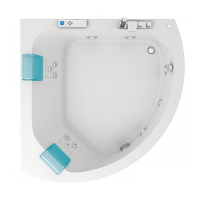
ITALIANO
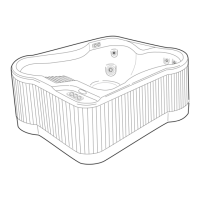
(
33) AURA UNO, AURA CORNER 140 e 160
(fare riferimento agli schemi della disposizione della rubinetteria,
a-f, pos. 6)
Effettuare anche il montaggio della manopola-deviatore.
N.B.: il deviatore permette di ripartire il flusso d’acqua tra i get-
ti rotanti dello schienale e le altre bocchette idromassaggio.
ENGLISH
(
33) AURA UNO, AURA CORNER 140 and 160
(Refer to the diagrams for the tap fixtures,
a-f, pos. 6)
Also install the knob-deviator.
N.B.: the diverter makes it possible to divide the flow of water be-
tween the rotating jets of the back and the other hydromassage
nozzles.
a4 b4
1
2
33
4
1
3
2
M6x14
mm
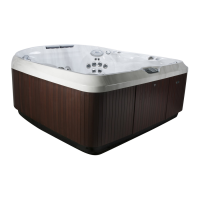
32
ITALIANO
(
32) AURA UNO DESIGN, AURA PLUS, AURA CORNER 140 e 160
Sollevare il coperchio dello scarico (“salterello”) agendo sull’alberino del comando co-
lonna; (2) montare la manopola cilindrica ed avvitarla con la vite s/testa indicata (3).
N.B.: prima di avvitare il comando colonna, verificare che nell’aprire e chiudere
la manopola, il perno (4) non interferisca con il bordo vasca, impedendo così di
aprire o chiudere del tutto lo scarico; in tal caso, regolare la corsa del “salterel-
lo” agendo sul dado sottostante, controllando anche la poszione della manopo-
la.
ENGLISH
(
32) AURA UNO DESIGN, AURA PLUS, AURA CORNER 140 and 160
Lift the drain cover (“latch”) by means of the shaft on the column control; (2) install
the cylindrical knob and tighten the indicated screw peg (3).
N.B.: before screwing in the column control, check that when opening and clos-
ing the knob, the pin (4) does not interfere with the tub edge, thus preventing the
drain from opening or closing all the way. In this case, adjust the travel of the latch
with the nut underneath, also checking the position of the knob.
Aura
Aura