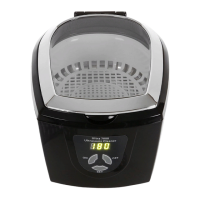
13. On/O Button. After powering on, the LED displays which is the default time as shown
in picture, and the unit is ready with the normal working status. Press On/O button once and
the cleaning starts. The cleaning stops when the timer counts down to . If the unit needs
to be stopped before the timer runs out, press On/O button.
14. - Decreasing Button.
a. When Time is used, each pressing reduces the timer by 1 minute.
b. When Temp is used, each pressing reduces the set temperature down to the next level.
c. When
h/min is used, each pressing reduces the solution set time by 20 minutes.
15.
h/min – Solution Usage Timer Set Button. Each time that
button is pressed, timer is increased by 20
minutes. For example, indicates that the solution is set to be used for 1 hour and 20 minutes.
The maximum time that can be set is 9 hours 59 minutes.
16. Temperature Set Button. 5 set temperatures can be selected. Press Temp button to select the temperature
in the following sequence:
40°C or 104°F 45°C or 113°F 50°C or 122°F 55°C or 131°F 60°C or 140°F
17. Timer Quick Set Button. Press Time button, LED display shows . Each pressing increases the time
by 5 minutes.
11
COMMON CLEANING METHODS
Only tap water is needed.
Suitable Locations:
Jewellery makers, optical labs, biology / chemical labs,
homes, speech therapy clinics, kindergartens/ nursery
schools.
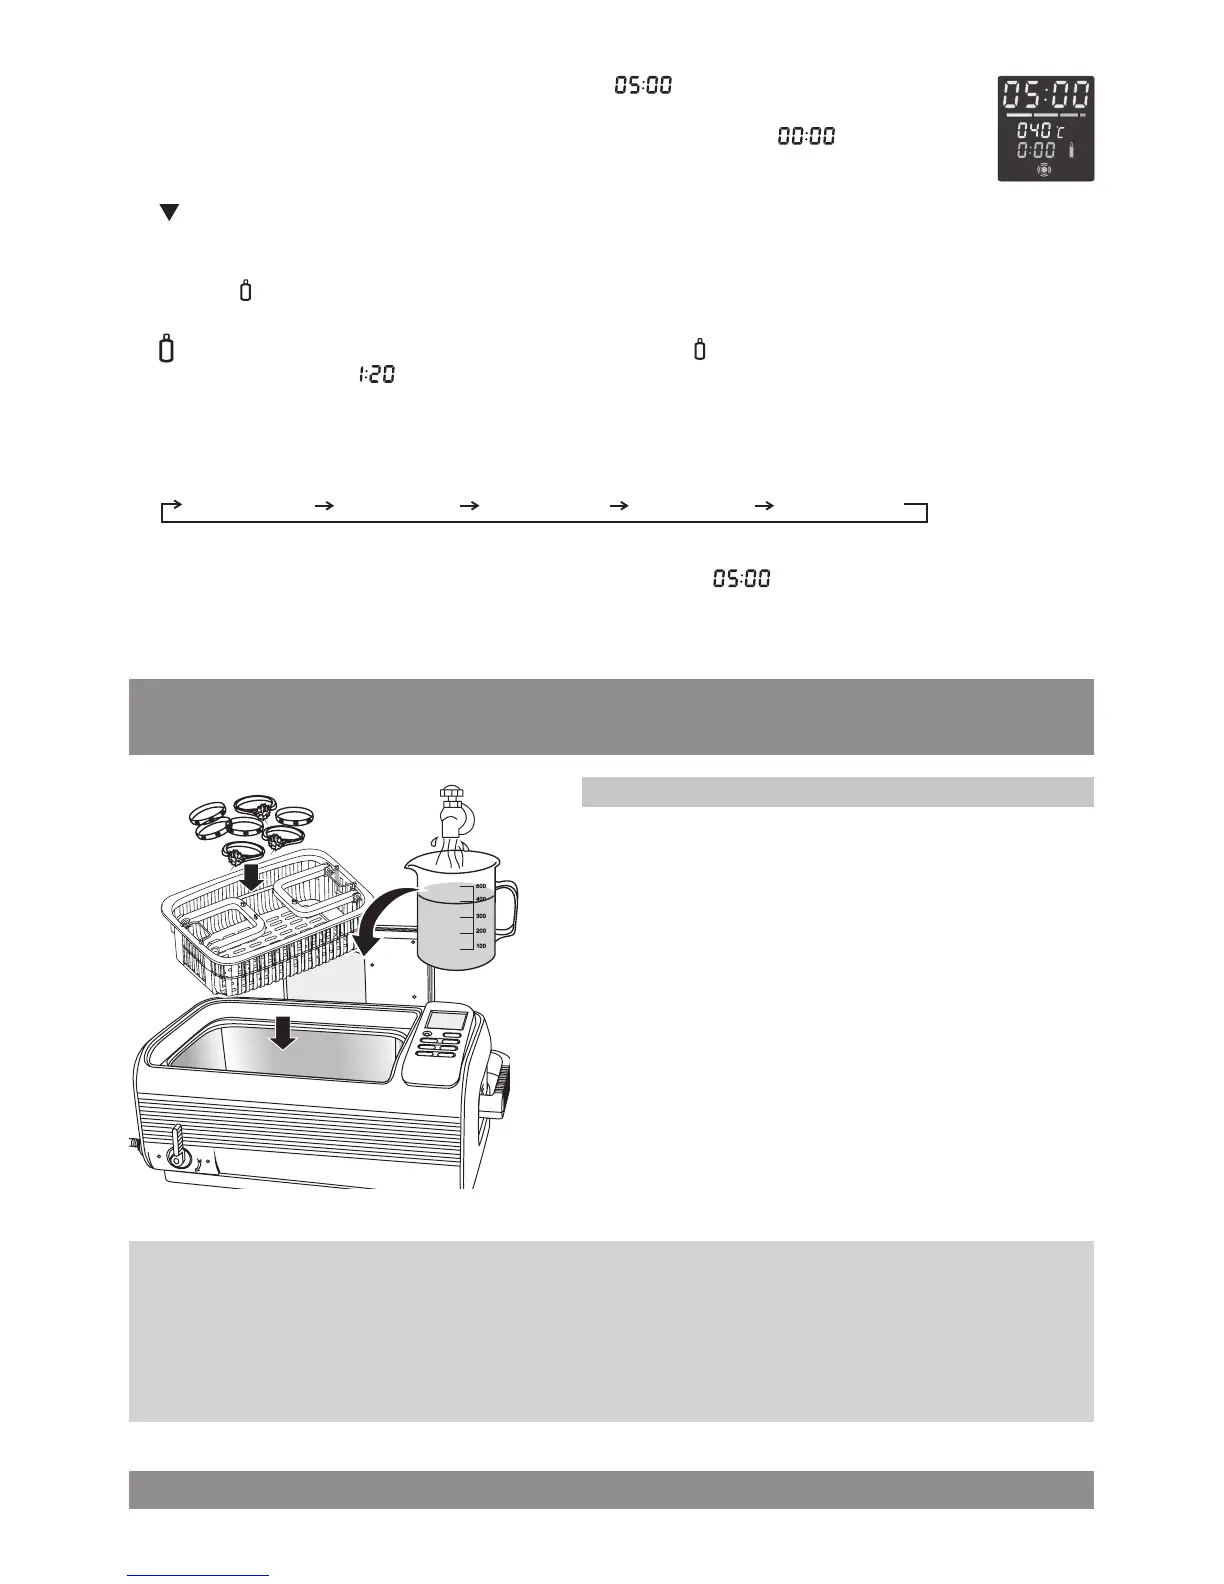
Cleaning Method:
1. Put the items to be cleaned inside the basket and put
the basket inside the tank.
2. Add water to the cleaning tank to a level between
“MIN” and “MAX” lines and above the area to be cleaned.
3. Turn the power switch on. Press Time button to set
the timer to 5 - 10 minutes. Press On/O button to start
cleaning.
Notes on using the basket:
1. The basket reduces the friction between the items and the tank, but a plastic basket absorbs about
30% of ultrasonic energy and reduces the cleaning eect.
2. During cleaning, dirt will come o like smoke and the water will become murky over time.
When “smoke” stops coming, the cleaning is basically done.
REGULAR CLEANING
 Loading...