124610 Rev. B
3
ENGLISH
INSTALLATION
NOTICE: Please reference the JAY Fusion Cushion Owner’s
Manual for set-up and adjustment of the cushion. The
following instructions pertain to the installation and
adjustment of the Air Insert only.
A. INSTALLATION OF THE INFLATION TUBE(S)
Some configurations of the JAY Fusion Cushion with the Air
Insert come with the inflation tube(s) un-installed. If this is the
case, you will have received the following parts:
A second tube will be included
if the air insert was a dual
chamber insert. A coupling
connector (A) will have already
been installed in the truncated
inflation tubes.
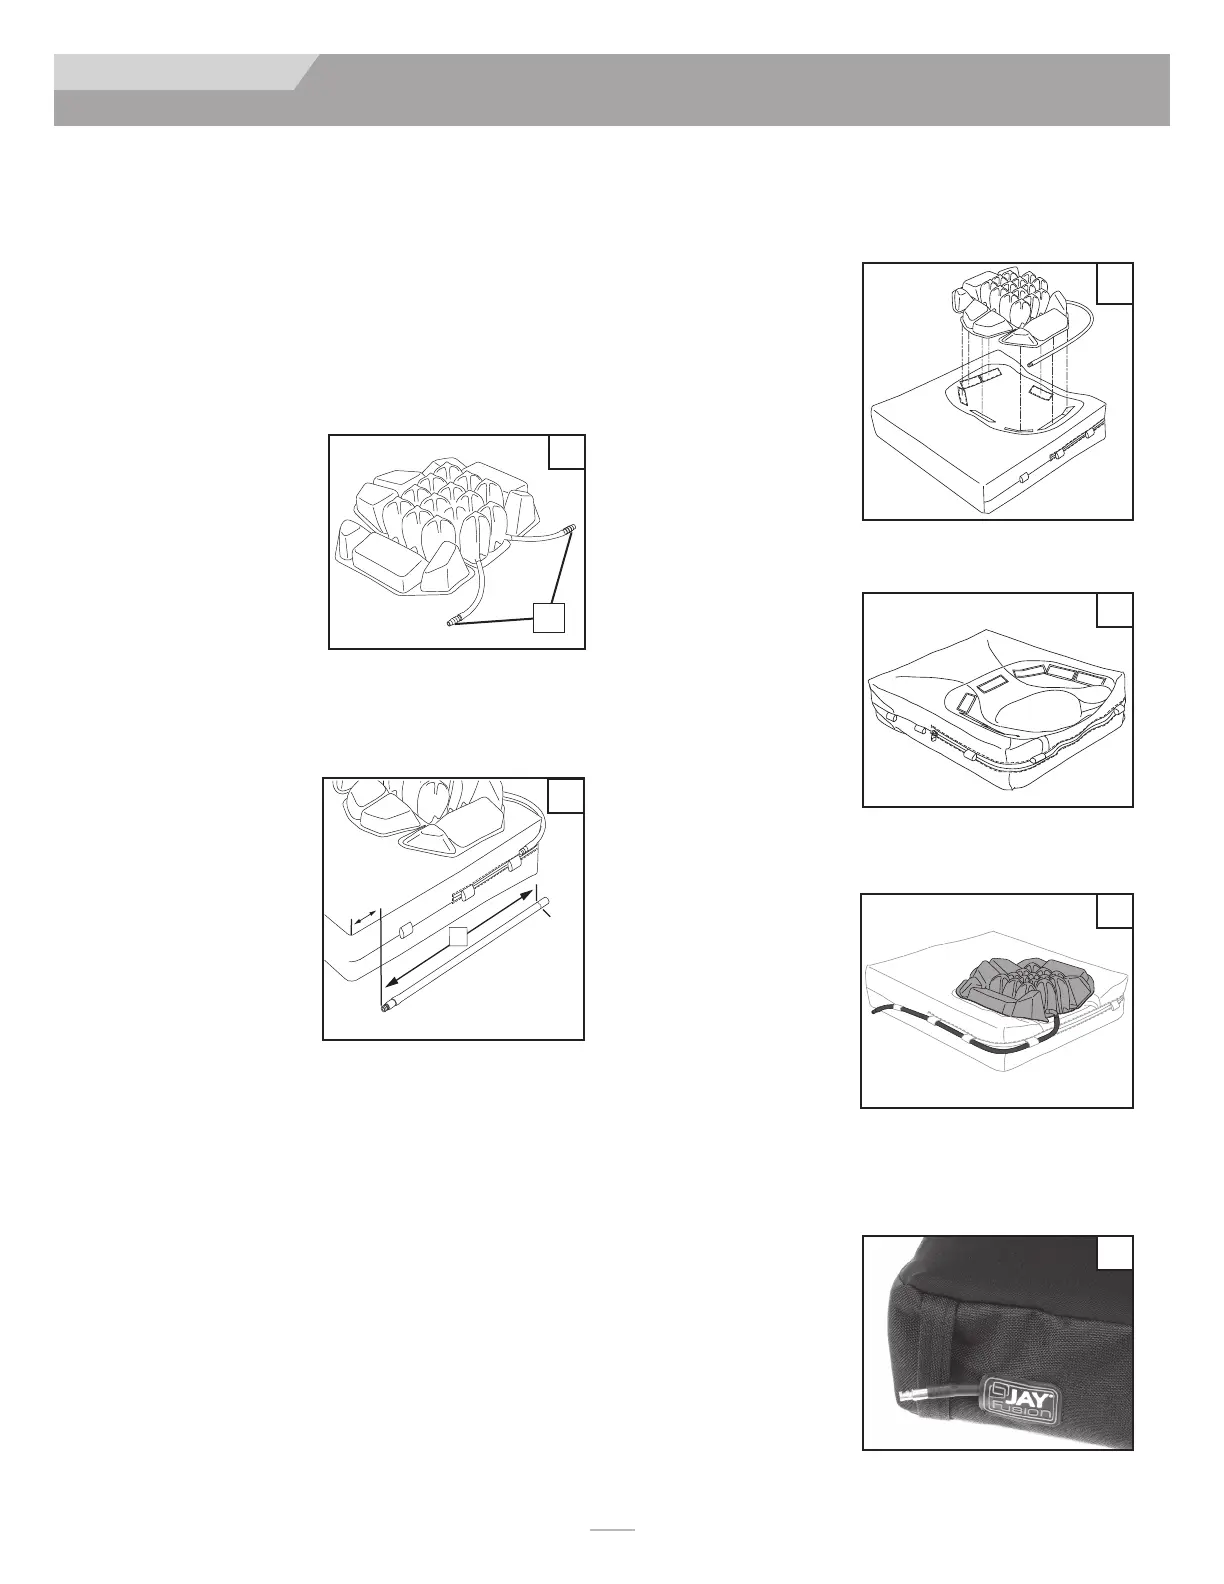
• Figure 1 shows a Dual chambered Air Insert ready to have
the tube length attached by following the steps below.
To install the inflation tube(s)
1. Install the Air Insert
into the JAY Fusion foam
base with inner cover as
outlined in the instruc-
tions below.
2. Measure the length of
inflation tube required
for your specific cushion
size (Figure 2). Do this by threading the tube through the
loops on the inner cover to the front edge. Measure about
1/2” (13mm) from the front edge of the cushion, and run it
the distance (L) until the open end matches up with the tube
valve coming out of the Insert.
3. Cut the length of inflation tube as measured using a sharp
pair of scissors.
4. Insert the coupling connector into the cut length of each infla-
tion tube,
6. Insert the valve
through the slot in
the outer cover
behind the JAY
Fusion logo. The
valve is intended to
protrude through
the slot and be
secured by the side
band on the JAY
Fusion cover. (Figure 6)
6
2. With the Air Insert installed, the inflation tube(s) need to
be secured to the inner cover. Your Air Insert may have one
or two inflation tubes
depending if it is a
single chamber insert
or a dual chamber
insert. Use the fabric
loops on either side of
the inner cover to
route the inflation
tube(s).
(Figures 4 and 5)
3. Thread the inflation tube through the loops starting at the
rear of the inner cover and inserting the tube through
each loop, working your
way around to the
front of the product.
4. If the Air Insert is dual
chambered, do the
same for the second
inflation tube on
the opposite side.
5. Re-install the outer cover by sliding it over the base and
inner cover assembly. It is best to hold the inflation valve
in place with your hand as you slide the cover over the
assem-bly.
1. Air Insert.
2. 1 or 2 lengths of tube with one end terminated by an infla-
tion valve, the other end
1
open.
2
A
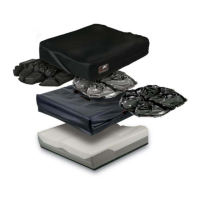
B. INSTALLATION OF THE AIR INSERT INTO CUSHION
1. With the outer cover removed from the JAY Fusion
foam base, install the Air Insert into the Well. Ensure
that the Air Insert is aligned with the well and that the
inflation tubes are to the rear of the cushion. (See Figure 3).
Ensure the Velcro
attached to the Air
Insert is aligned with
the matching Velcro
adhered to the inner
cover.
4
5
3
 Loading...