SECTION 8
PLUMBING SYSTEM
1. Be sure the water heater is ON and had
sufficient time to heat the water.
2. If dry camping, be sure your 12-volt water
pump is ON.
3. Adjust the hot and cold faucets to the
desired temperature before bathing.
4. To conserve water while showering, wet
down and turn the water OFF while you
use soap, then rinse.
5. When you are finished, shut the water
faucets OFF.
Unlike your home, the RV does not contain a
water pressure balance valve. If someone is
using the shower, it is recommended that the
fresh water system NOT BE USED until he or
she is finished.
Maintenance
Read the OEM operator’s manual or label
instructions. The tub/shower walls (if
applicable) in your RV are made of ABS
plastic material. Use a mild detergent soap
and warm water to clean. Contact your RV
dealer for repair or replacement.
Do not use gritty or abrasive particle soaps or
scouring compound to clean ABS plastic.
Avoid using “Citrus” or biodegradable
cleaners which contain “D-Limonene.” They
will damage plastic materials.
WATER PURIFICATION SYSTEM
(I
F SO EQUIPPED)
The water purification system is located under
the kitchen sink. If the water supply has not
been used for some time, allow the water to
flow for several minutes to flush the system.
When not in use, the water filter cartridge
should be stored out of freezing temperatures.
RV antifreeze will damage the water filter
cartridge. The OEM has supplied a clear
plastic bypass hose with fittings on either end
to replace the water filter cartridge when the
RV is being winterized. This clear plastic
bypass hose is re-usable; store it when it is
not in use.
Each new RV is winterized with RV
antifreeze before it leaves Jayco, Inc. To
use the water purification system the clear
plastic bypass hose must be removed and
the water filter cartridge installed.
Replacing the water filter cartridge
Replace the water filter cartridge when water
flow from the kitchen faucet is too slow for
convenience, or at least once a year.
1. Drain the fresh water system.
2. Place a container beneath the water
cartridge filter to catch any spillage.
3. Unscrew the fittings at the top and bottom
of the water filter cartridge. Pull the water
filter cartridge down and out of the fittings.
4. Insert the new water filter cartridge and
tighten the fittings securely by hand.
Dispose of the used water cartridge filter.
For more information
Refer to the OEM operator’s manual and the
label on the water filter cartridge.
DRAINING THE FRESH WATER SYSTEM
To drain the fresh water holding tank and
supply lines:
1. Open all faucets, including the outside
shower faucet.
2. Open the “fresh
tank drain” valve.
All permanent fresh
water tanks can be
drained by one of two
types of drain valve:
A white plastic drain is
attached to the
exterior wall (open
valve to drain) or a valve located inside
the RV adjacent to the water tank (this
knob turns 45° to open or close).
Fig. 8.3 Exterior
fresh water drain
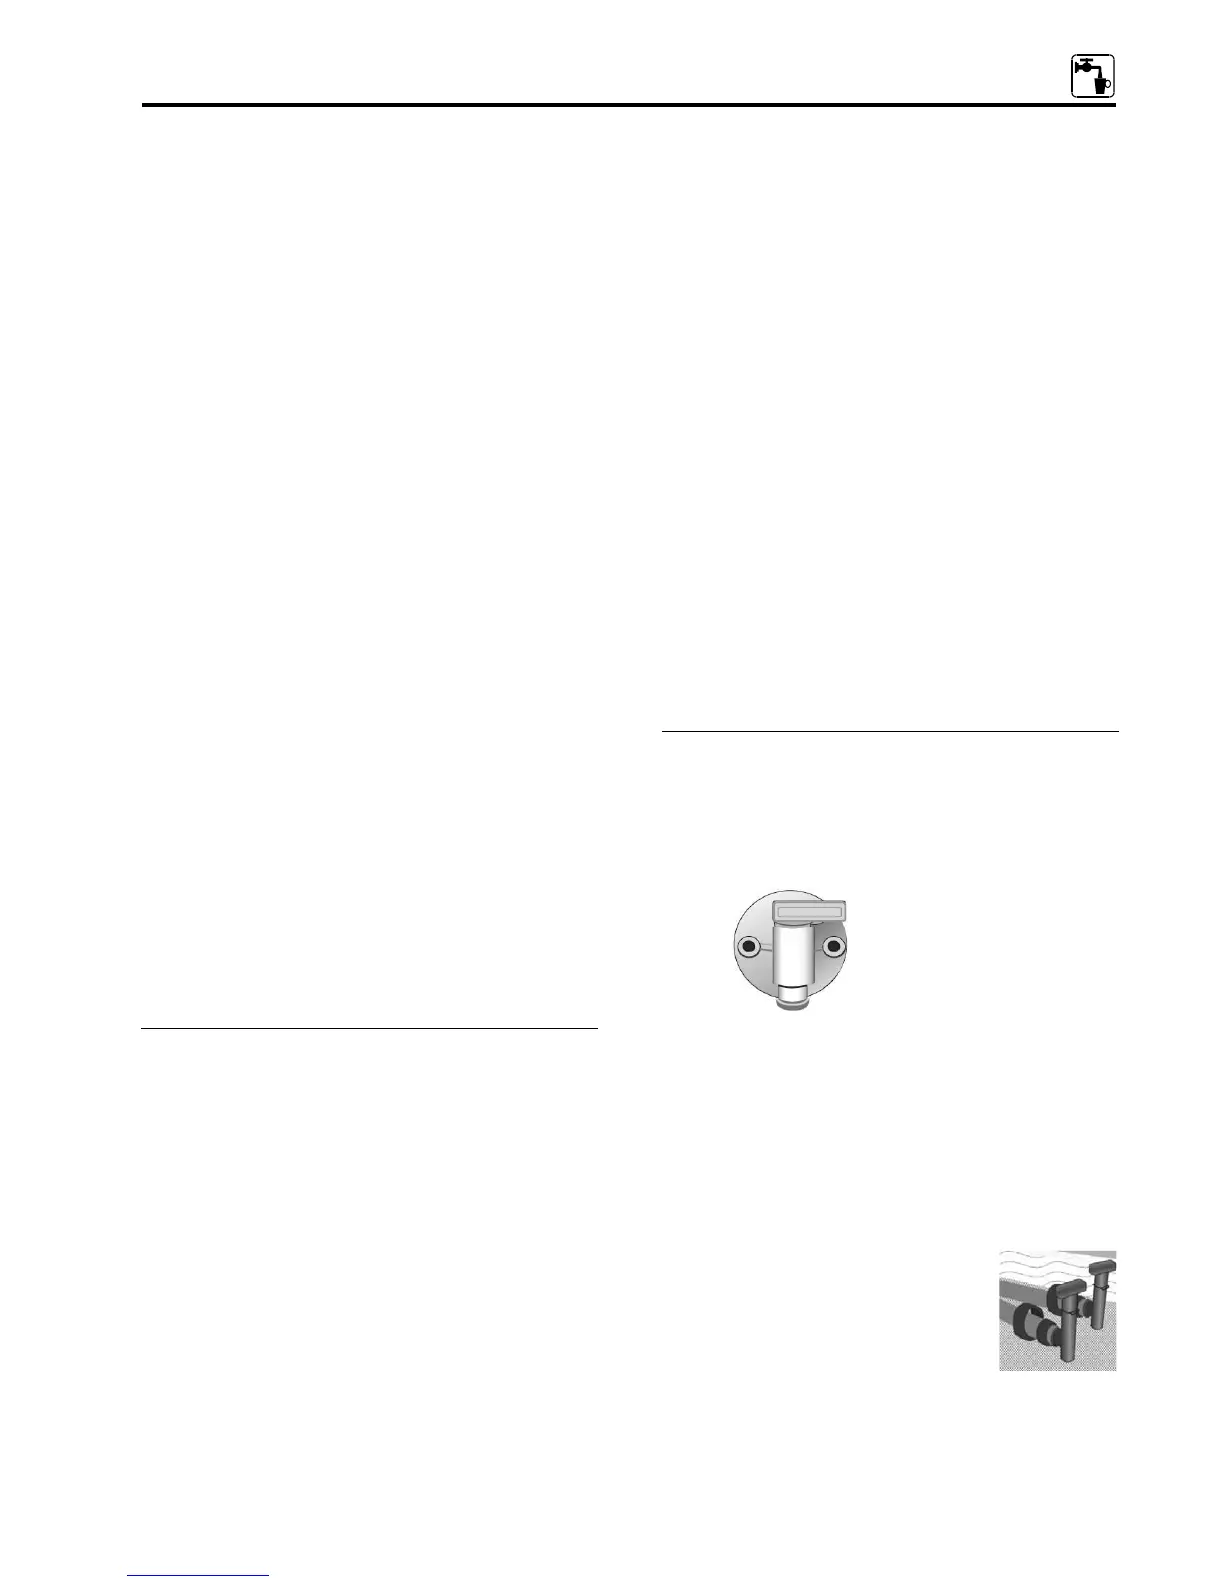
3. Open the “low point drains” by turning,
then pulling the handles up.
As their name indicates,
they will be at the lowest
point of water lines. A label
is placed on the outside of
the RV to indicate where the
drains are located. The
drains will typically need to
be opened from inside the
Fig. 8.4 Low
point drains
57