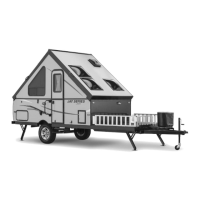
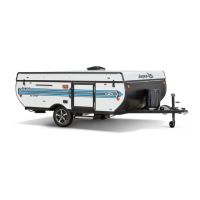
SECTION 4 – VEHICLE OPERATION JAYCO TOWABLE TABLE OF CONTENTS
4-28
ALWAYS roll up your canopy dry. If you ever need to roll up the canopy when it is wet,
unroll it within 24 hours and allow it to dry. Mildew will develop on damp and wet
canopies. In addition, be sure to follow the list when caring for your canopy.
DO NOT...
Fold or roll in extreme cold temperatures.
Drag your canopy across any abrasive surfaces, such as a cement drive.
Get insect spray on the fabric, as some solutions may impair the water repellency of
the fabric and cause staining.
Force or yank your canopy when raising or lowering it. Do it gradually.
Allow water to stand on the canopy, causing “pocketing” or possible stretching.
Wash your canopy with a harsh strong solution, or scrub too vigorously with an
abrasive cleaner.
Grill underneath the canopy.
Store the canopy when it is damp or wet. Mildew is a fabric’s greatest enemy and is
caused by dampness. Mildew may grow on the surface of a damp canopy and
permanently stain the fabric.
Permit leaves, twigs, etc. to remain on your canopy as they might cause a staining of
the fabric.
Wrap steel or aluminum hardware with the canopy.
Initial Installation:
NOTE: The initial installation of the canopy should be performed by an authorized
service technician. Read all instructions prior to installing.
Canopy Set-up:
NOTE: It will be easier to set up the canopy if you don’t raise the roof of the unit until
canopy set up is complete.
1. Unzip the canopy bag.
2. Hold on to the canopy and undo the Velcro retaining straps.
3. Unroll the canopy until the main rail is exposed.
4. Release the canopy legs from the main rail. Move the foot at the end of the canopy
leg so it will be flat when placed on the ground (Fig 4a). Place your foot on the foot
of the canopy leg and pull up until the leg locks into place. Set the canopy legs on the
ground in the upright position.
NOTE: If your canopy has a center post, insert the post into the hole in the center of
the main rail.
5. Pull out the telescoping side arms. Pull the canopy flaps over the front and side rails
and at the corners. NOTE: tilting the vertical legs in slightly will make it easier to
pull the flaps down at the corners. Secure the end of the side arm into the top holder
on the side of the unit (Fig. 5a), making sure the side arm snap buttons lock into place
(Fig 5b). The side arm(s) should be extended so the canopy fabric is tight, but not
tight enough to pull or stretch the fabric. If the side arms start to bow as you raise the
unit, STOP IMMEDIATELY and adjust the canopy.