JAYCO TOWABLE SECTION 4 – VEHICLE OPERATION
4-29
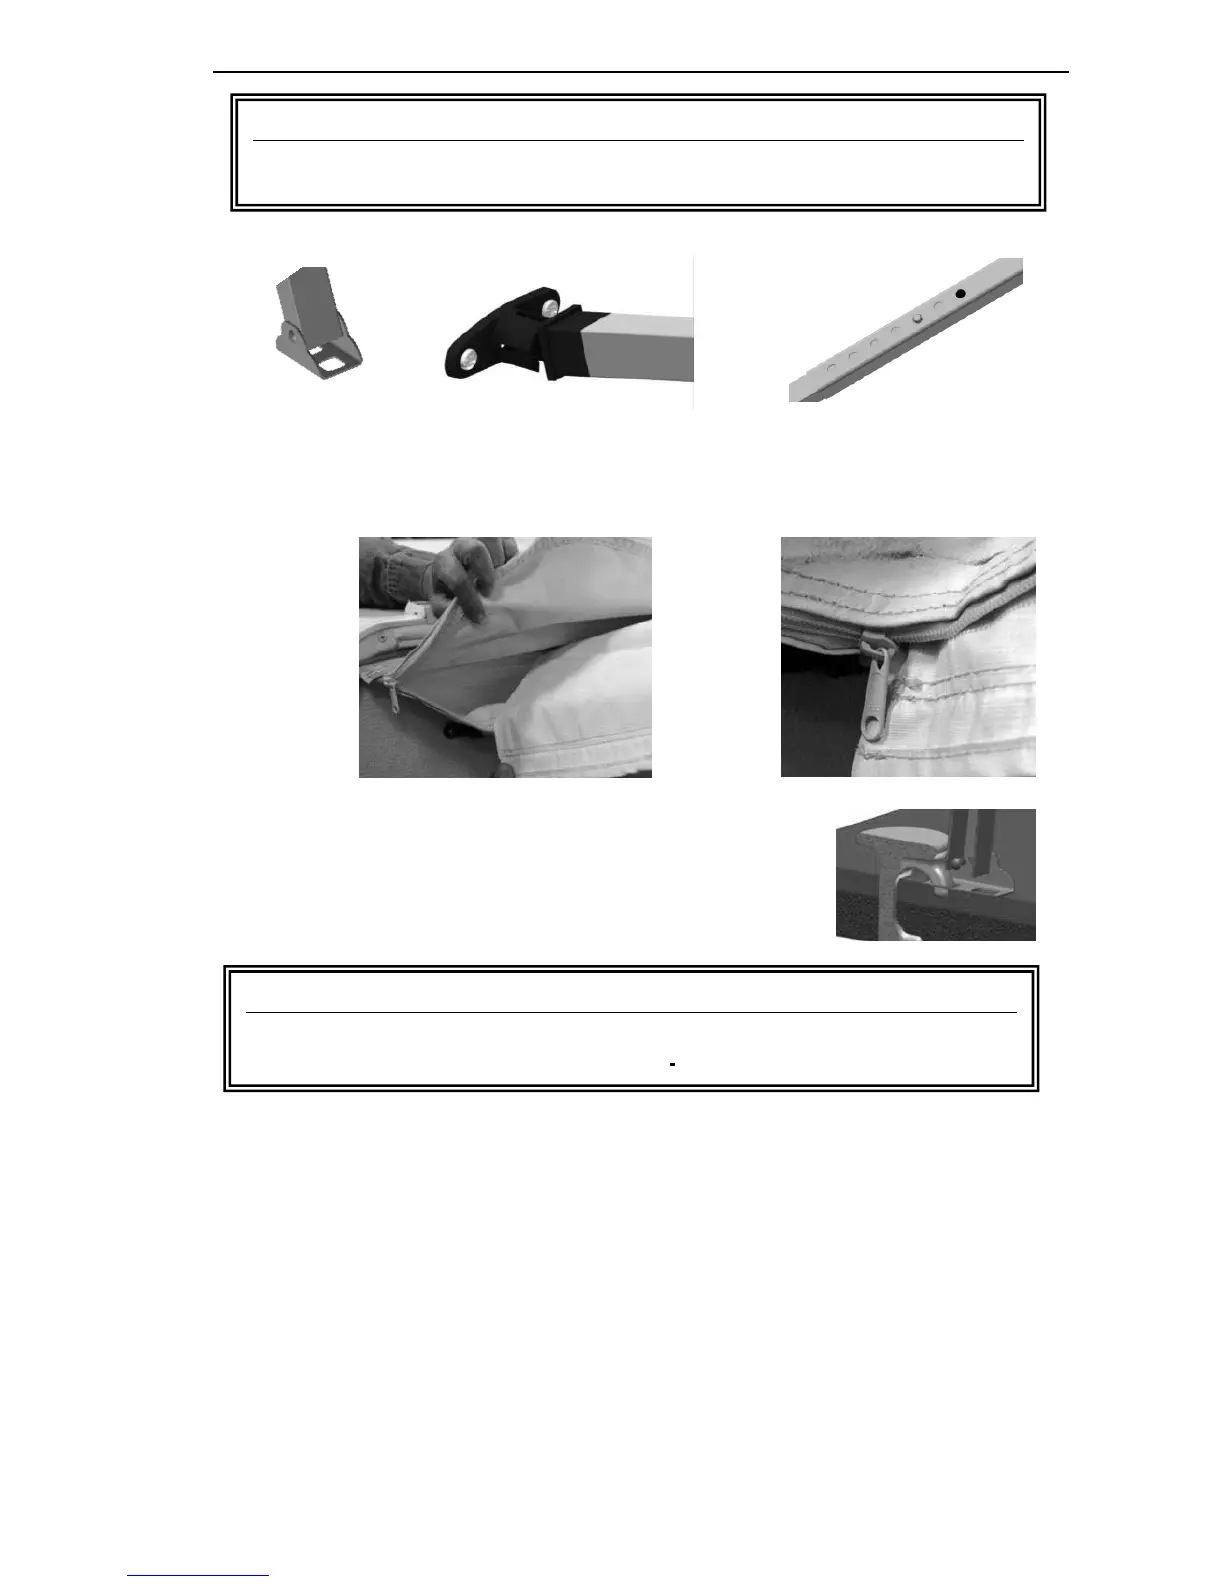
6. Pull down the side flaps at the unit and place the end of the awning cover over the end
(Fig. 6a). Zip the canopy cover until you reach the end of the side flap (Fig. 6b).
This will help direct the water run-off from the canopy.
7. Secure all canopy legs by installing tent stakes next to
each leg so that the “hook” on the stake is inserted into the
hole on the foot.
8. The roof of the unit can now be raised and tent installation completed.
NOTE: If also installing a screen room, wait until that set up is complete to do Steps 7
& 8.
Alternate Set-up:
The canopy can be set up so that the canopy legs are angled and attached to the side of the
unit. This eliminates the need to stake down the canopy legs.
NOTE: This method cannot be used if you are using a screen room.
Follow Steps 1-6.
7a. Raise the roof of the unit to full height.
8a. Tilt the canopy legs towards the unit. Insert the foot into the bracket on the
side of the unit (Fig 8a-1). Pull the bracket bar down to lock the canopy foot
securely in place (Fig. 8a-2).
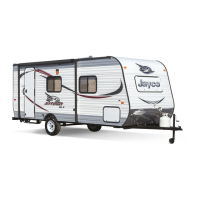
CAUTION
Over tightening the canopy may result in excessive wear or tearing of the fabric at
seams, at corners or where the canopy is attached to the unit.
CAUTION
Always install tent stakes to avoid wind damage to the poles and fabric. Wind
and rain damage are not covered by warranty.