Key Features
• 150 Watts Continuous Power
Handling
• Professional Drivers and
Crossover Network
• Included Mounting Bracket
• Transparent and Faithful
Sonic Performance
• Magnetically Shielded Enclosure
• SonicGuard™ Overload
Protection
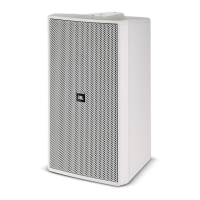
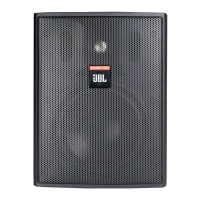
Your Control 1 Pro is a compact, high-
performance professional loudspeaker
system that features monitor-grade low
and high frequency drivers coupled with
a professional crossover network. The
rugged and durable molded enclosure is
magnetically shielded making the Control 1
Pro ideal for use with video and computer
monitors or other magnetically sensitive
equipment. Moreover, the Control 1 Pro’s
compact design is ideal for audio-visual
applications, computer workstations,
recording and broadcast studios, mobile
audio-video control rooms and foreground
and background music.
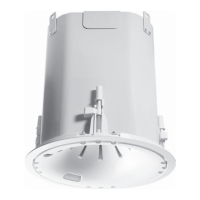
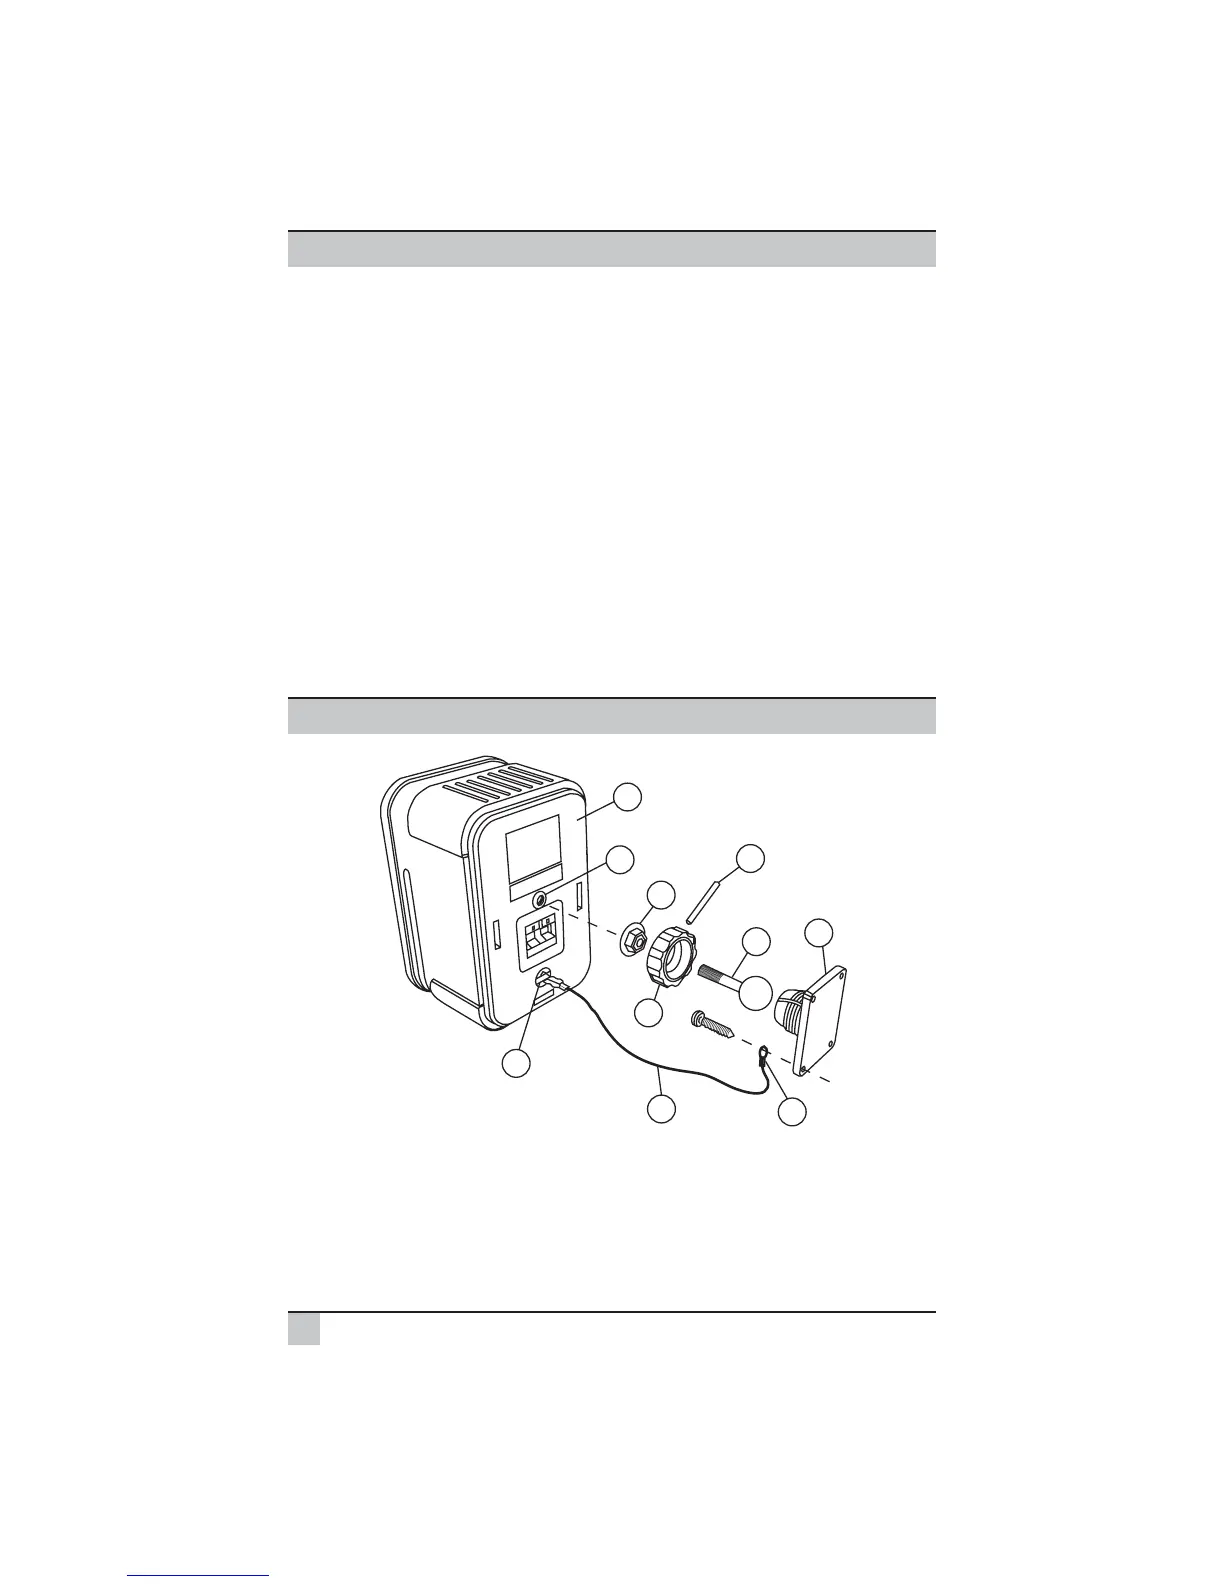
A) Screw the metal rod/ball assembly (1) into the threaded insert (2) on the back of
the cabinet (8) until it is seated against the bottom of the insert.
B) Next, tighten the “knurled” nut (3) with a small wrench until it is seated against the
back of the cabinet. Tighten the nut until it has “locked” the rod/ball assembly (1)
to the cabinet. Note: the nut may leave marks on the back of the cabinet where
the attachment is made however, the flange of the nut will cover these marks.
Control 1 Pro
Bracket Assembly and Mounting Guide
Control 1 Pro User’s Guide
2