Do you have a question about the JBL Control 10 Series and is the answer not in the manual?
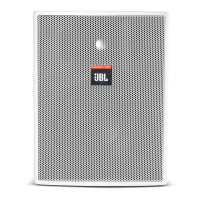
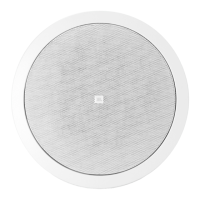
Detailed descriptions of the Control 12C/T, 14C/T, and 16C/T ceiling loudspeakers.
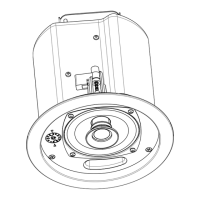
Diagram showing key features and components of the ceiling loudspeakers.
Details on optional brackets for new construction and sheet rock installations.
Guidance on using the included C-shaped backing plate for sheet rock.
Specifies the required cutout diameters for each speaker model.
Instructions for cutting the circular hole for speaker installation.
Guidance on inserting C-plate and tile rails for suspended ceiling installation.
How to connect wires to the removable locking connector.
Details on tile rails, vibration, and cutout placement for suspended ceilings.
Explains the function of each pin on the removable locking connector.
Describes connecting subsequent speakers in parallel for continuous connection.
Describes connecting subsequent speakers via loop-through for isolation.
Instructions for securing the strain relief fitting and closing the terminal cover.
Procedures for inserting the speaker into the ceiling and tightening mounting tabs.
How to set the tap selector on the front baffle before powering up.
How to insert and remove the speaker grille, including painting tips.
Guidelines on painting the speaker rim, grille, and the speaker with the ceiling.
Information on UL listing, fire safety, and EMC compliance for the speakers.
Notes that no maintenance is required if installed correctly.
Information on obtaining replacement parts and authorized service.
Details on warranty information and how to contact JBL Professional.
Technical specifications for Control 12C/T, 14C/T, and 16C/T models.
| Impedance | 8 Ohms |
|---|---|
| Enclosure Material | Polypropylene |
| Type | 2-way |
| Drivers | 1 x 0.75" tweeter |
| Tweeter | 0.75" |