26
· Press OK for Start Calibration.
· Follow the instructions given on the display and dip both sensors into the
appropriate buer solution, rst in one solution and then the other. The device will
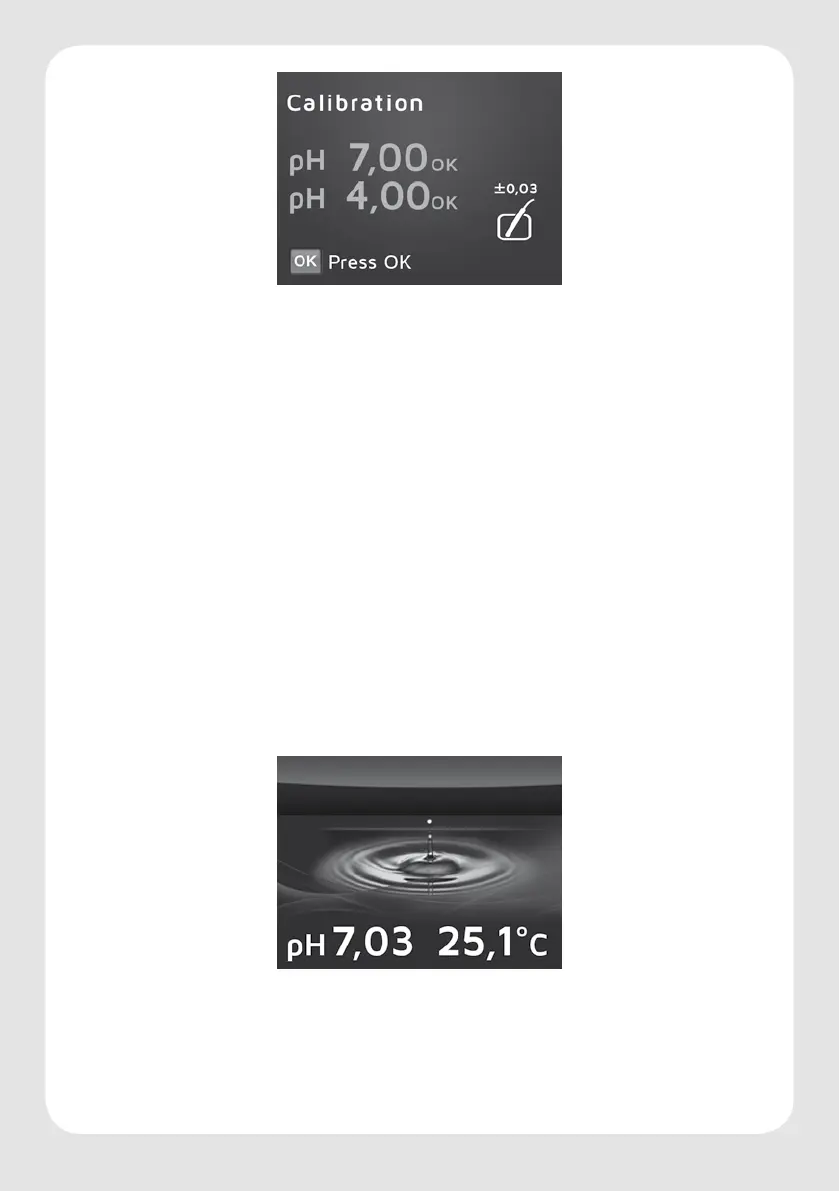
carry out a two-point calibration for you, rst calibrating with buer solution 7.00,
then with buer solution 4.00 (.never the other way round!). The temperature
is unimportant as it is measured by the temperature sensor and the temperature
inuences are automatically compensated.
· After successful calibration, “Calibration OK“ will appear on the display.
· Press OK to conrm.
· Press the setting symbol. The value overview appears, giving information about the
most important values (chapter 4).
· Dispose of the buer solutions, briey rinse the cuvettes in tap water and dry them
on paper kitchen roll.
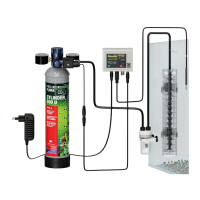
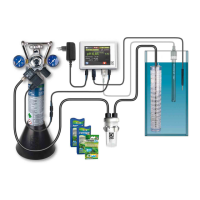
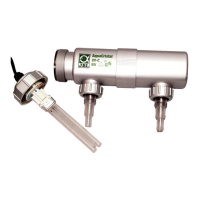
Install the pH sensor in the darkest possible position with a good water ow in the aquarium.
The sensor can be immersed to a maximum of 2/3 of its length. The sensor cap with cable
must not be immersed in the water.
The temperature sensor can be attached at any position in the aquarium using the suction
pads provided. Now you can select your required settings on the menu (chapter 7.1 – 7.13).
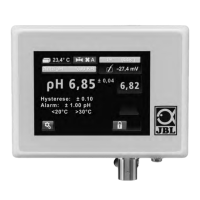
Sleep mode and value overview
If no input is made, the device will switch into the sleep mode after about 30 seconds.
There the image of a water drop and the permanent information of the present pH and
temperature values appear. After tapping the screen the value overview will appear. It gives
information, as illustrated below, about the most important processes relating to the pH
value and the supply of CO into the aquarium: