Section 1 - General Information
General Procedures
Gas Hydraulic Bladder Accumulators
1-21 1-21
9813/4050-01
3 Connect the accumulator adaptor 1 (from kit 892/
00239) to the accumulator. Connect the charging unit
6 to the accumulator adaptor.
Connect the charging hose to the pressure regulator
3 using the correct adaptor.
Set the pressure regulator 3 to the minimum
pressure.
4 Via the charging tool knob 7, open the filler plug 2 by
three turns.
5 Open the discharge valve 5 on the charging unit.
Carefully open the nitrogen gas bottle valve 4 and
confirm that the nitrogen gas flows freely.
Shut the gas bottle valve and the discharge valve 5.
6 Carefully open the gas bottle valve. Slowly increase
the pressure using the gas bottle pressure regulator
and watching the gauge 8 on the charging unit, allow
nitrogen to flow until the pressure reading reaches 4
bar (72.5 psi) ABOVE the operating charge pressure.
Important: DO NOT exceed the maximum working
pressure of the accumulator. The maximum working
pressure is marked on the accumulator body.
Close the gas bottle valve.
7 Wait 10 minutes to dissipate the heat generated
during charging.
8 Reduce the pressure in the accumulator to the
specified operating charge pressure by carefully
opening and closing the discharge valve 5. Turn the
knob 7 to shut the filler plug 2 and tighten to a torque
of 20 Nm (15 lb ft).
9 Release the pressure from the charging hose by
opening the discharge valve 5.
Disconnect the charging unit and adaptor from the
accumulator.
10 Check the gas-tightness of filler plug 2 by pouring
some oil around it.
11 Replace the plastic cap.
C110550
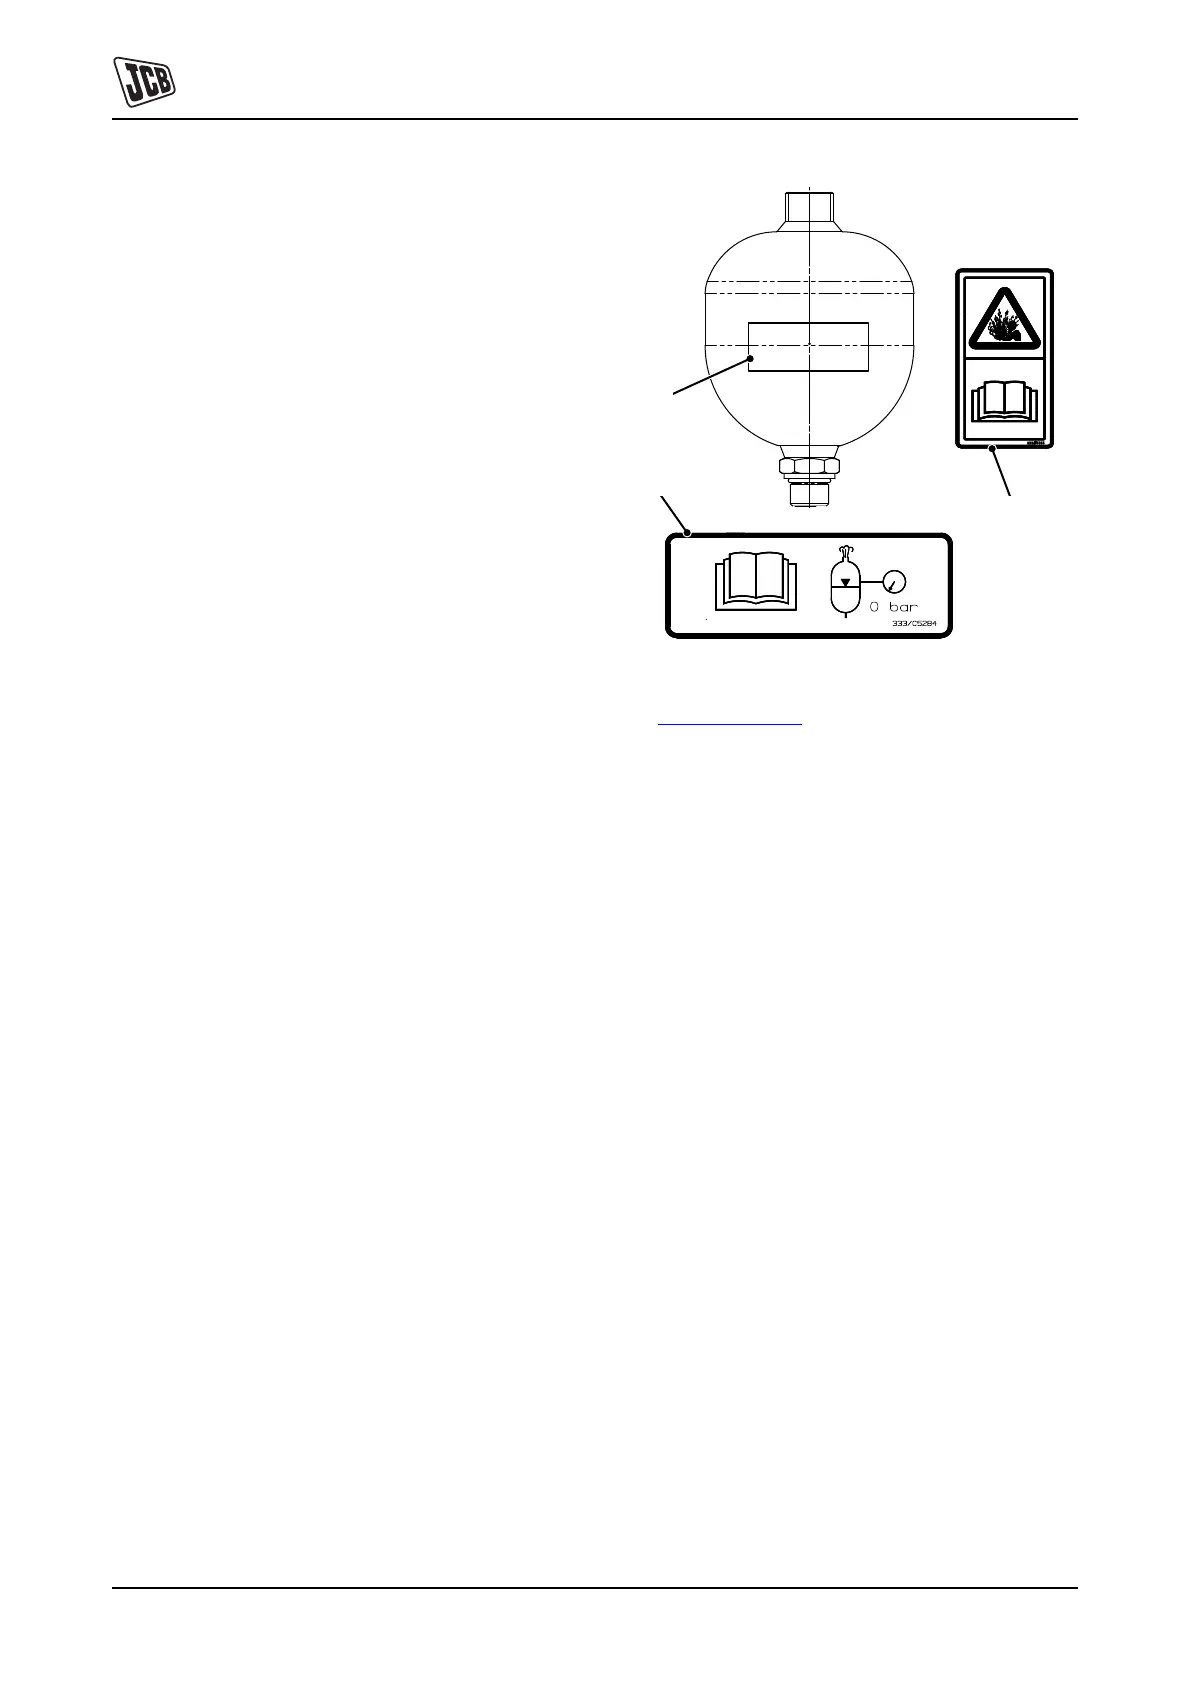
Fig 2.
12 K Fig 2. ( T 1-21) Remove the discharged state label
3 and attach the pressurised warning label 2 at
position 1 on the accumulator.
Install the accumulator and make sure the
pressurised warning label is clearly visible.
1
3
2