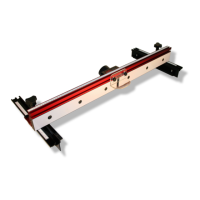
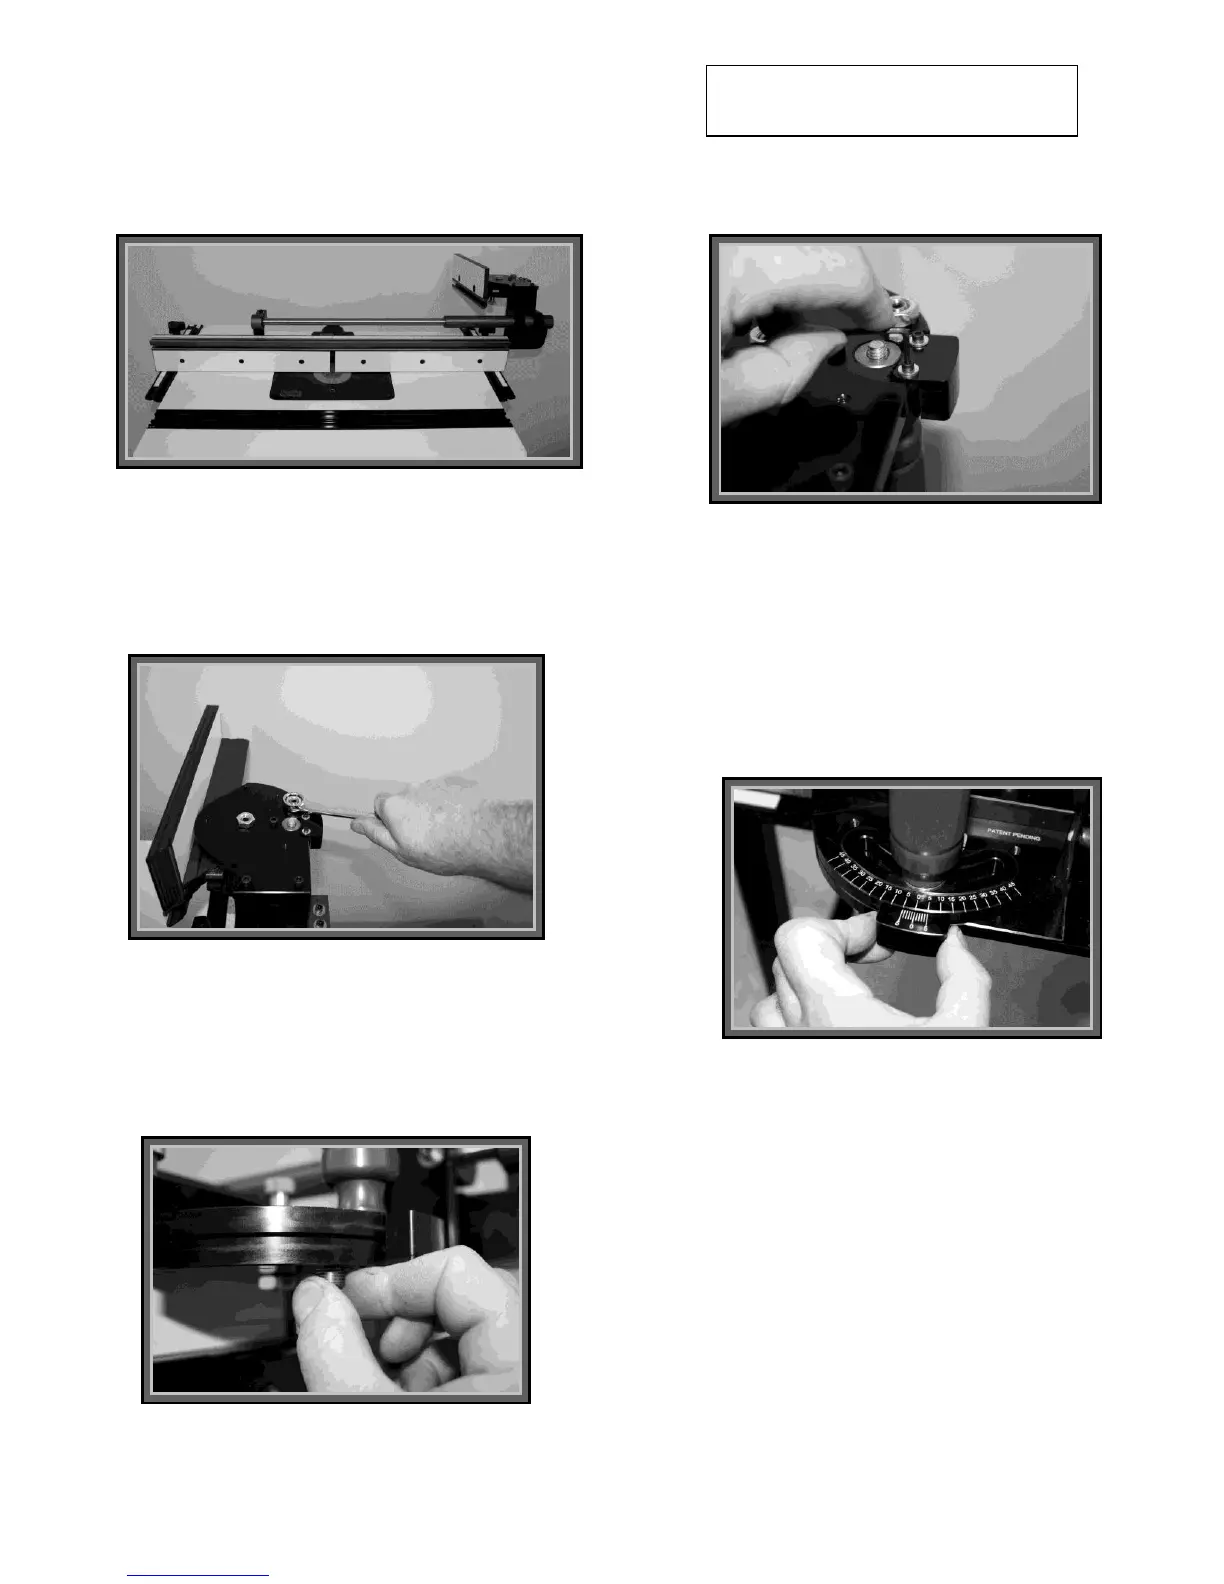
19. Flip the miter gauge upside down again.
Using a 7/64” hex key loosen the two
cap screws (Fig. 19)
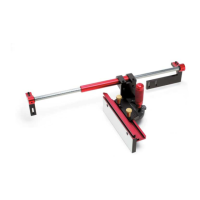
16. If your detents are not at zero, roll the
miter gauge assembly up over the guide shaft
(Fig. 15). There are machined recesses along
the top edge of the mounting bracket for the
miter gauge to rest in an upside down
position when not in use.
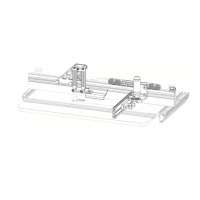
17. Using a 3/4” wrench, loosen and remove the ½-
20 hex nut on the bottom of the gauge base (Fig
16).
20. Flip the miter gauge assembly back to
it’s upright position and align the zero
indicators (Fig. 19). Then without moving the
scale finger tighten the two cap screws
enough to hold the position. Carefully flip the
miter gauge upside down and tighten the
socket head screws.
18. With your finger adjust the detents on
your gauge to zero the detent block (Fig
17).
If your gauge indicator block is not at
the zero position, do the following:
 Loading...