IMPORTANT SAFETY PRECAUTIONS
! Before operating any machinery or
power tool, read and understand all
safety instructions in the owner’s
manual for the tool or machine.
! If you do not have a manual, contact
the manufacturer and obtain one
before using any tool or machine.
! Always wear eye protection in
compliance with ANSI safety
standards when operating any power
tools or machinery.
! Always use proper guards and safety
devices when operating power tools
and machinery.
! Carefully check router bits before
each use. Do not use if damage or
defect is suspected.
! Do not exceed the recommended
RPM for any router bit.
! Do not wear loose clothing or jewelry
that may catch on tools, machinery or
equipment.
! Unplug the tool or machine when
mounting or making any adjustments
to mechanical performance.
ROUTING SAFETY PRECAUTIONS
! Always make sure the fence on your
router table is locked firmly into
position before each use.
! Never force the bit or overload the
router beyond the expectations of the
tool.
! Be sure that at least 3/4 of the shank
length is inserted securely in the
router collet.
! Never bottom out the bit in the collet.
Allow 1/8” clearance between
bottom of shank and bottom of collet.
! Always rout in two or more passes
when large amounts of stock must be
removed.
! Use reduced RPM speeds for larger
diameter router bits.
TOOLS REQUIRED FOR ASSEMBLY:
Phillips screw driver or #3 square drive
7/16” wrench or socket
If you are not mounting to a JessEm table top
you will also need:
3/16” Drill Bit
1/16” Drill Bit
Pencil
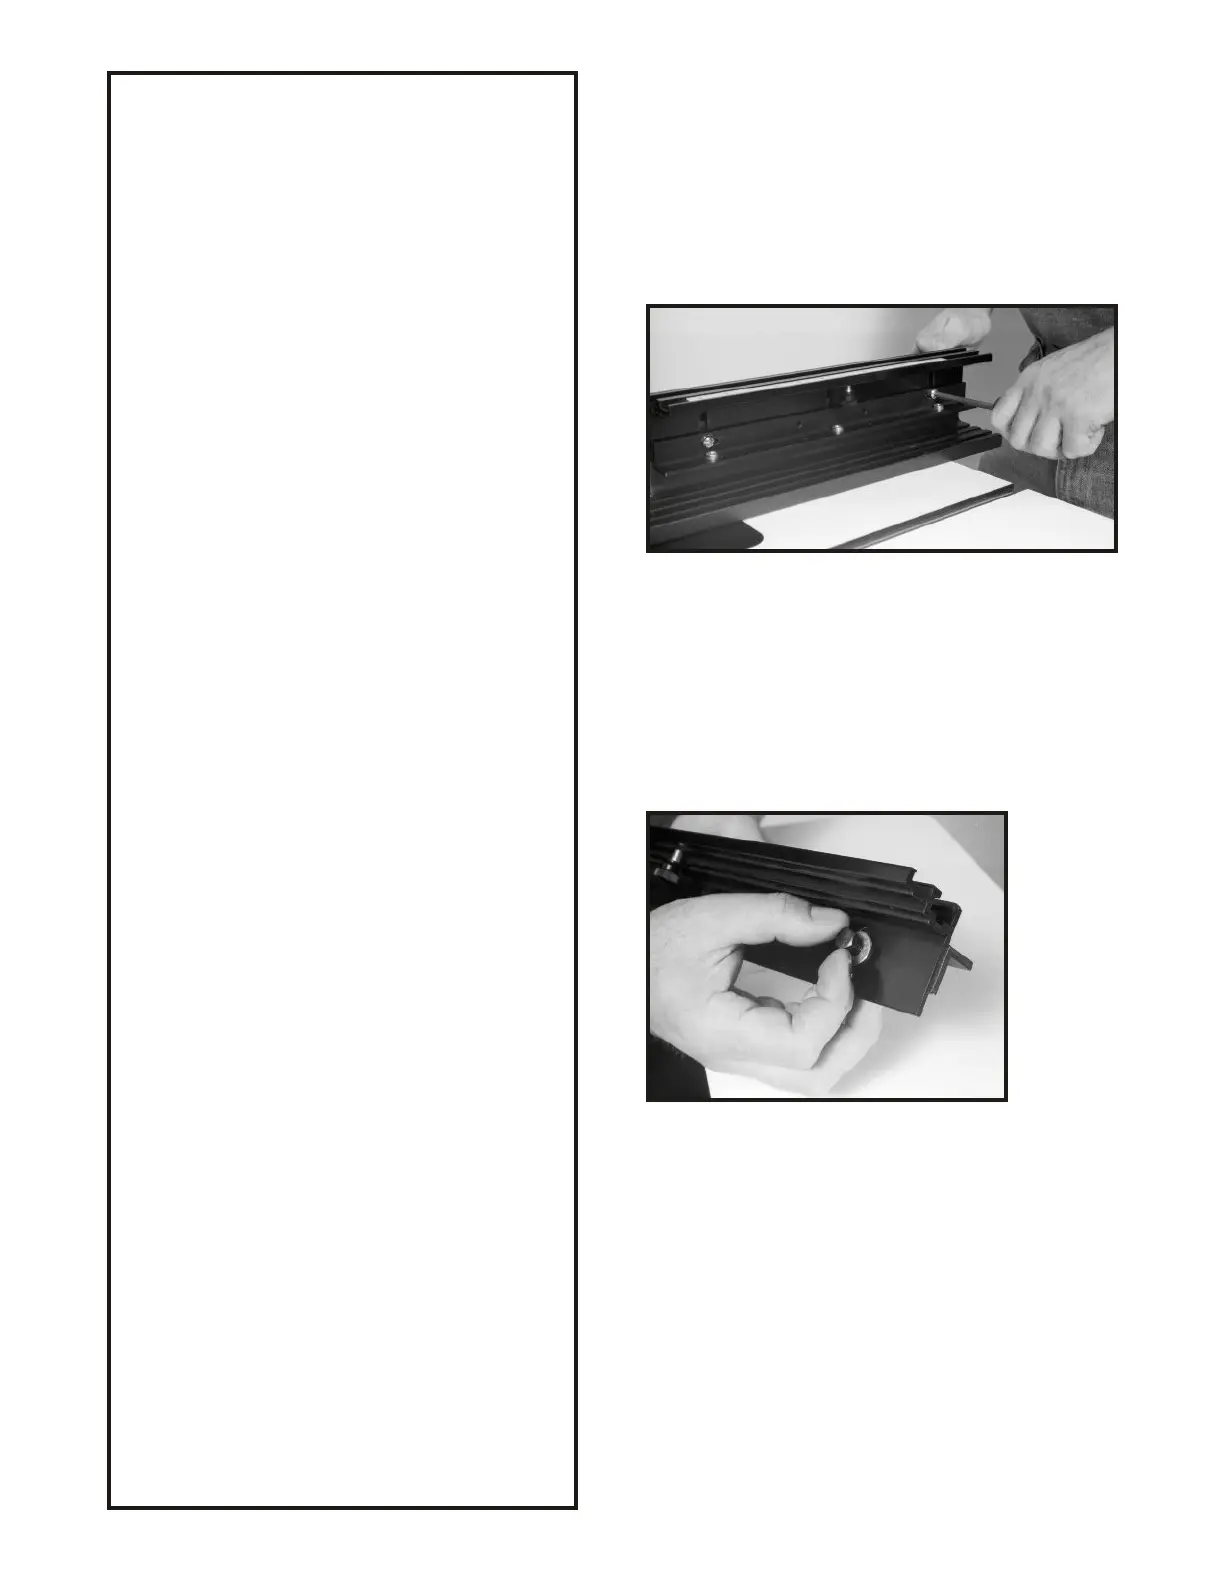
2. Take one of the fence tracks (Part #14 -
shown in the parts list diagram page 2) and
one of the track mounting angle (Part #13)
and align the three 1/4” threaded holes in
the angle to the slots on the fence track.
Take one of the 1/4”-20 x 3/4” hex head
bolts and place one 1/4” flat washer (Part
#4) over the bolt and thread the bolt with
washer through the slotted hole and into the
threaded hole in the fence bracket and hand
tighten to allow some movement for final
adjustment after it is mounted to the table.
Repeat step 2 for assembling the second
fence track and track mounting angle.
ASSEMBLING THE FENCE TRACKS
1. Using a phillips or square drive screw
driver remove the four 1/4”-20 bolts that are
used to attach the fence tracks to the back
side of the fence for packaging/shipping.
Once these bolts are removed put them
aside as you will no longer need them for
future assembly.
FIG. 1
FIG. 2
 Loading...