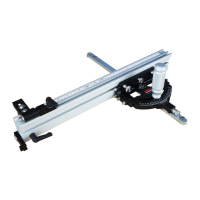
Step 3: Place your carriage/gear box assembly
into position on the Excel II top. (See Figure #3)
Figure 3
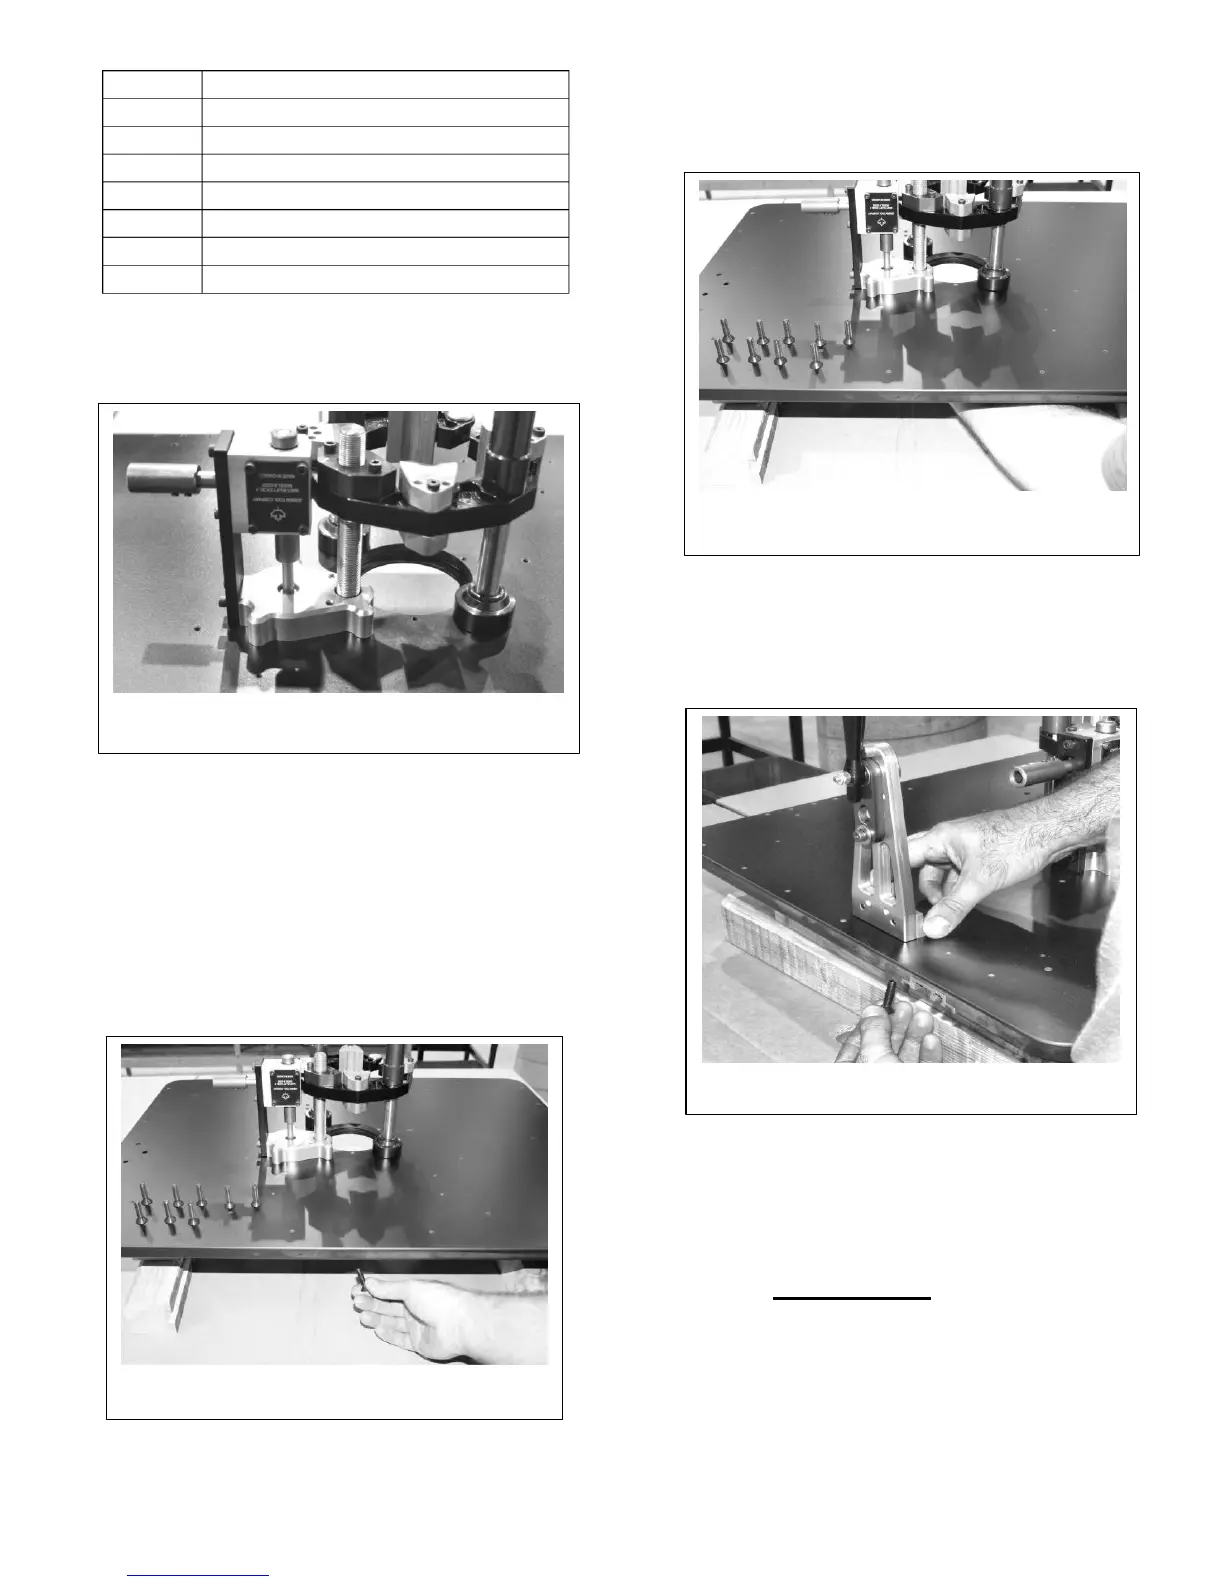
Step 4: From underneath, thread the seven of
the 5/16-18 Flat Head Cap Screws into the
carriage/gear box assembly as far as possible
with your fingers. Two screws into each shaft
mount and three screws into the gear box. You
will need to rotate the shafts and adjust the
location of the gear box till the holes line up.
(See Figure #4)
Step 6: With the three remaining 5/16-18 Flat
Head Cap Screws attach the handle mount to
the Excel II top and tighten. (See Figure #6).
Figure 6
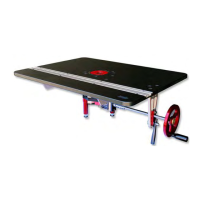
Carriage and Gear Box Assembly
Hardware Package
Vacuum Shroud
Crank handle
Table Reinforcments
Insert Wrench
Insert Ring
Handle Support/Cam Lock Assembly
Figure 5
Step 5: With the 3/16" hex key, tighten the (7)
seven 5/16-18 screws you threaded in Step 4.
(See Figure #5)
Step 7: Taking one of the braces, line up the
holes in the table. Beginning at one end, using
(12) of the 10-24 x 1/2" Philips Drive Self
Tapping screws and the Torque screwdriver
provided, start the screws in the holes a couple
of turns, Do Not Tighten. Once you have all
the screws started, go back and tighten
securely. Repeat these steps with the second
brace. (See Figure #7)
**If you find your screwdriver is not holding the
screws, take a magnet and run it along the
screwdriver towards the tip.
 Loading...